Thank God for Struggles!

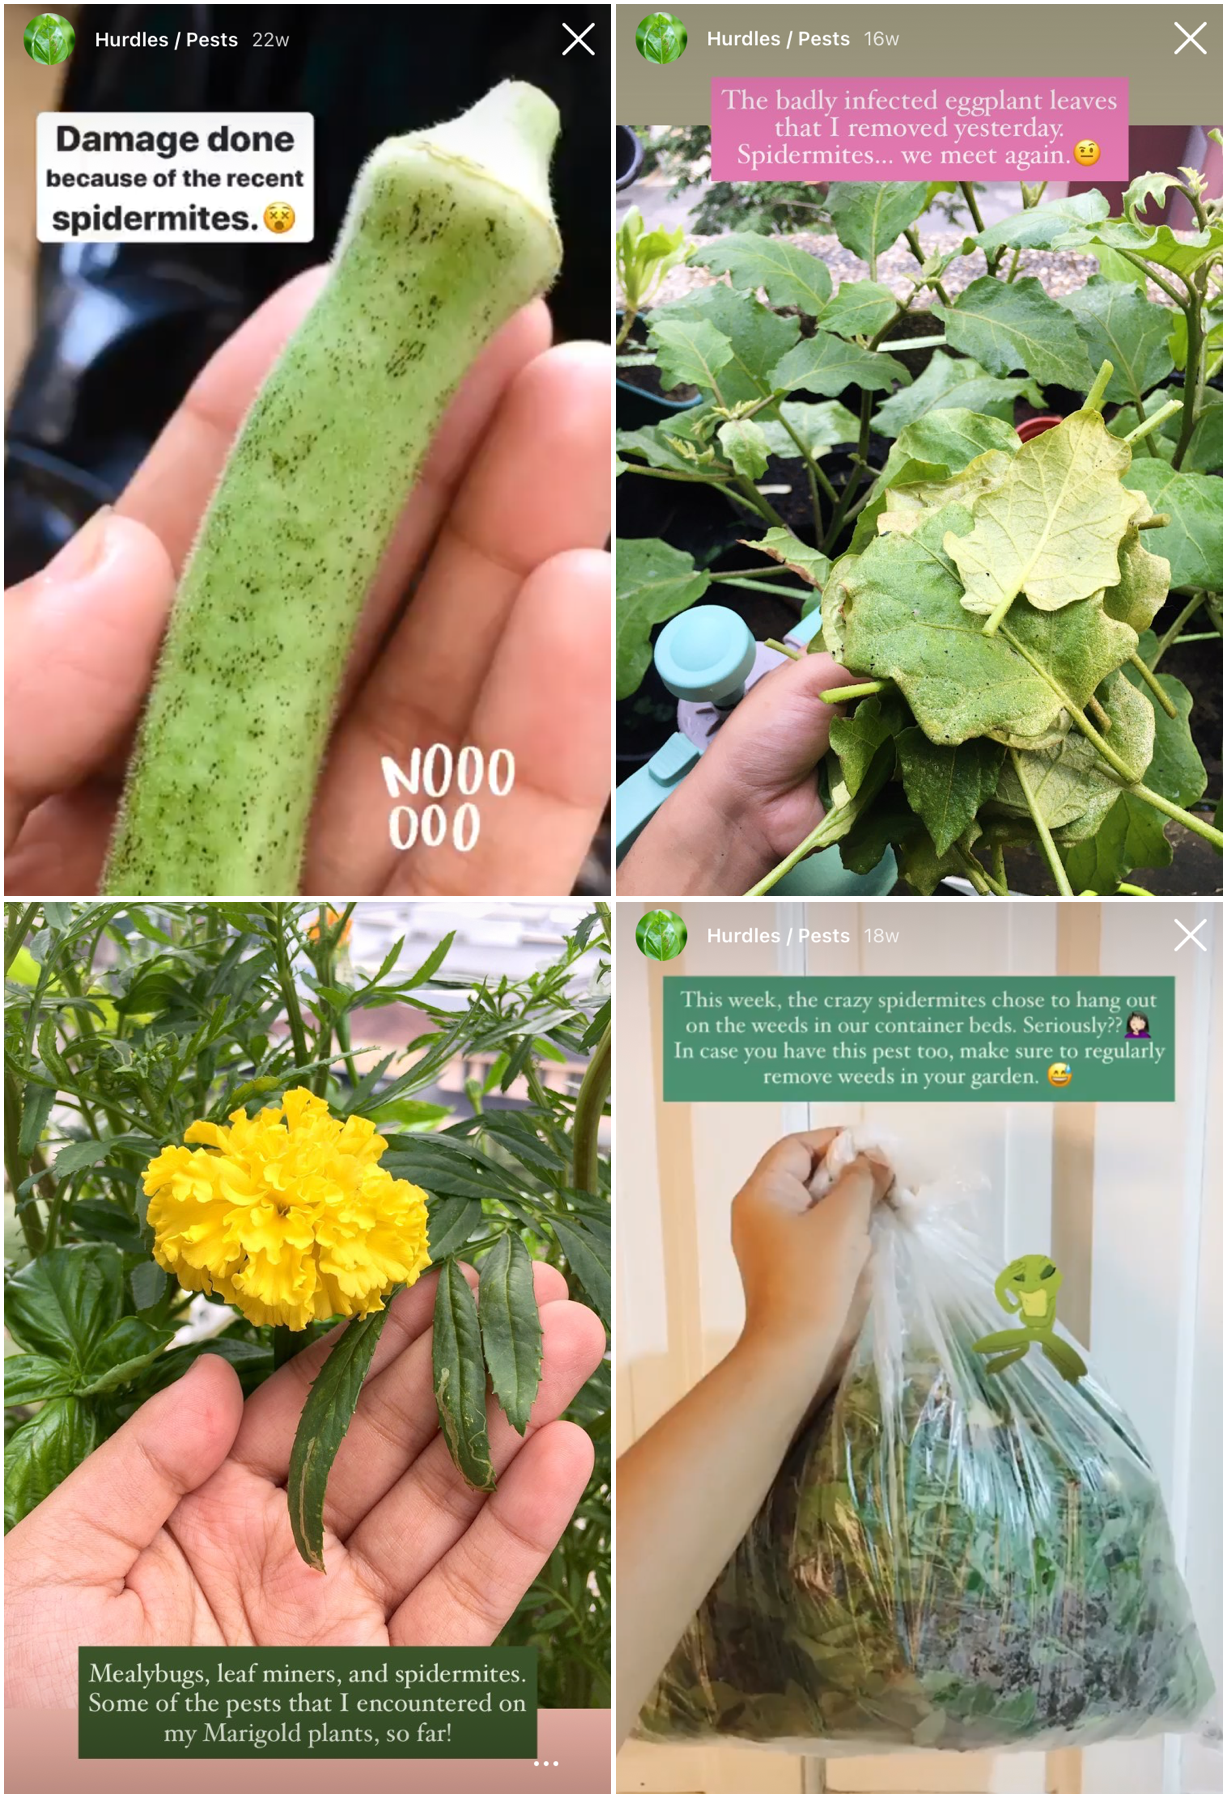
A random moment happened this evening: I thanked the Lord for allowing me to experience spidermites in my recent gardening journey. In case you were wondering, spidermites in the garden can be likened to lice on ones hair. It is an incredibly annoying pest that can severely damage plants, if they aren’t removed immediately. Also, it doesn’t help that these tiny mites easily spread from one plant to another.

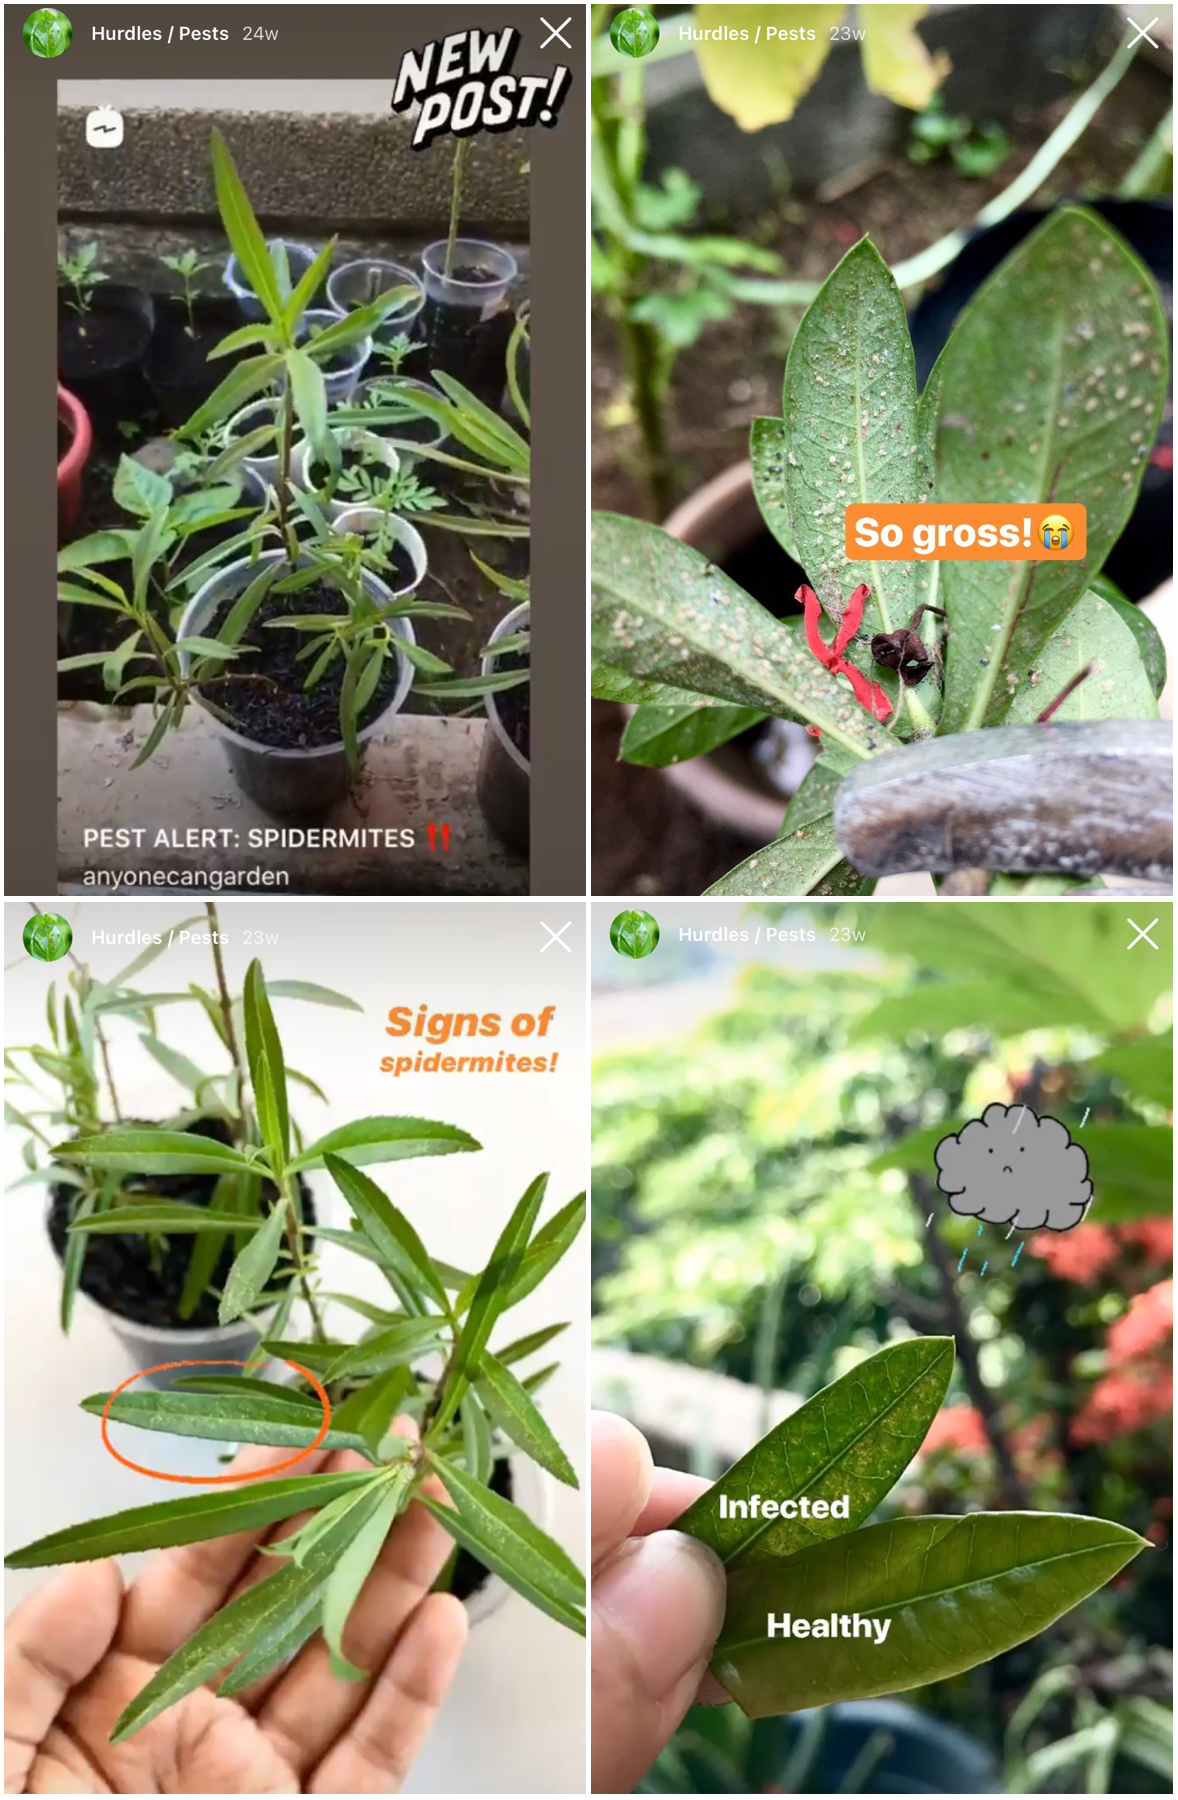
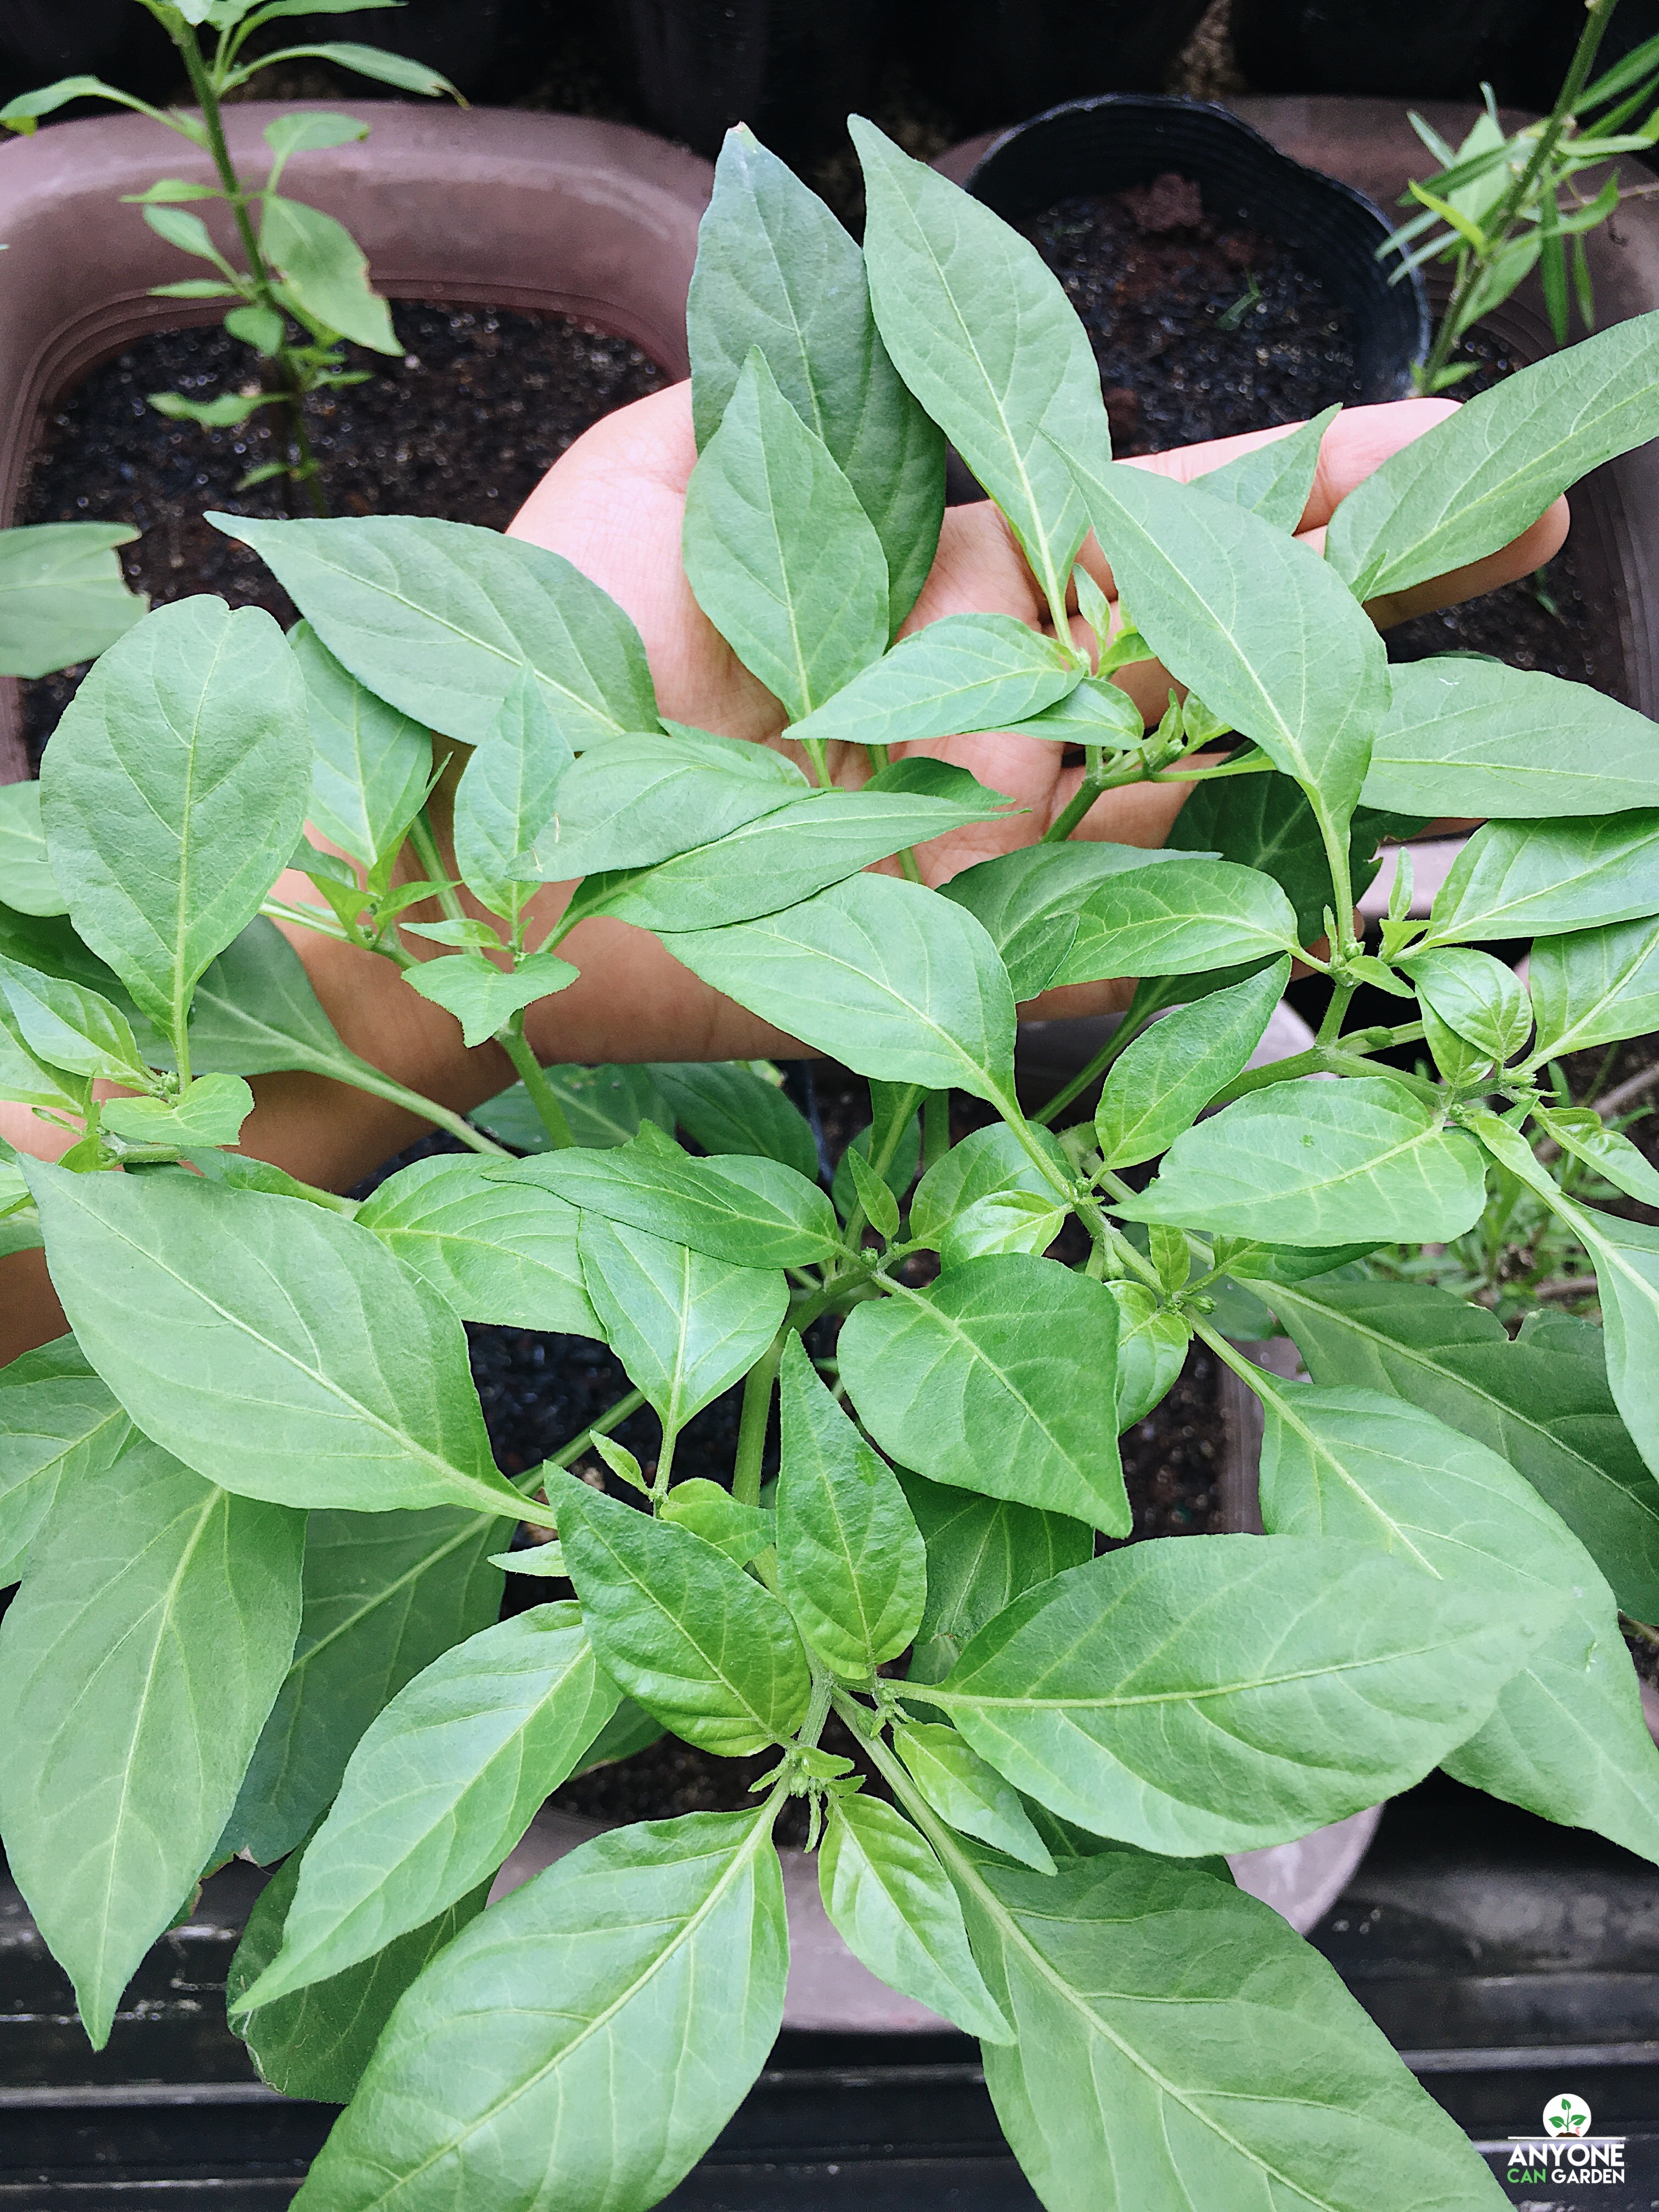
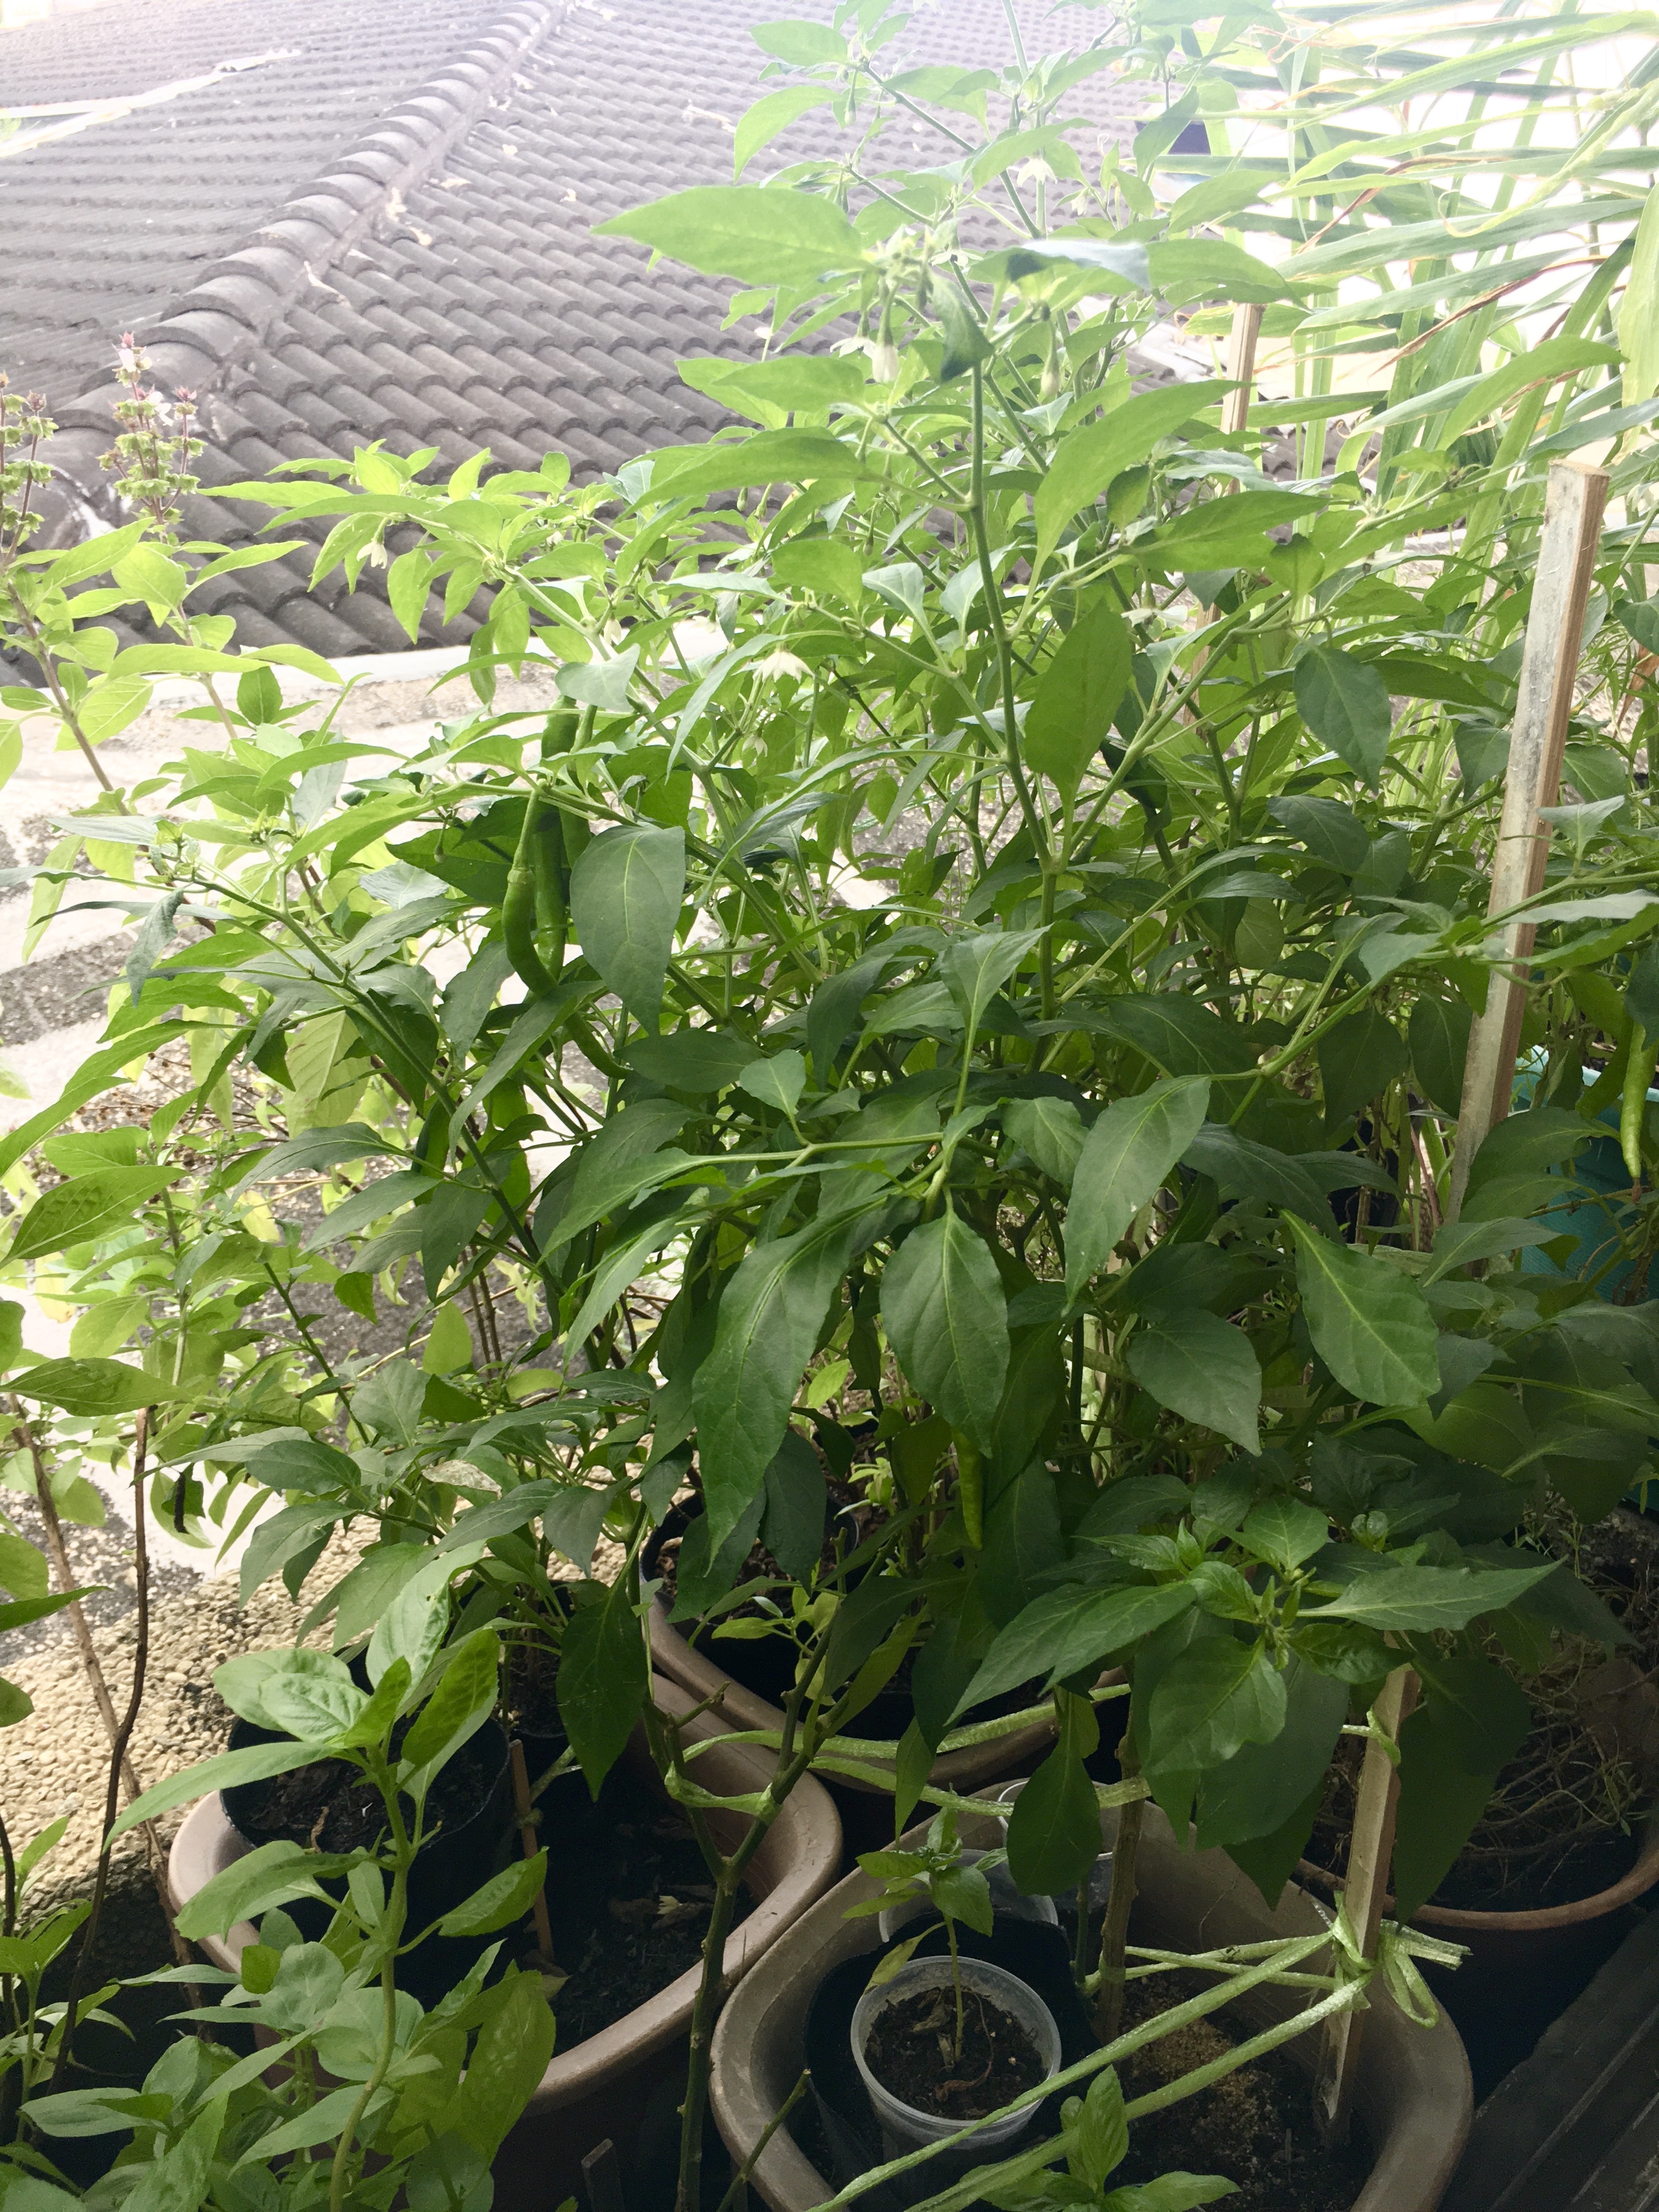
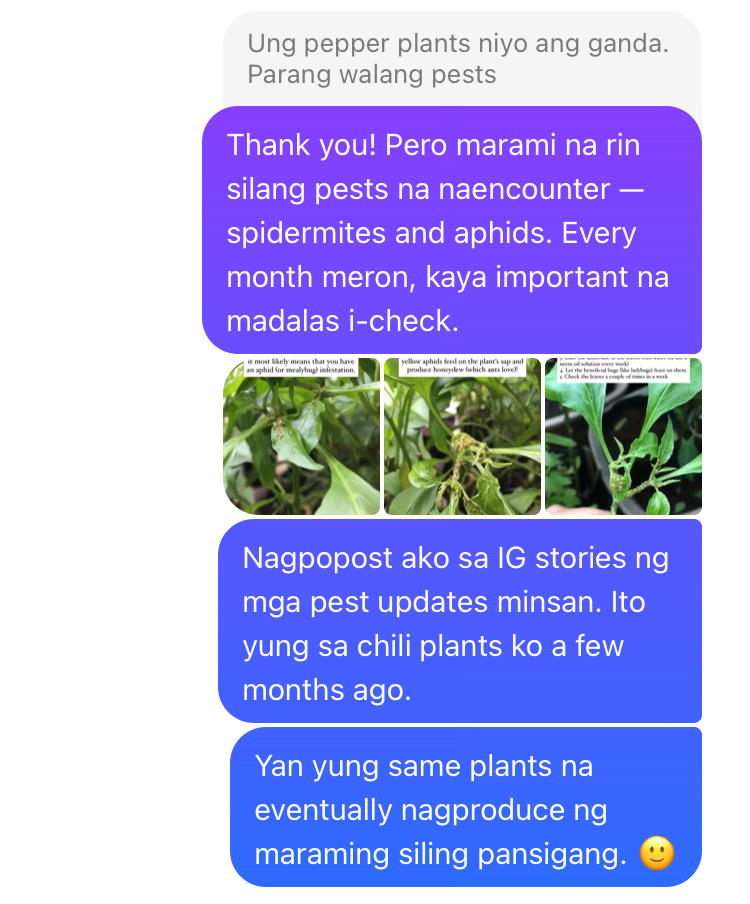
Earlier today, I was chatting with a stranger who follows my gardening blog on Facebook (Anyone Can Garden), and I was helping him deal with certain pest issues on his chili plant. After this, he mentioned how beautiful my chili plants were and how they didn’t seem to have pests. I replied by showing old posts on my chili plants being attacked by spidermites and aphids, and how I was able to treat my plants last year. He eventually thanked me and encouraged me to keep sharing helpful tips to others.

As I was preparing for bed, I recalled how disappointed and discouraged I was last year when I first encountered spidermites. Mainly because of the hassles involved and the fact that in the past 7 years of gardening in our balcony, I’ve never experienced severe problems with pests. But, then again, whatever good I have experienced really was because of God’s grace and not my own doing!

I then browsed through my old journals and found an entry last July 22, 2020, where I wrote this to God:


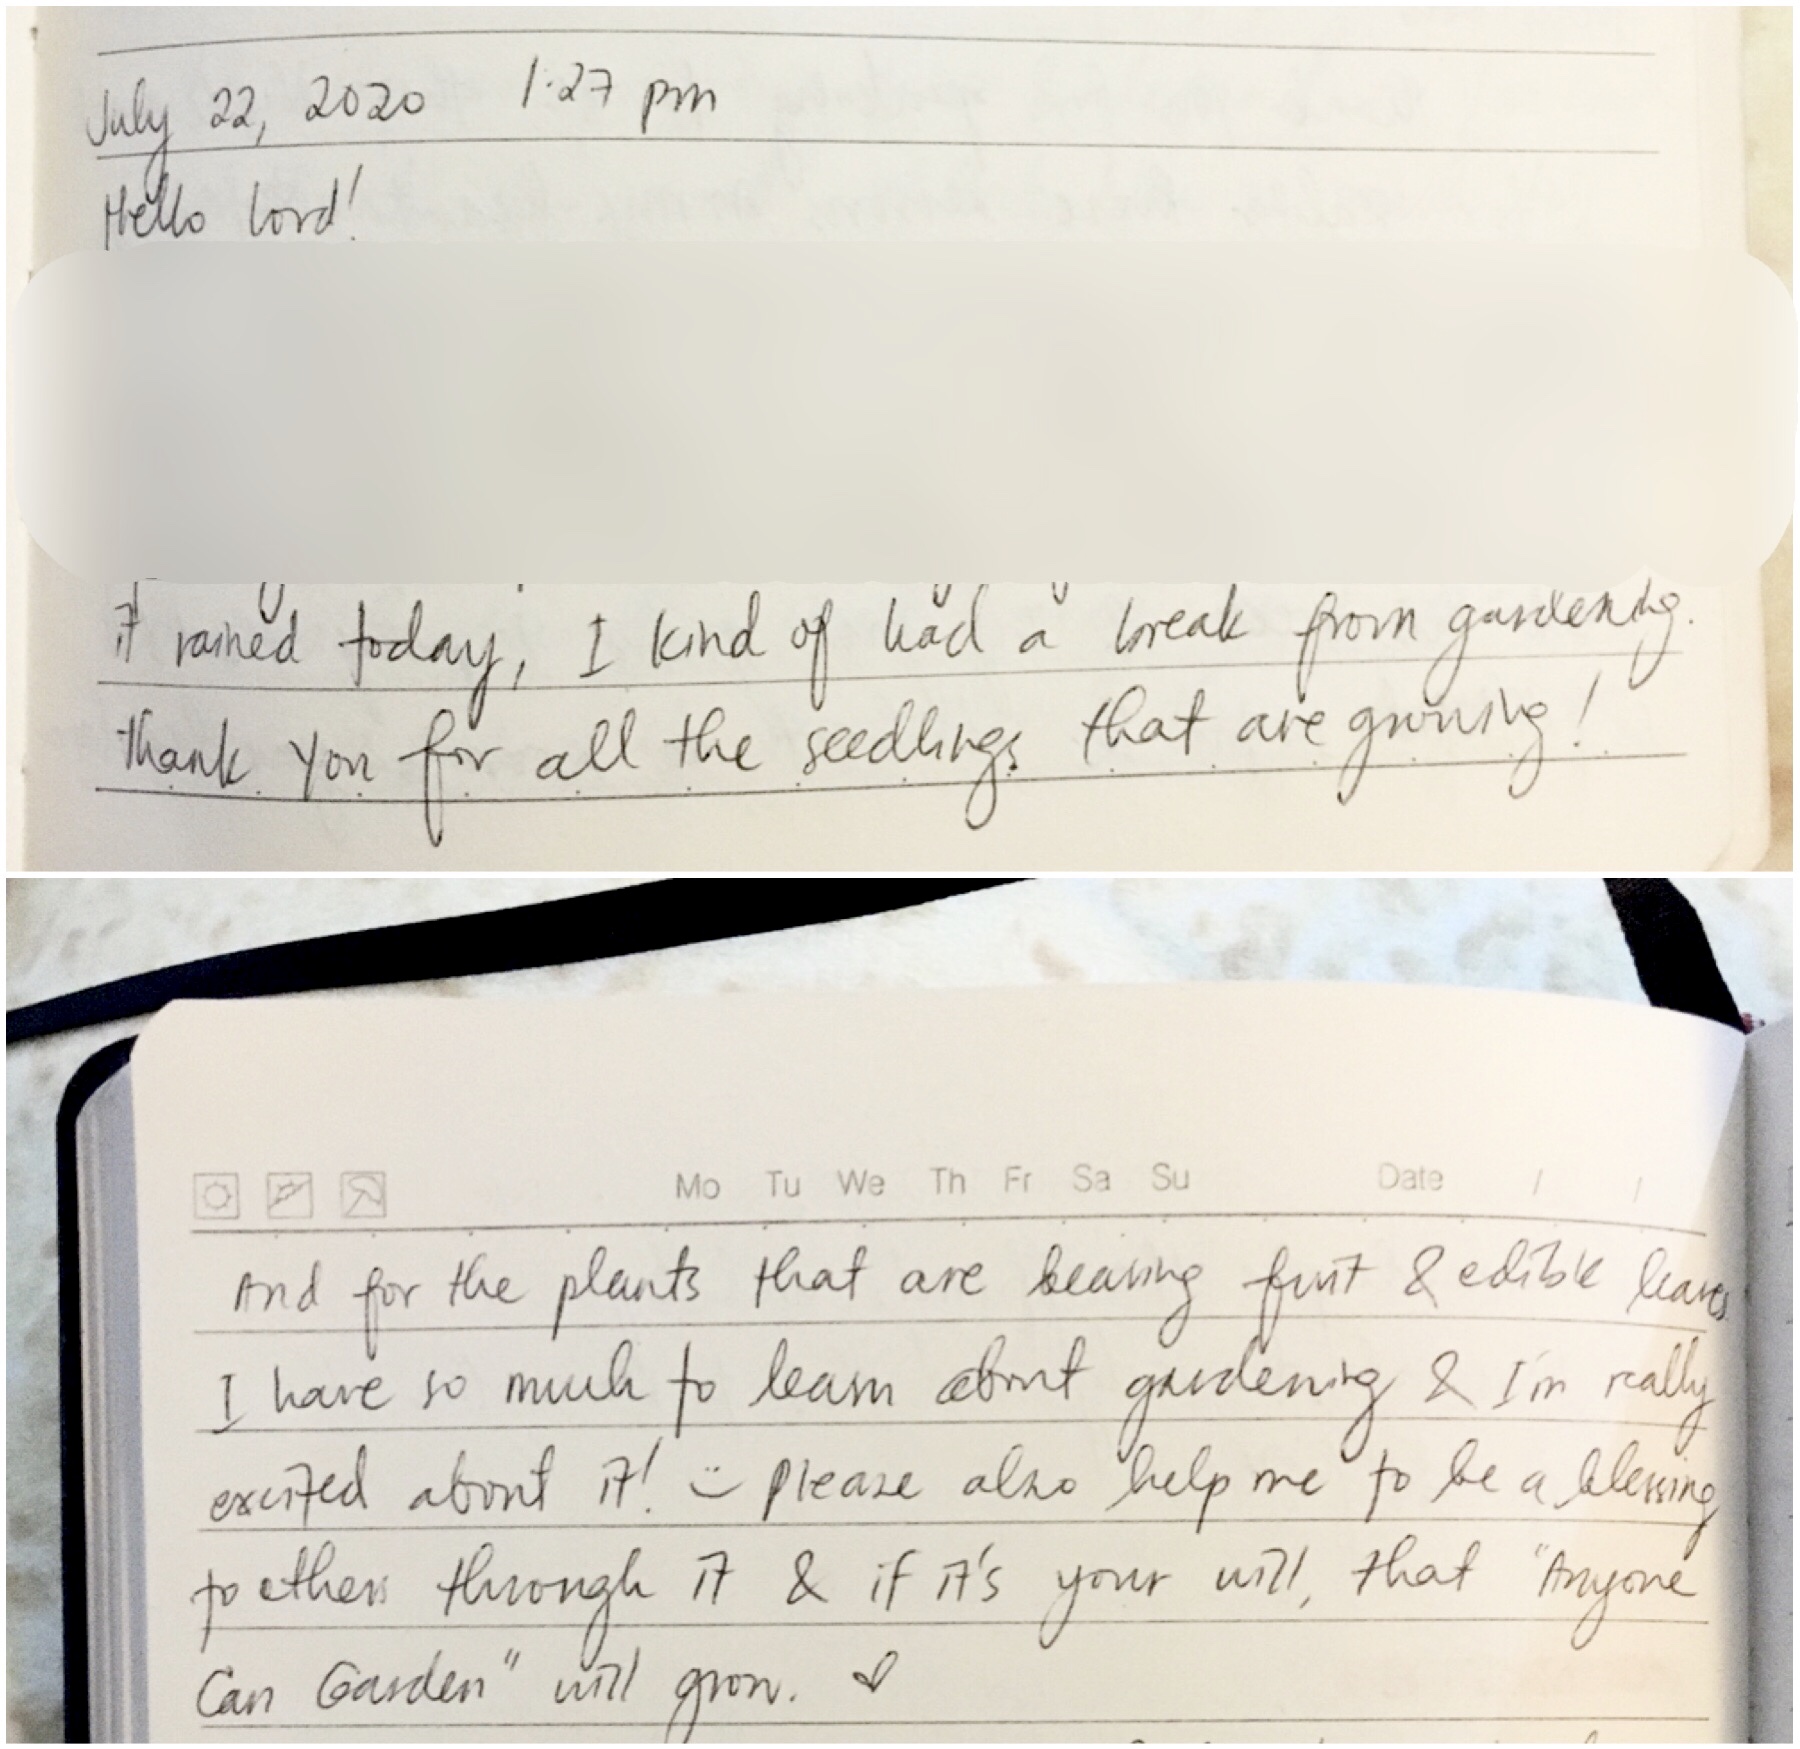
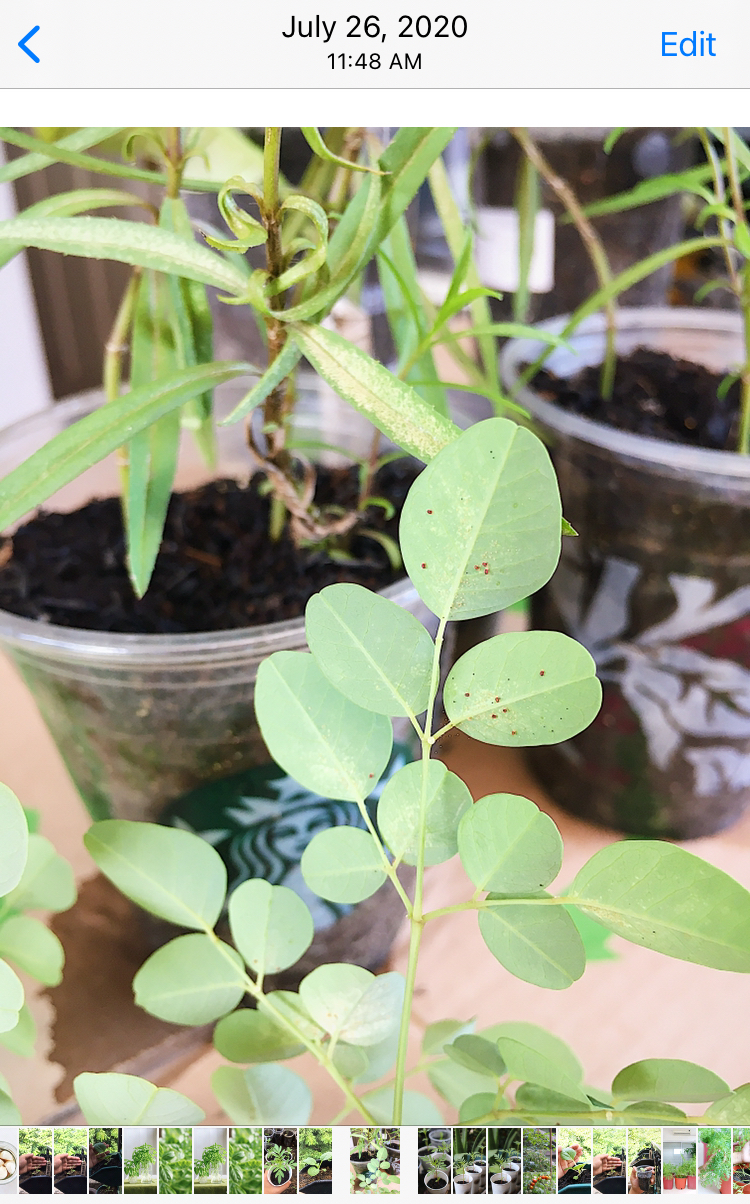
On July 26, 2020, four days after this journal entry, I encountered spidermites in our balcony garden. Talk about perfect timing! Haha.


I really wanted to grow in gardening and I prayed for this online space to be a blessing to others. God, in His sovereignty, knew that my plants experiencing pests would actually be an answer to my prayers! Even though I struggled so bad during those months of infestation, I saw how the Lord allowed this gardening struggle to happen, so I could grow more in knowledge and skills. And I did! By God’s grace, I learned so much about pest control, and I was able to help other gardeners (strangers and friends online) who struggled with the same experience too!

As I thanked the Lord this evening, He reminded me of how this is also applicable to other aspects of my life.

In the same way, He is working and He is in control, even if I go through unanswered prayers, delays, closed doors, or those on-going struggles that don’t seem to end.

He reminded me of 1 Thessalonians 5:16-18 where it says: Rejoice always, pray continually, give thanks in all circumstances; for this is God’s will for you in Christ Jesus.” — This is exactly what the Lord is teaching me right now. By His grace, I pray that I will continue to trust in His goodness and sovereignty moment by moment. Even if He allows me to go through struggles again and again.

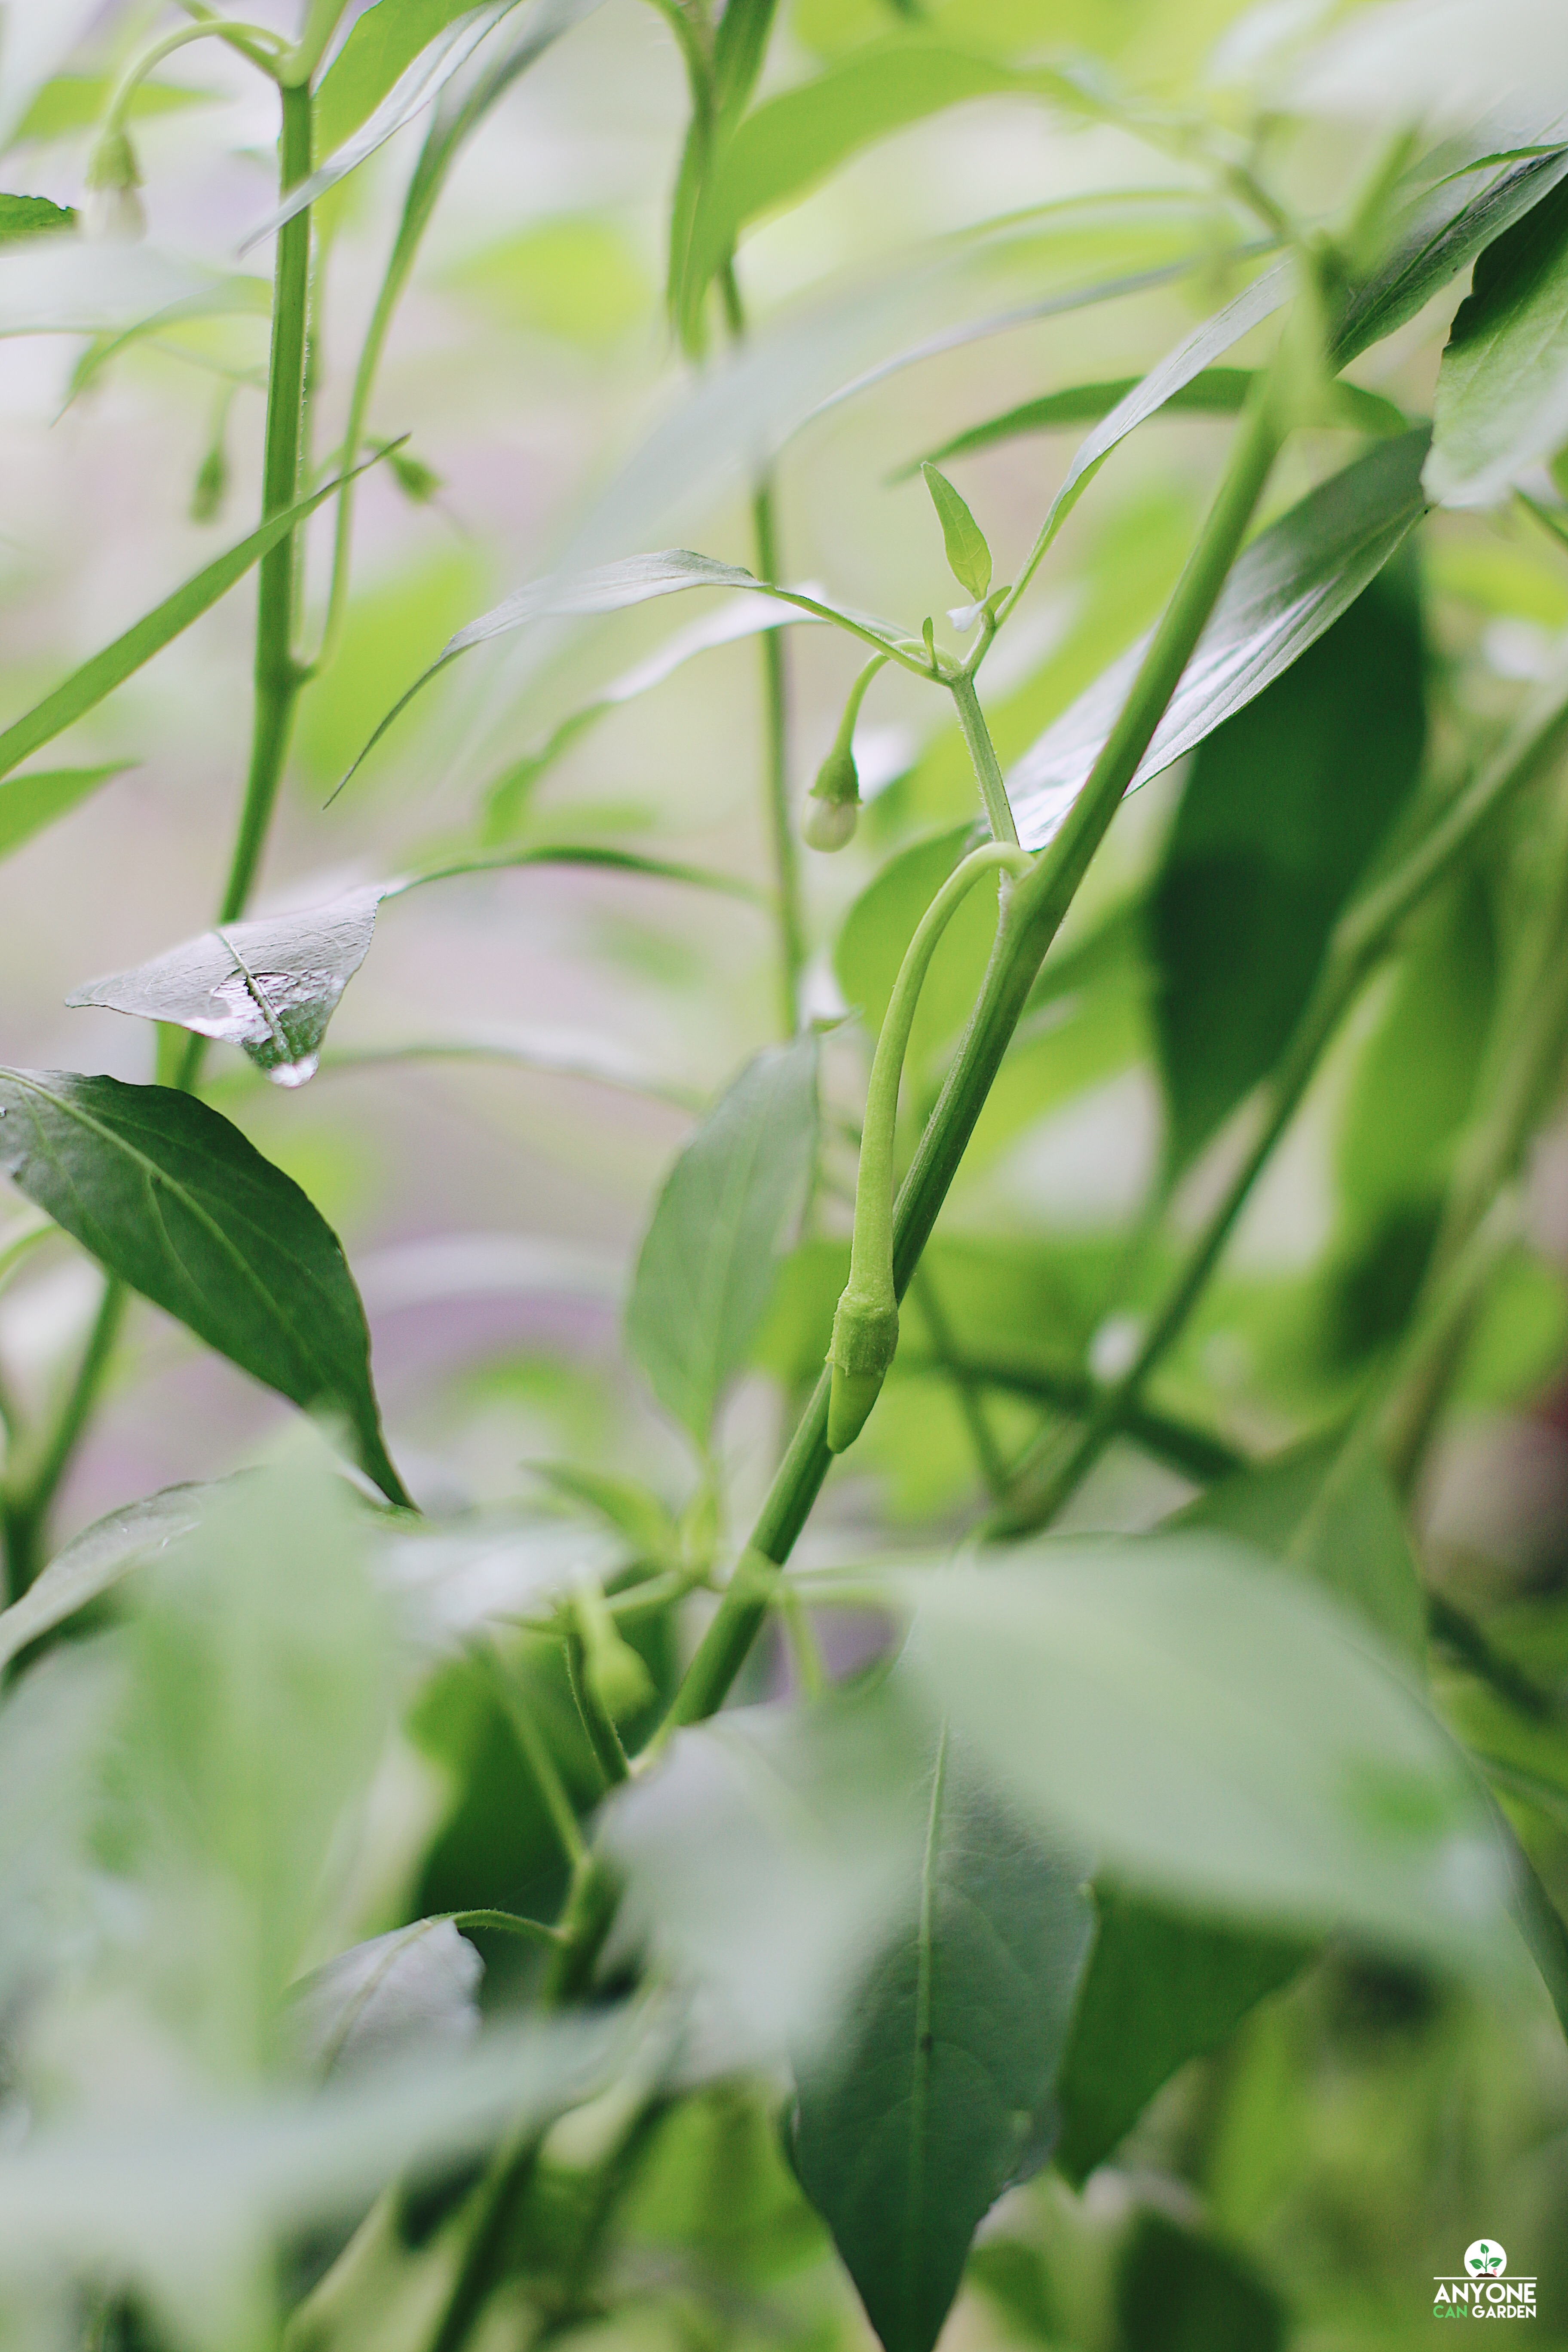
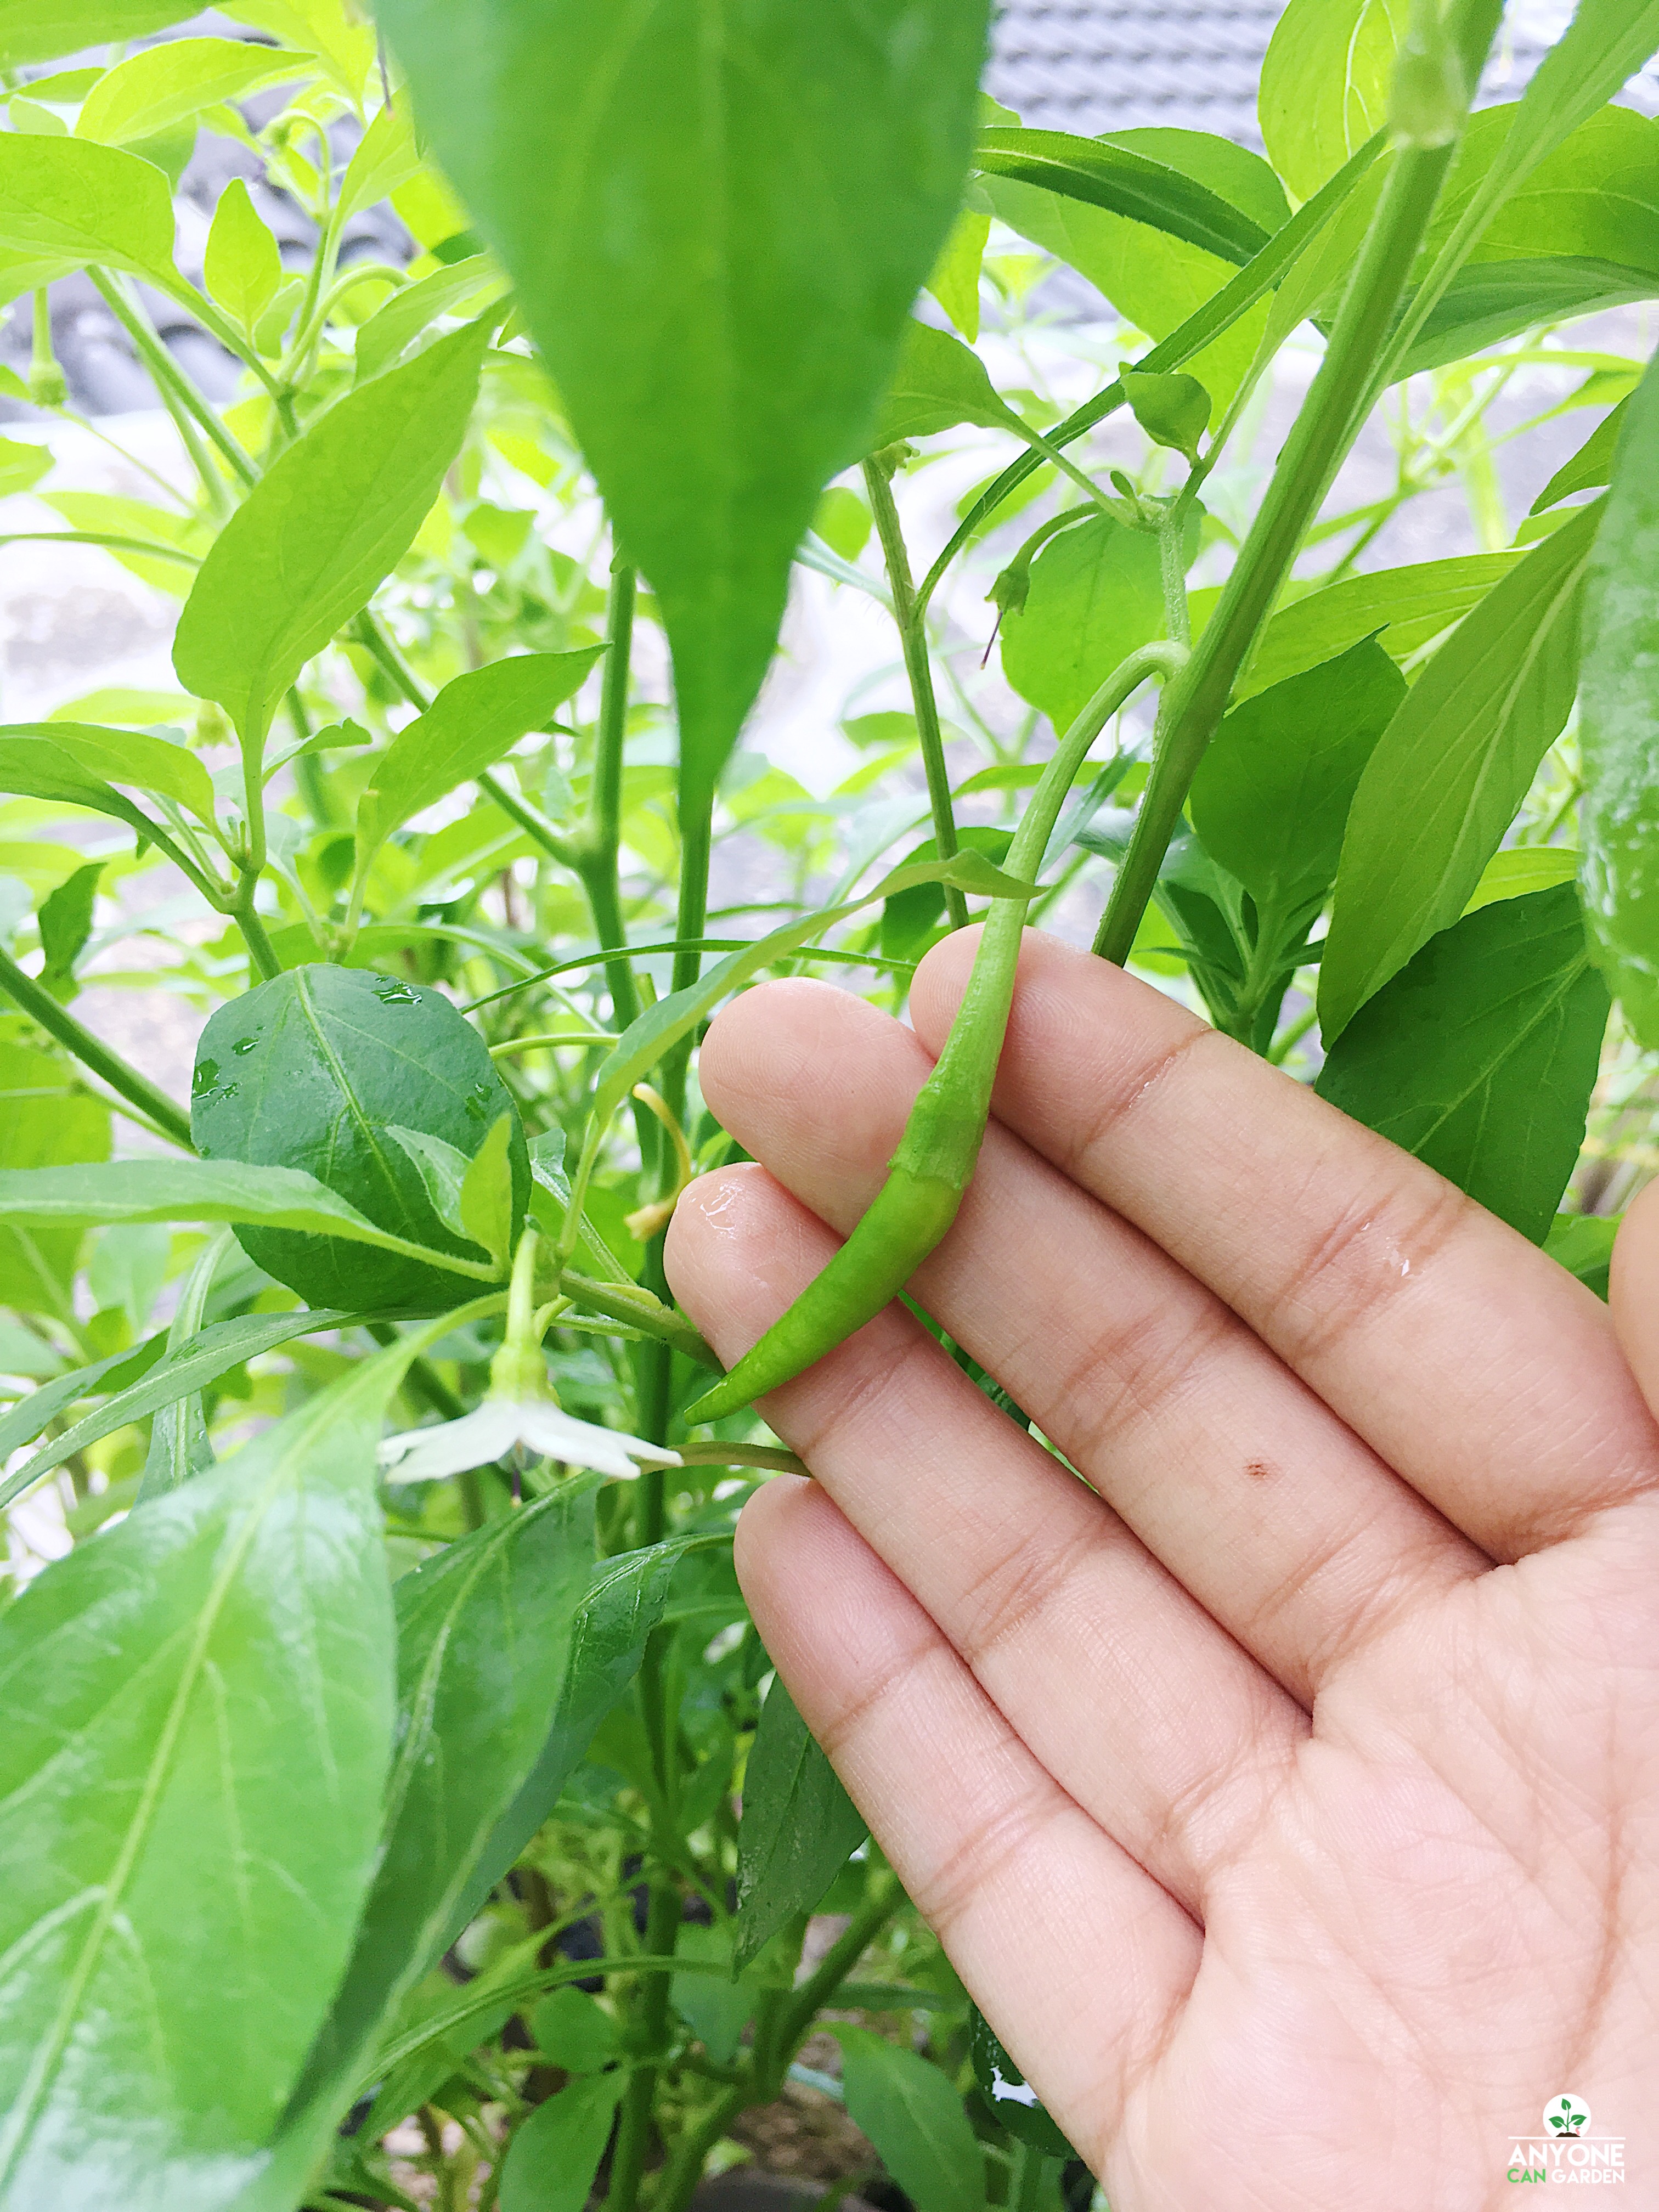
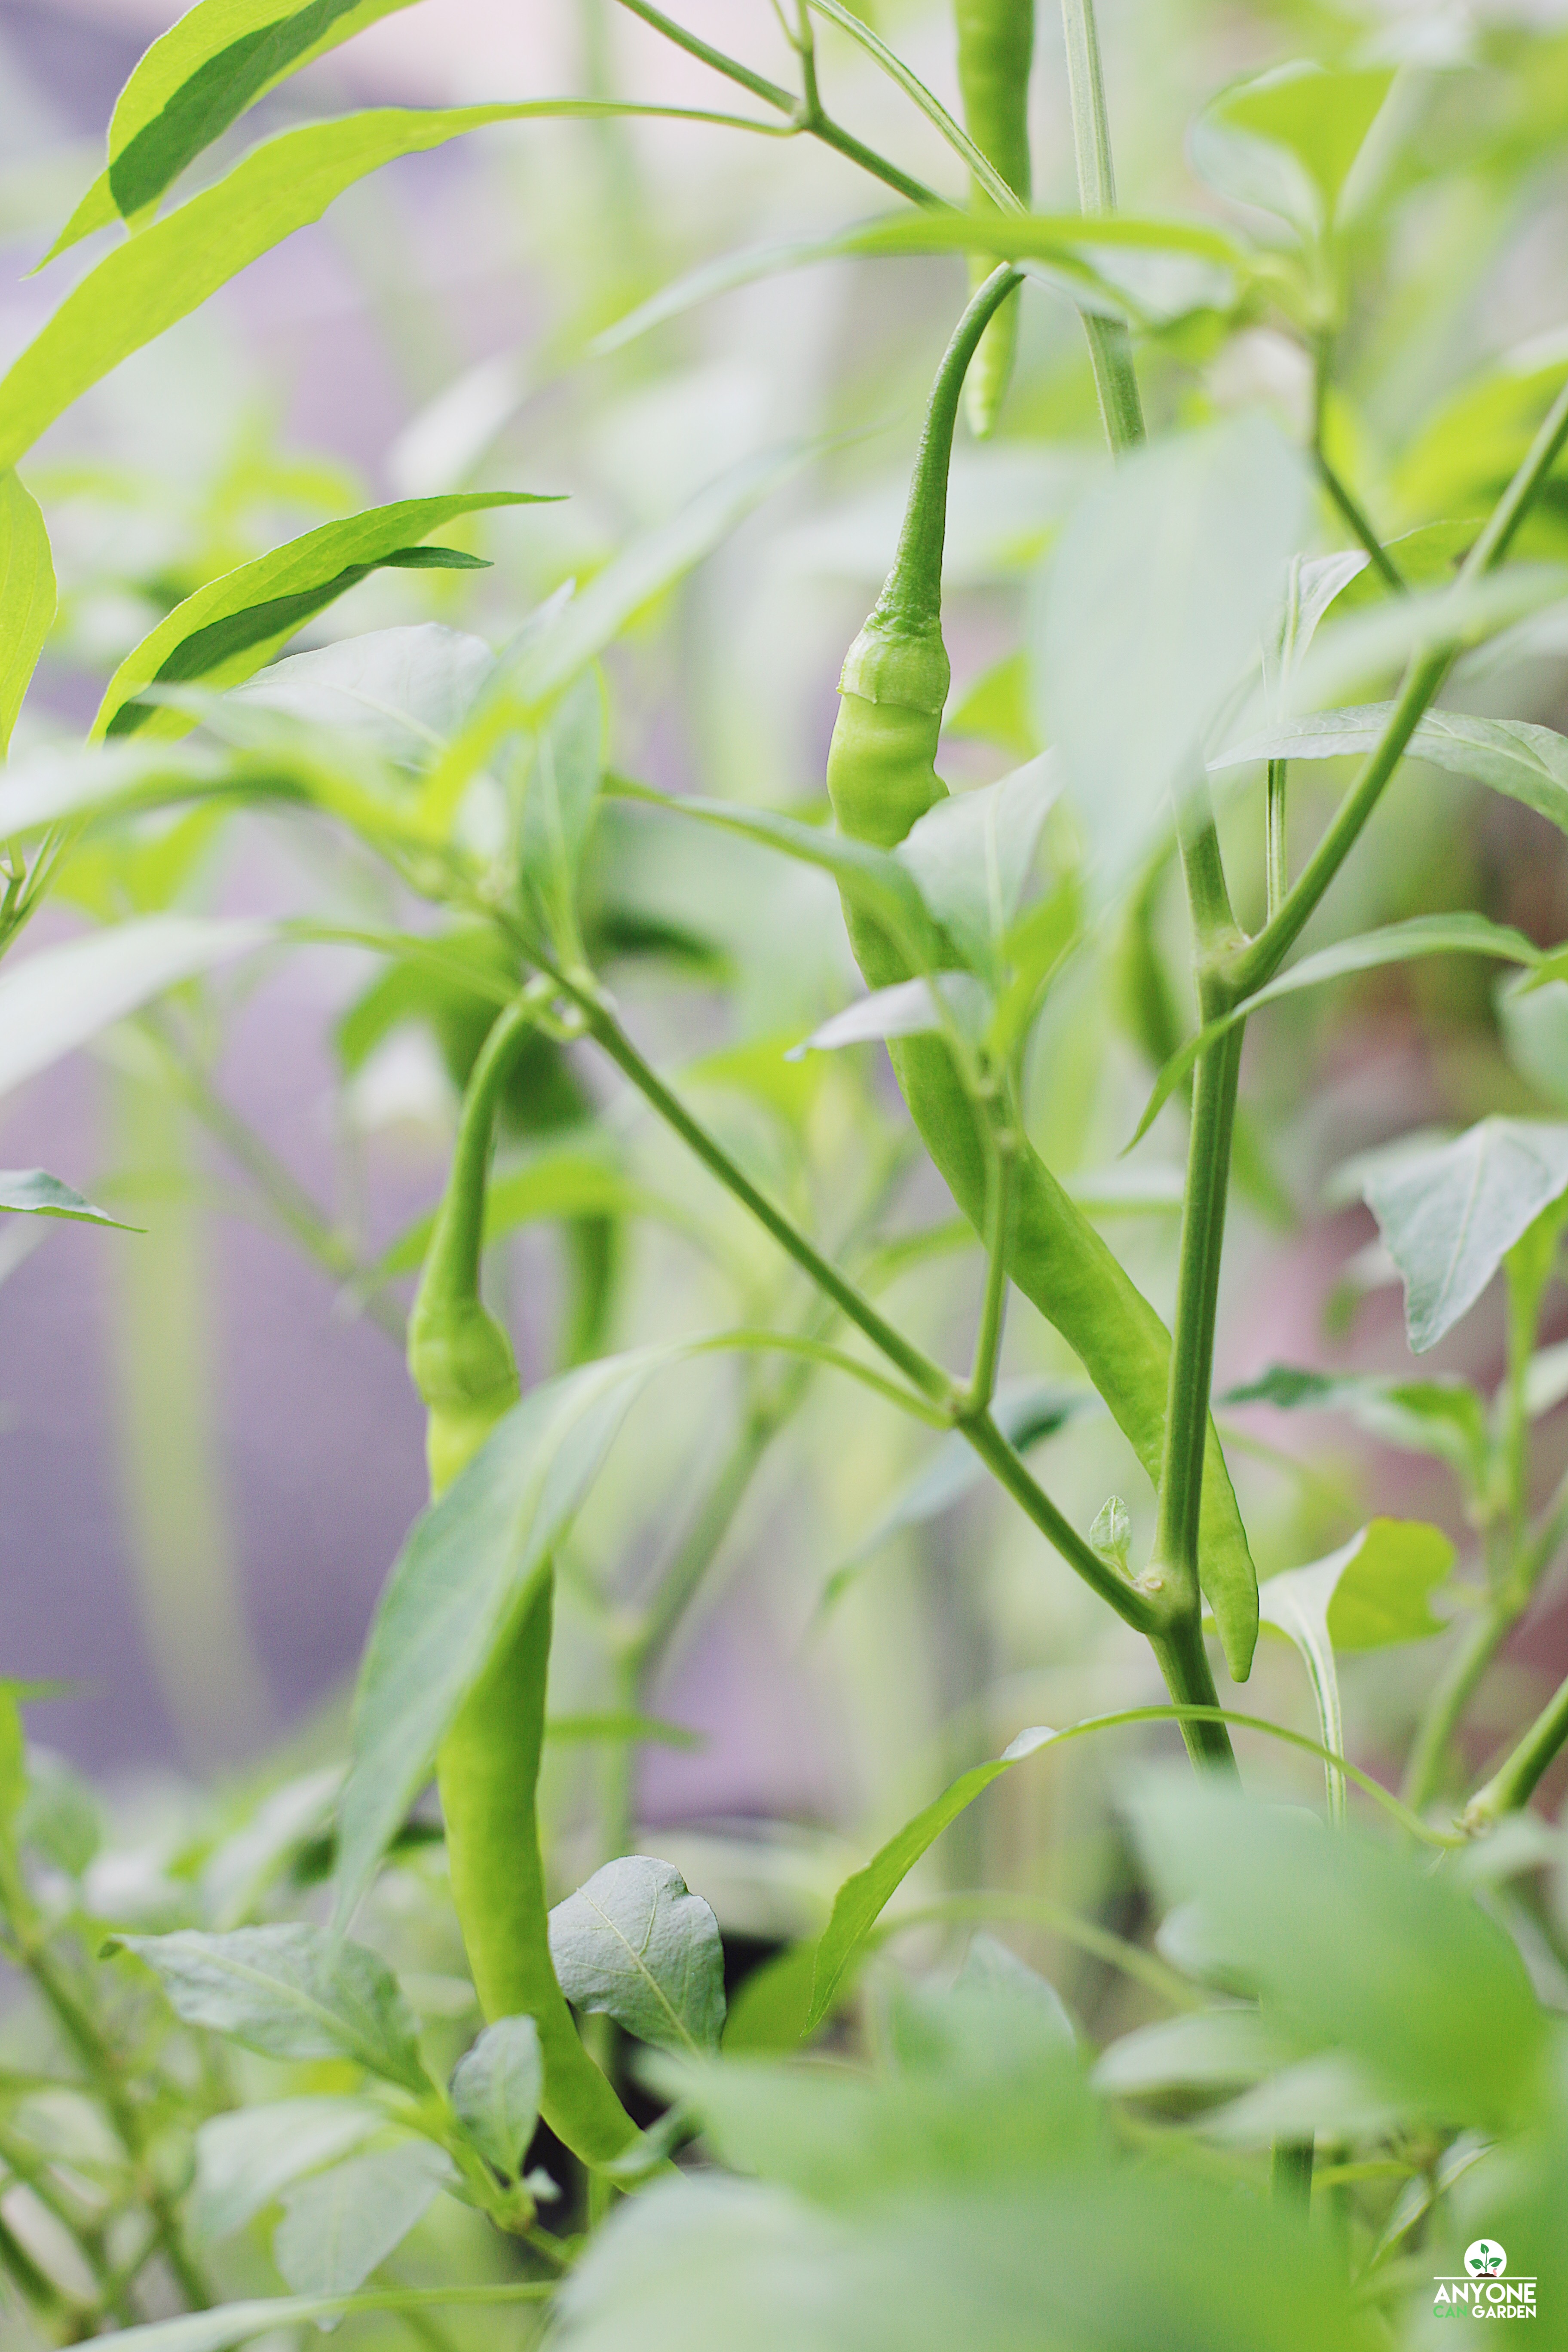
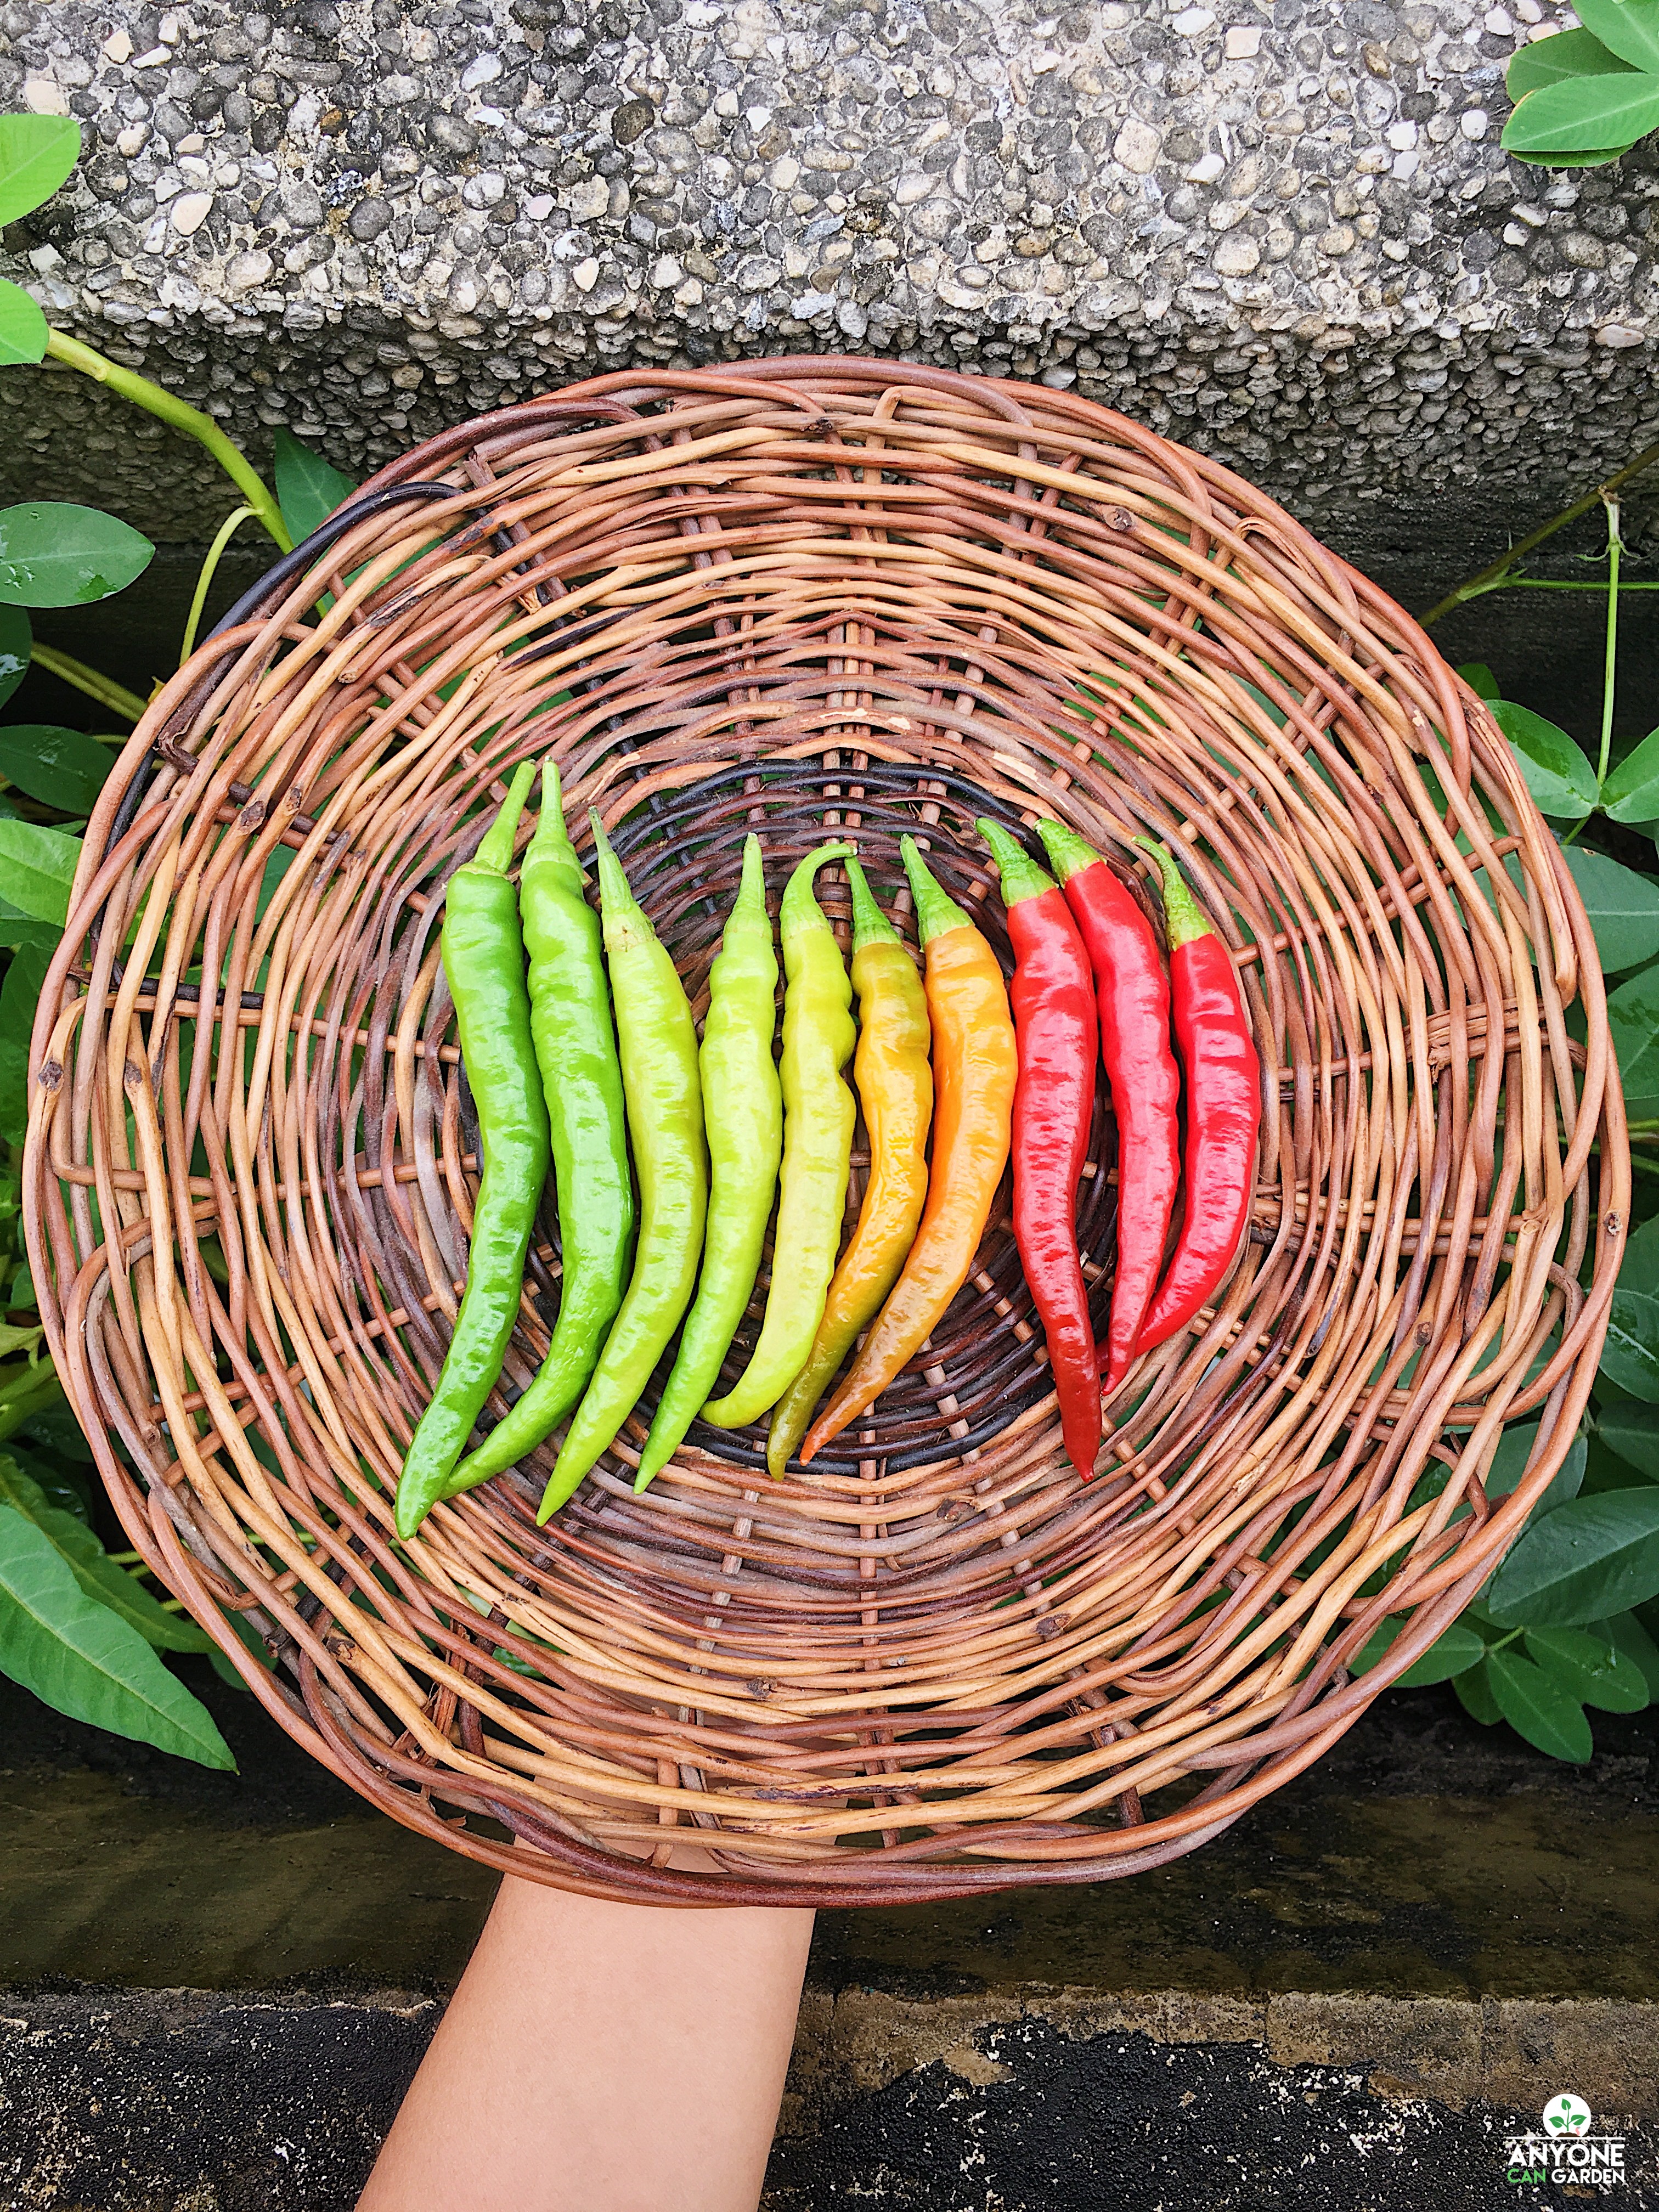
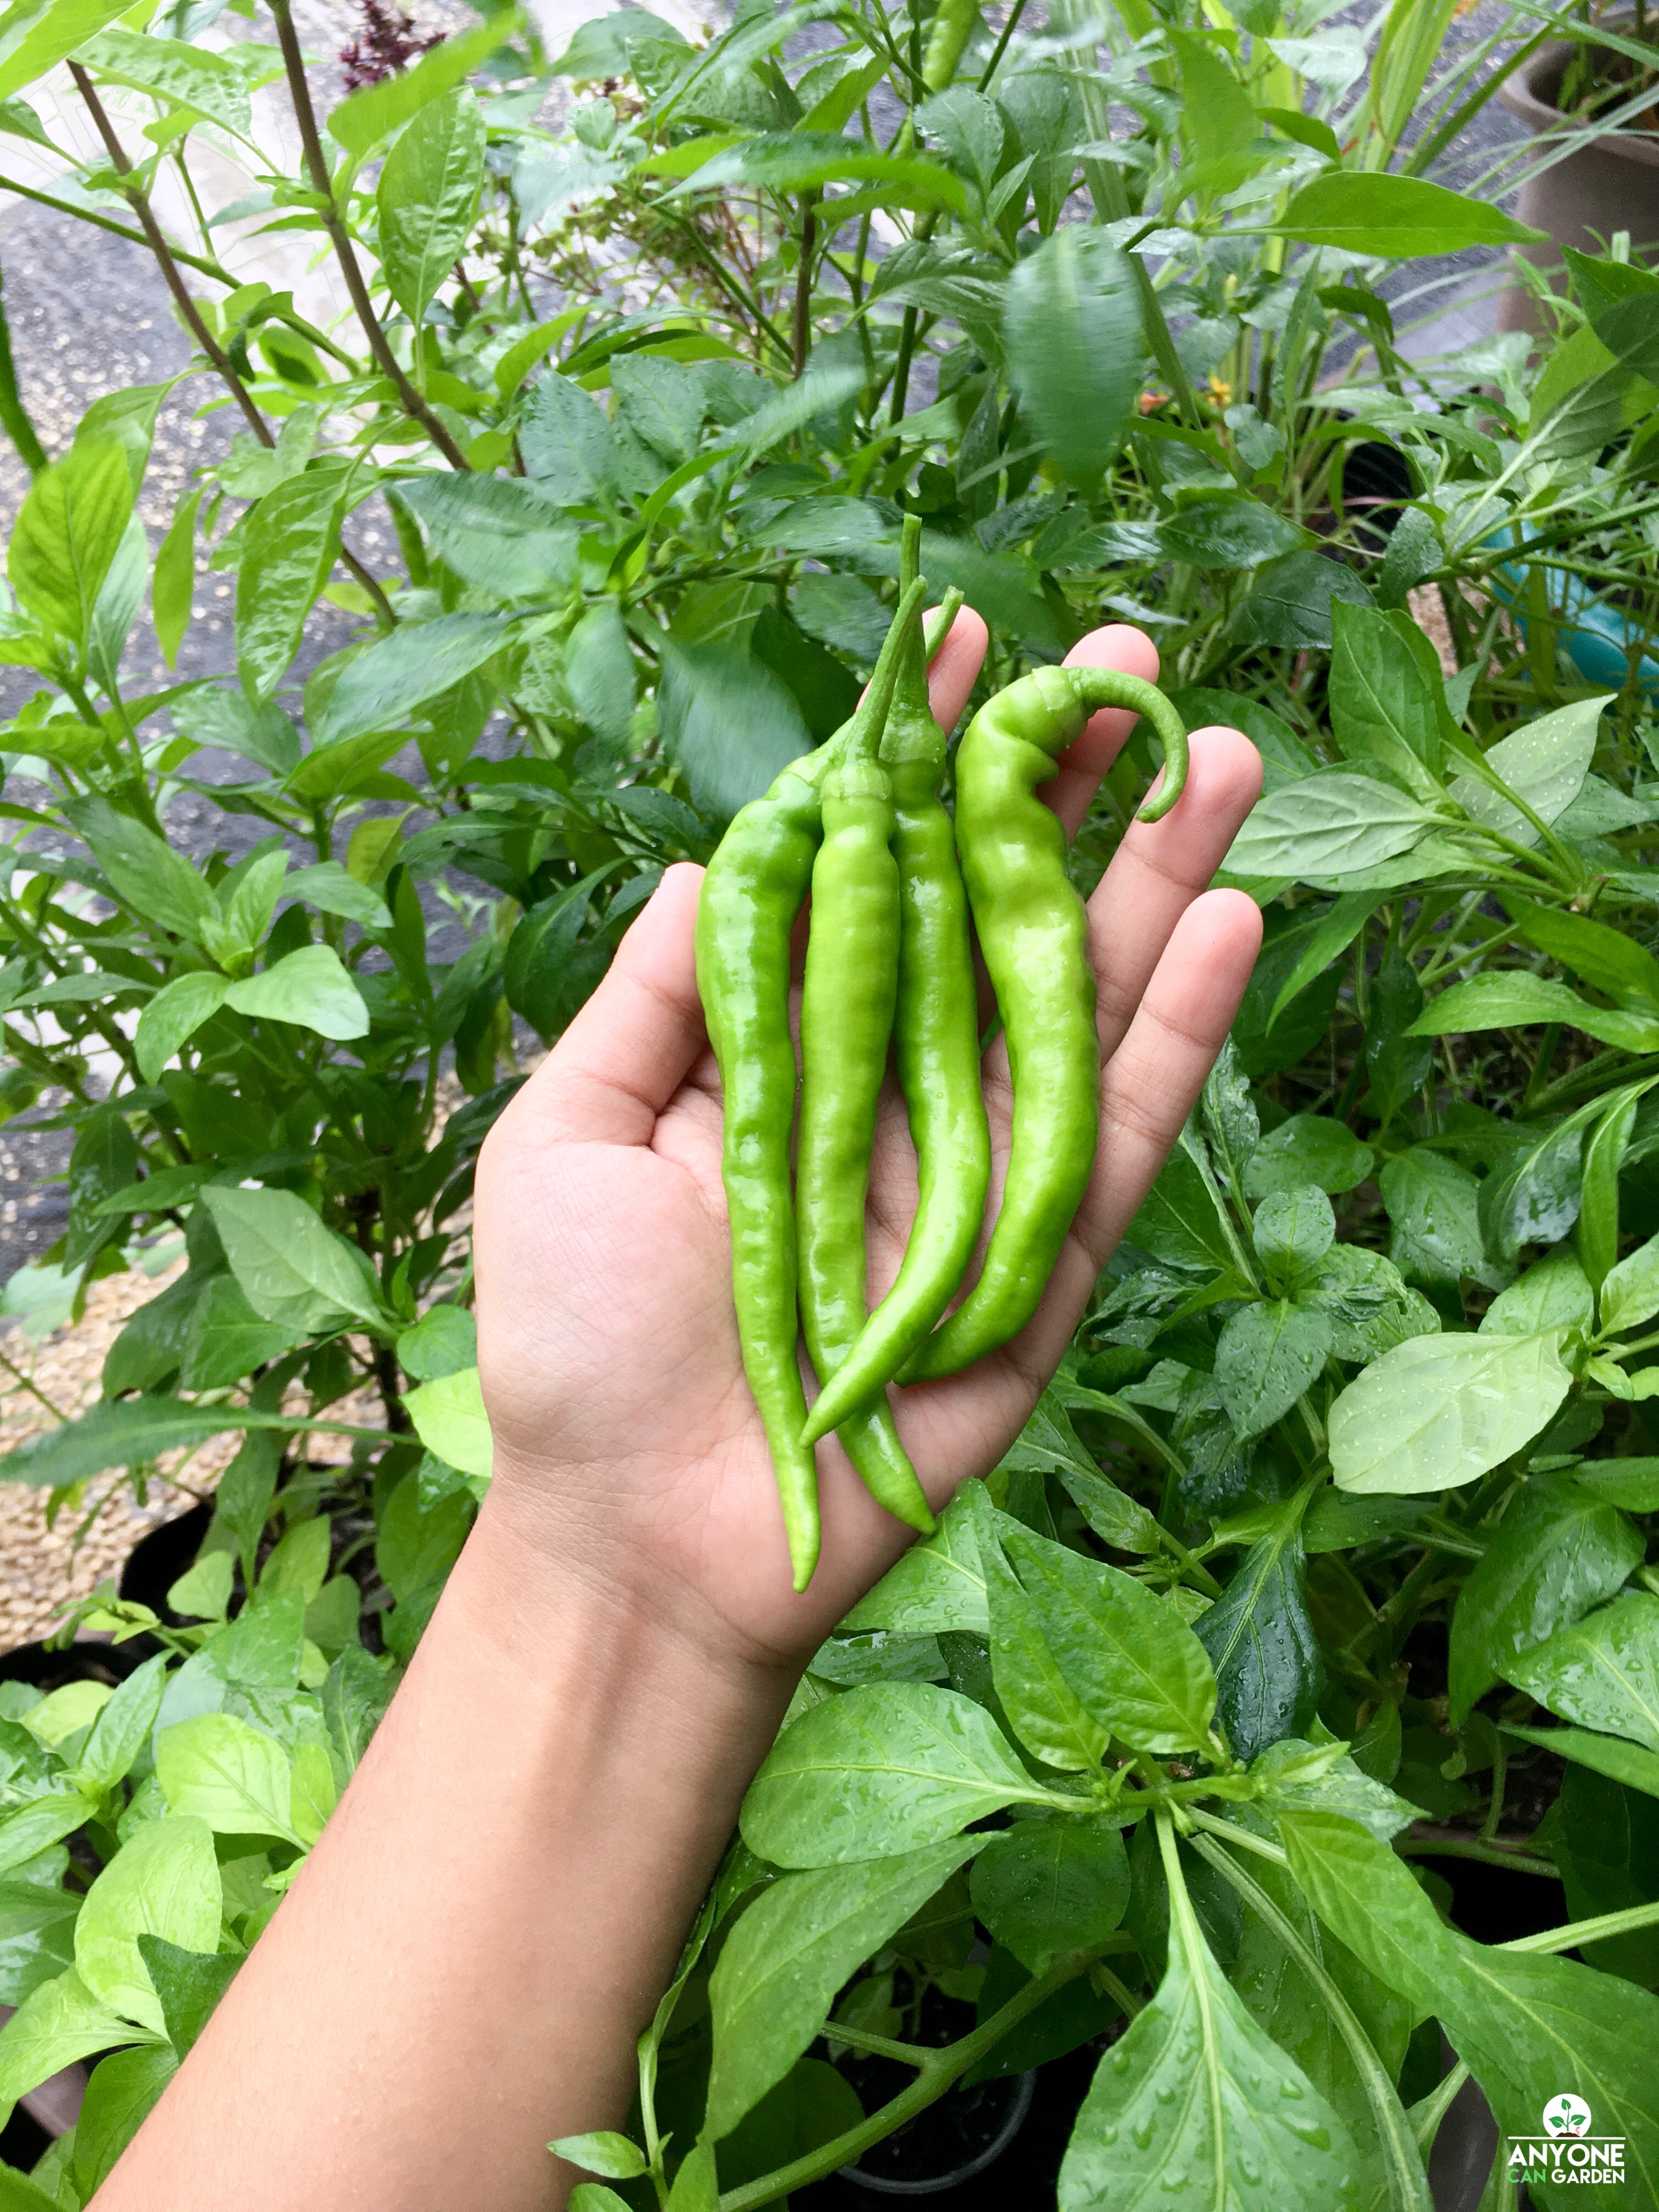
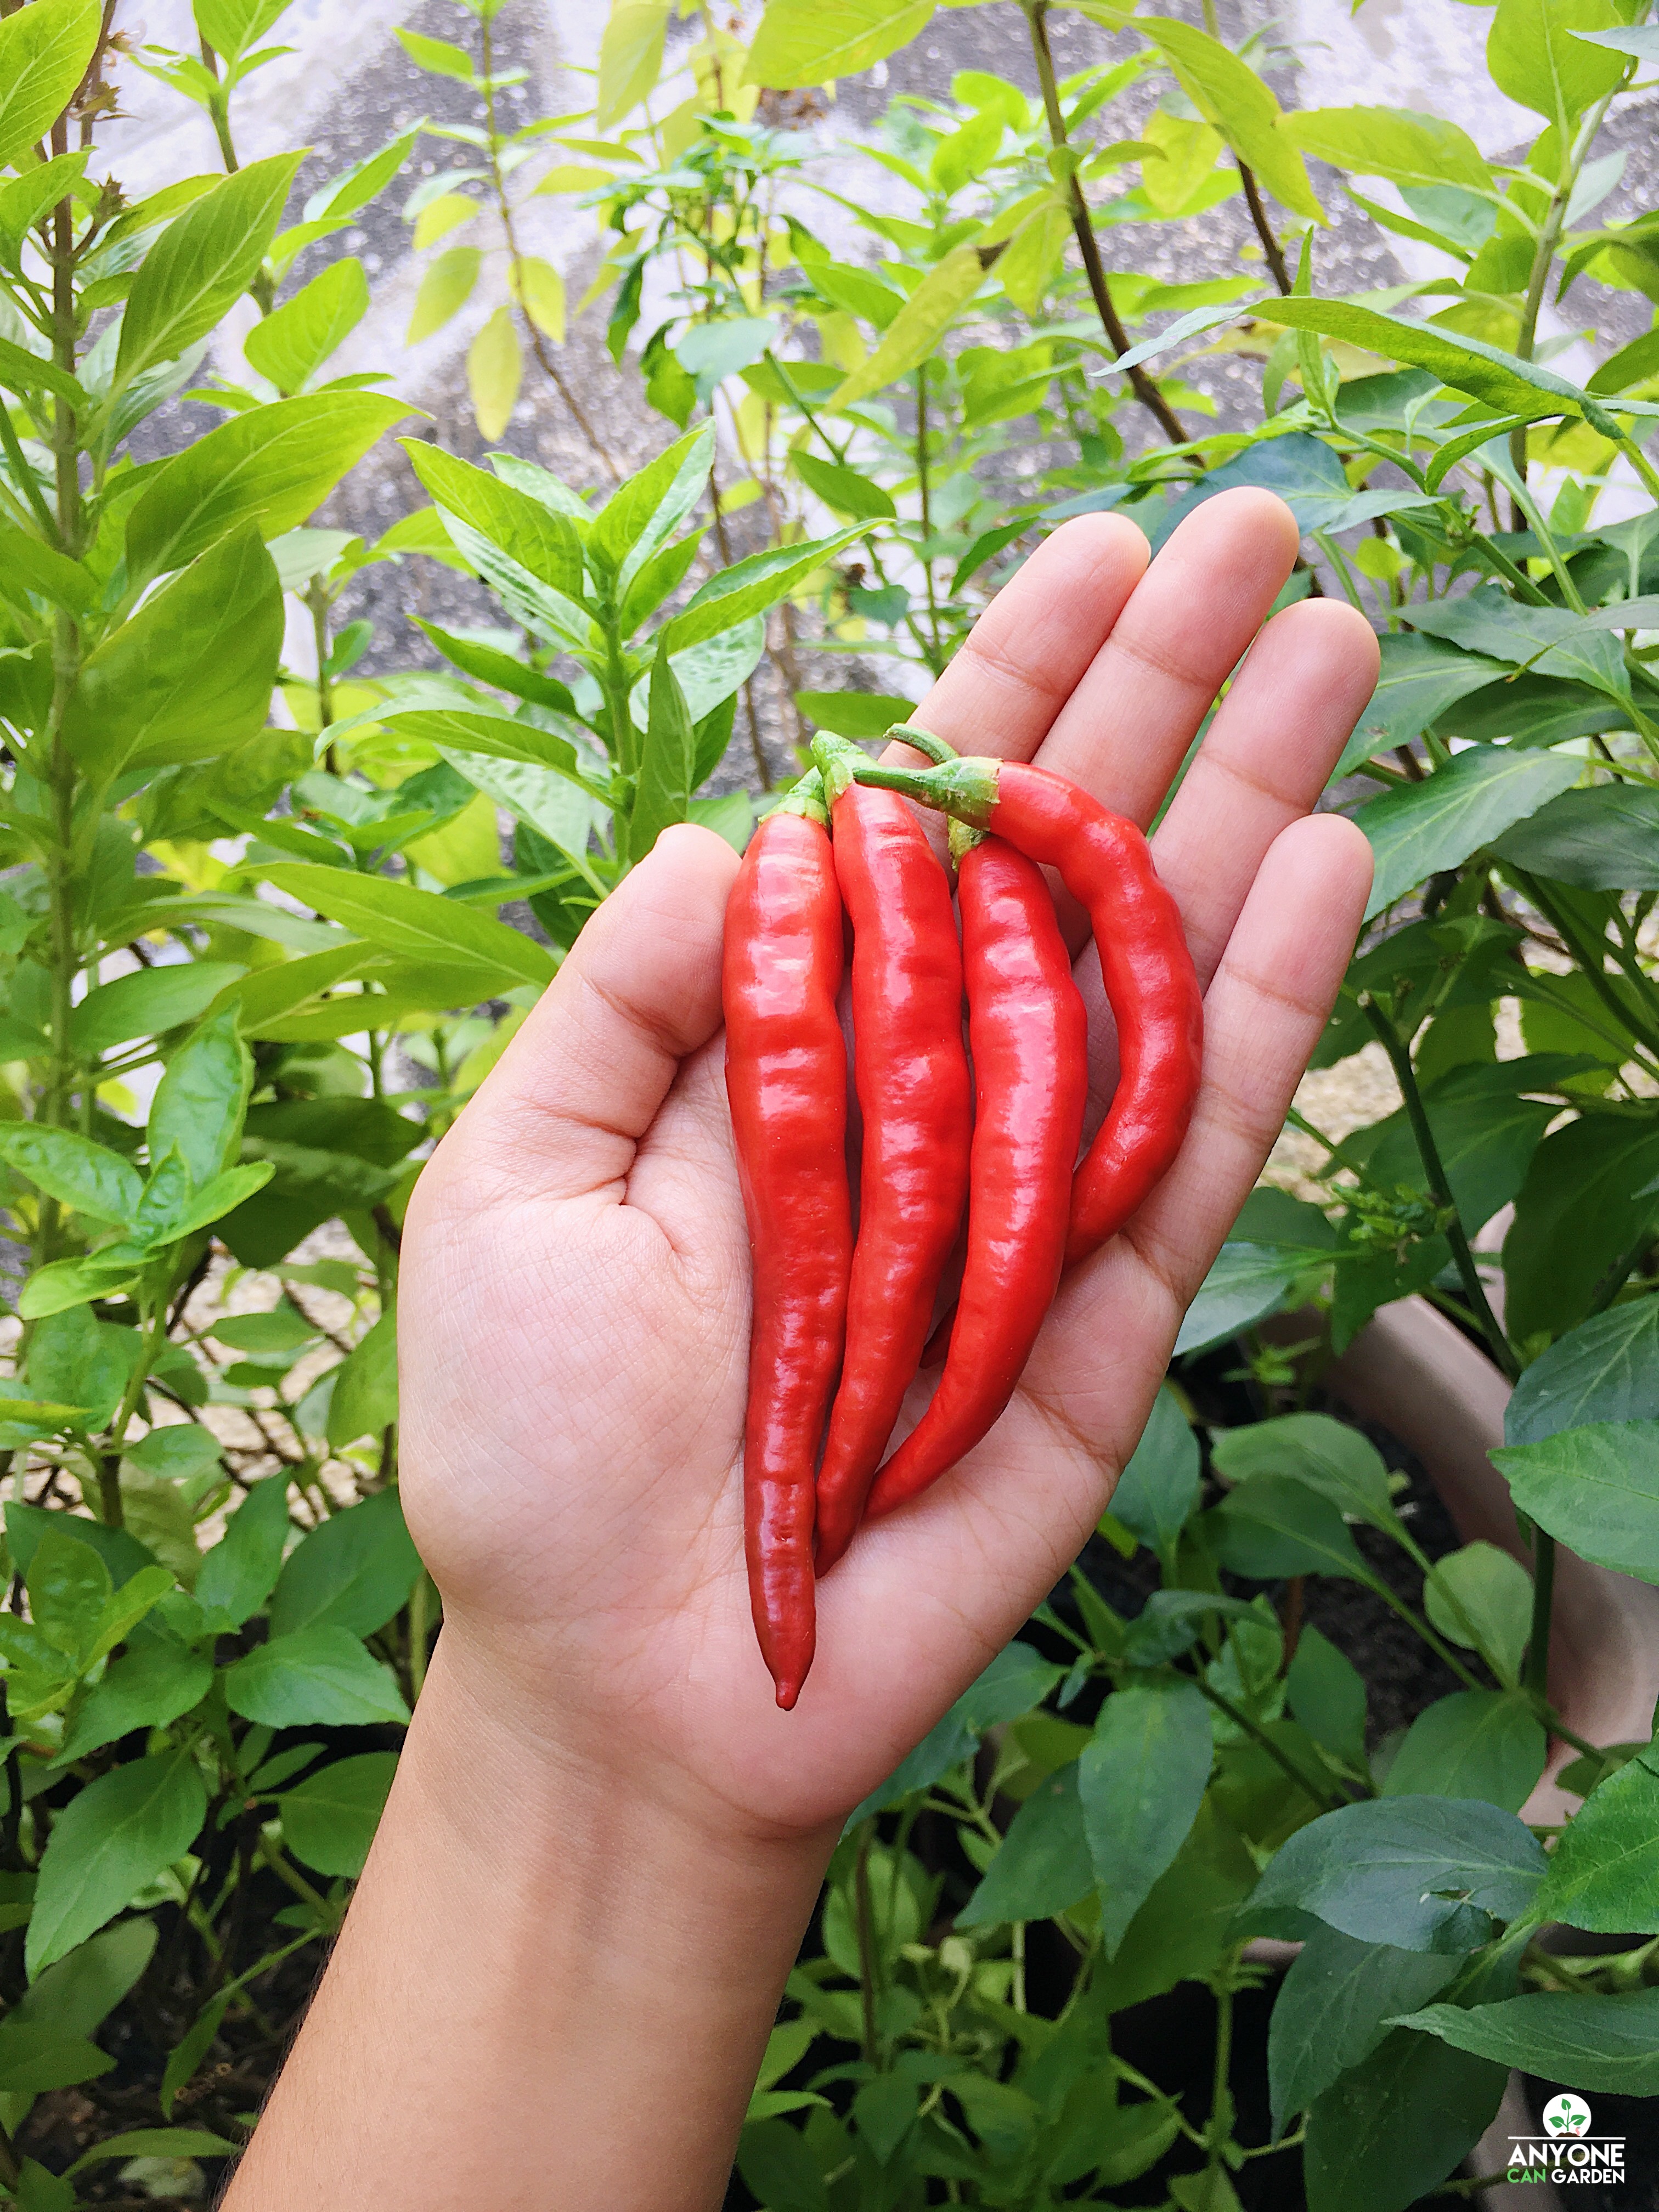
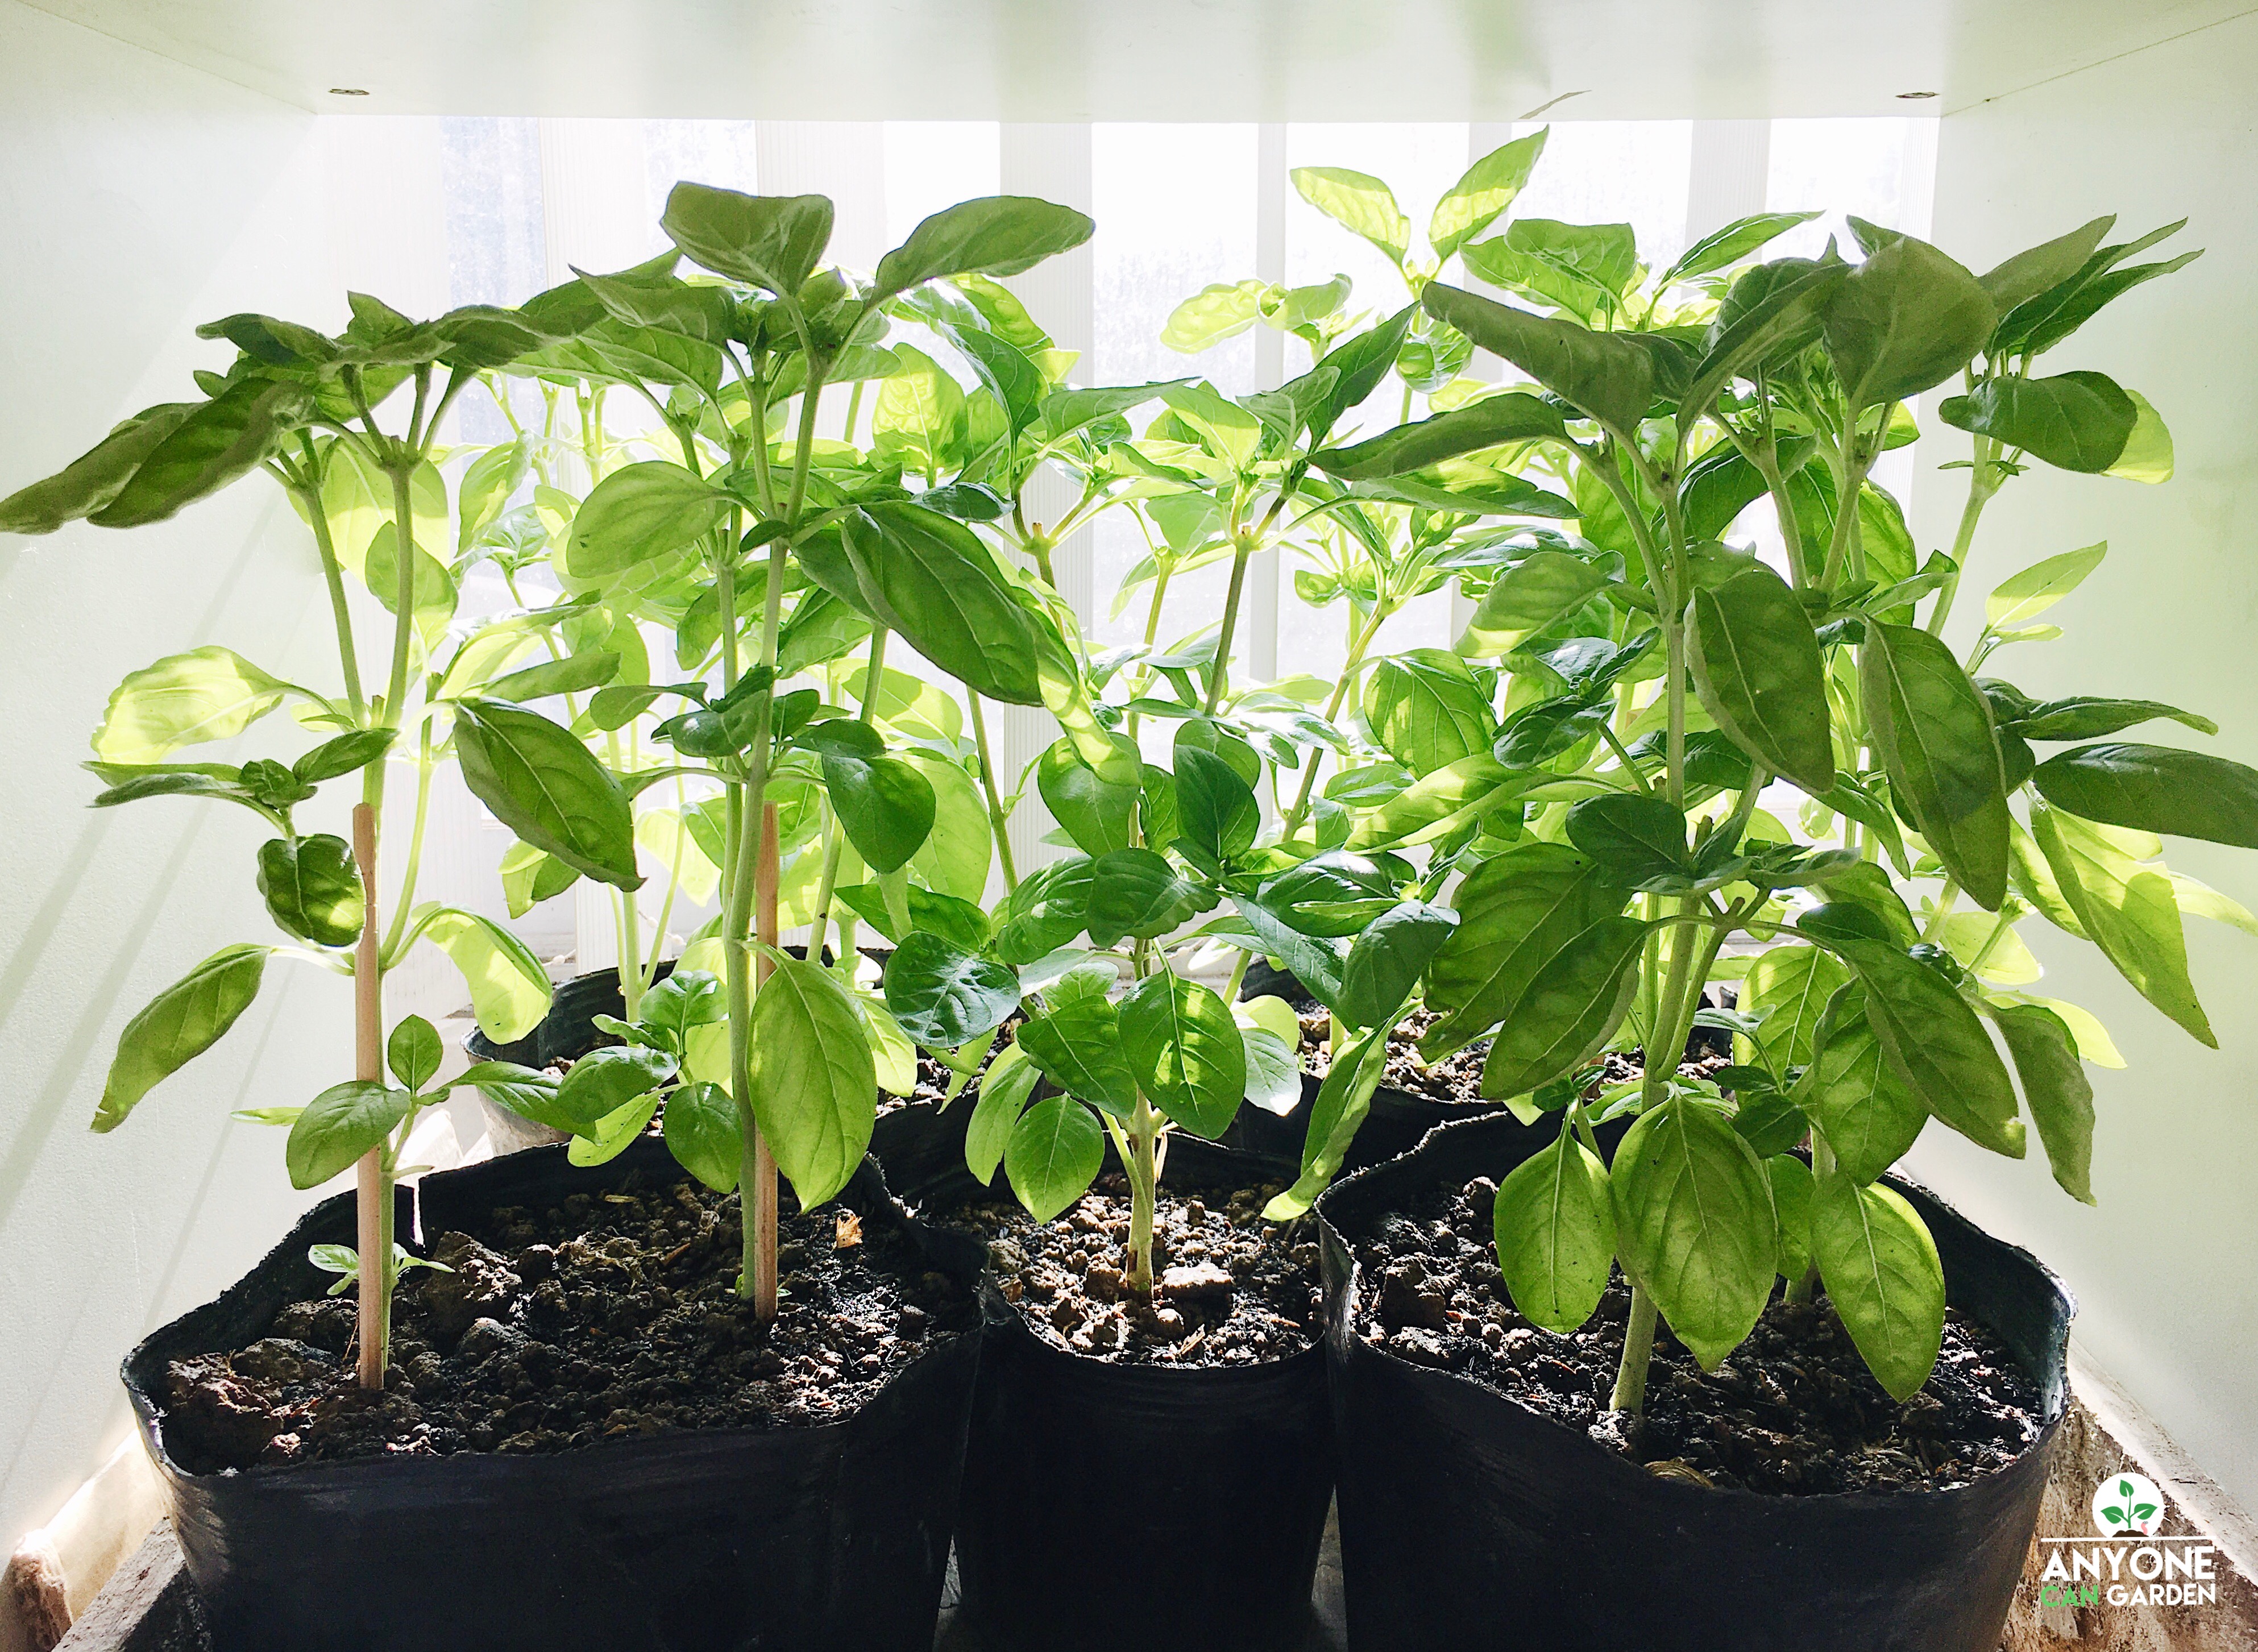
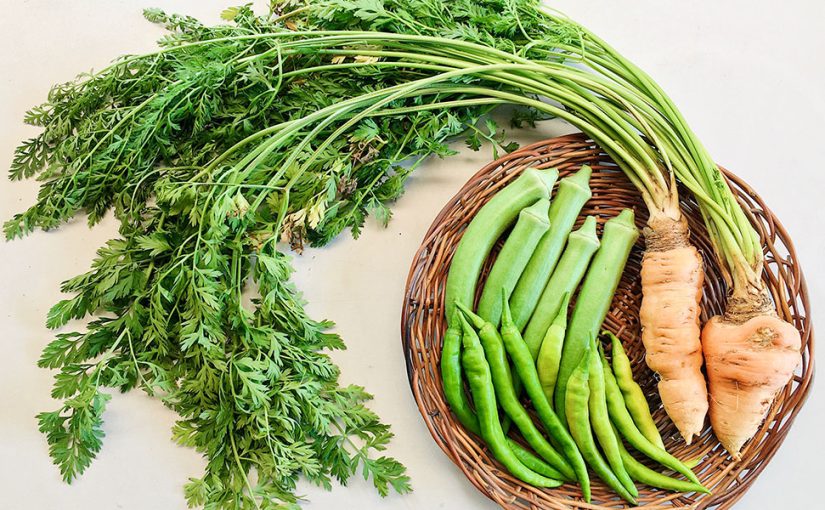
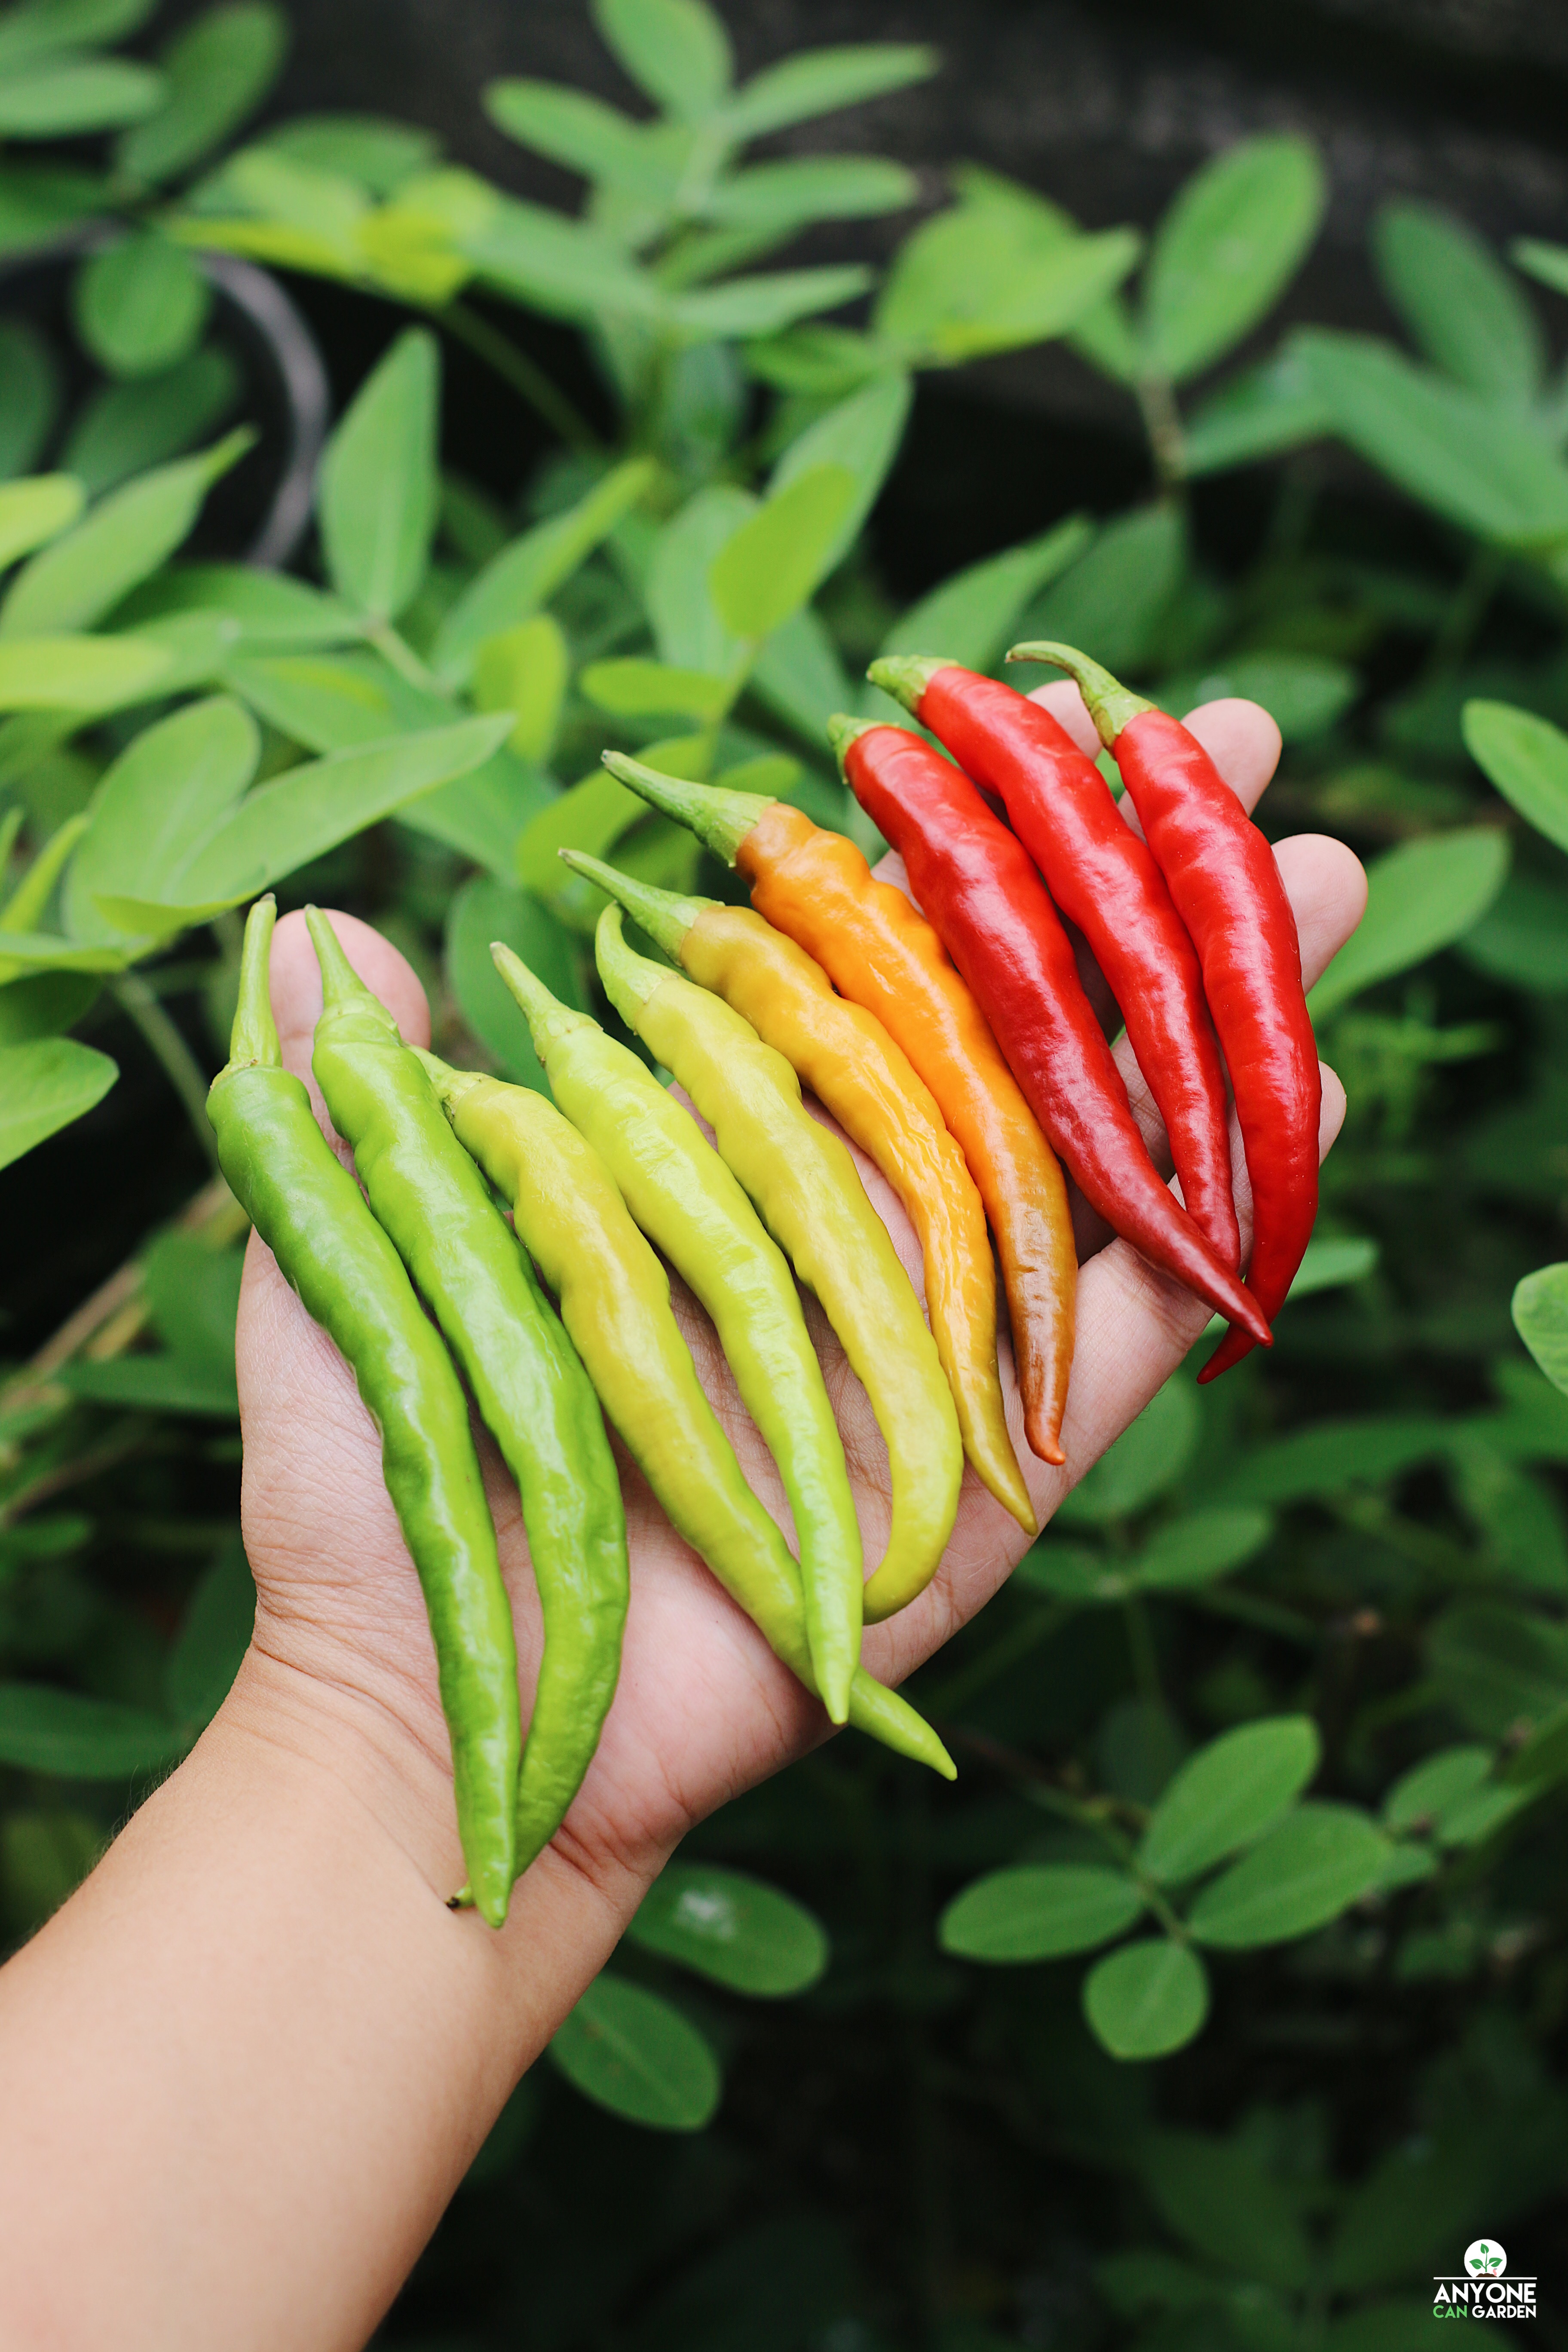
Oh! And a sweet bonus from the Lord! The same chili plants, that struggled with spidermites and aphids, recently produced this beautiful bunch of chilis! What an amazing God!


Do you have disappointments or struggles right now? Whatever it is that you’re going through, I pray that your heart would also find comfort in knowing that our good God, who sees and knows everything, loves us always. Draw near to Jesus! Even in the midst of struggles.


How to Grow Long Chilis

This type of chili is also known as Siling Pansigang here in the Philippines. It takes around 4-5 months before the plant starts to produce fruit. In case you want to try growing your own chilis at home, here are some of the things you can consider doing. :)

Tips on Growing Long Chilis:


1. CONTAINER

I sowed my seeds in small paper cups, kept the soil moist each day, and waited for them to grow 3″ high, before transferring to their final containers. The final pots I used were 15″ high and 9” wide, with holes at the bottom. It’s important to have only one plant per pot, to avoid overcrowding of roots. One plant can grow at least 25” high and 12” wide. Also, if you’re growing it directly in the ground, you can leave at least 18″ of space in between plants.

2. SUNLIGHT

Expose them to direct sunlight at least 6 hours each day, to help speed up the process.

3. WATER

Depending on how hot the weather is, you may apply deep watering every other day. Those grown in containers have soil that dry out more quickly, than those planted in the ground. Also, overwatering may cause the chilis to have a milder flavor.

4. SOIL

I grew mine in loam soil + potting mix (carbonized rice hull, vermicast, and cocopeat)

5. FERTILIZER

Feed at least once a month. I used chicken manure and fish / kelp liquid fertilizer (diluted) — high in Phosphorus, to promote flowering and fruiting.

6. SUPPORT

Stake the plants as they grow. I used thin bamboo sticks. This will prevent their main stem from bending or snapping.

7. PESTS

Aphids, mealybugs, and spidermites. These are the pests that I encountered. I used a Neem oil solution spray every week or every two weeks, depending on the situation.

8. HARVEST

You may harvest the green chilis once they are 4-6” long. Harvest often, so the plant will be encouraged to produce more flowers and fruits.

9. SEED SAVING

For future planting, you can let the chilis ripen on the vine, until they turn red and start to wrinkle. Then, you can harvest them and use the seeds for your next batch of plants. Also, if you want to store your seeds, you can let the harvested chilis dry completely in a cool and dry place. Make sure to wear gloves when removing the seeds, since the capsaicin (active component of chilis) can cause a burning sensation on the skin.

10. PLANT AGAIN! :)


I hope this helps! Let me know if you’re growing chilis soon. I’d love to hear from you!


For more gardening updates and tips, feel free to visit the ff. pages of ANYONE CAN GARDEN. :)

Facebook

Instagram

How to Grow Lemongrass

I grew lemongrass as an experiment at home and it’s definitely one of the herbs that I will continue to grow. After four months, my plants now have more fragrant stalks, which I will be harvesting soon.

Lemongrass is usually used in Thai cooking and in hot or iced tea.  If you want to try growing your own, feel free to read the steps below. I hope this helps!


WHAT YOU’LL NEED:

  1. Lemongrass stalks
  2. Glass jar
  3. Cups with holes at the bottom
  4. Potting mix / loam soil
  5. Bigger container – I used 8×10” soft pots
  6. Organic fertilizer
  7. Pair of scissors
  8. Gloves
  9. Direct Sunlight – 6 hrs a day
  10. Water


HOW TO GROW LEMONGRASS


FIRST: CUT 

Cut the bottom part of the lemongrass stalks and place them inside a glass jar with clean water. I used the bottom 5” of the stalks.


SECOND: ROOT

Let the stalks root in water for 1-2 weeks, until the roots are about 2” long. I placed them beside a window with sunlight. You’ll notice that the leaves will also start to grow during this time.


THIRD: TRANSFER

Transfer the stalks with roots to separate cups of potting mix. Make sure there are small holes at the bottom, for drainage.


FOURTH: EXPOSE & MOISTEN

Expose them to direct sunlight and water the cups regularly. Keep the soil moist and don’t let it completely dry out.


FIFTH: TRANSFER AGAIN

Once the roots start to grow around the cup, transfer them to their final containers. I placed them in 8×10” soft pots. Also, I used 70% potting mix and 30% loam soil. You can have your own mix as long as the soil is loose.


SIXTH: FERTILIZE

Fertilize the soil every month. I used chicken manure, fish/kelp fertilizer, and organic phosphorus fertilizer throughout the growing period.


SEVENTH: WAIT

You’ll see more stalks grow beside the original stalk planted. It took me four months to see developed lemongrass stalks — firm stalks with a fragrant smell.


ADDITIONAL TIPS:

Make sure to use gloves because the sharp leaves can give you a paper cut. Also, I trimmed off the dried leaves every now and then.


I’m still waiting for the current stalks to thicken and for more stalks to grow. Soon, I’ll share a separate post on how to harvest them!


For more gardening updates and tips, feel free to visit the ff. pages of ANYONE CAN GARDEN. :)

Facebook

Instagram

How To Grow Basil From Seed

It’s been a while since I last shared about growing Basil using cuttings . So many things happened in between! But today, I am excited to show you a recent journey I’ve had in growing this lovely and practical herb from seed.

Even if you don’t have any experience in gardening yet, you can definitely grow Basil! This is one of the easiest herbs to grow and I hope that with this post, I can help you get started. :)

  1. POTTING MIX / LOAM SOIL
  2. FERTILIZER – Such as chicken manure, vermicast, or compost.
  3. BASIL SEEDS – You may start with the Sweet or Genovese Basil variety. This is usually used for pesto and other Italian dishes. But another common type is Thai Basil.
  4. SUNLIGHT – Around 4-6 hours each day
  5. WATER – You may use tap water on a regular basis. But, you can also use rainwater and rice water every now and then, for added nutrients. I use spray bottles during the seedling stage. Then, I use a cup or pail to water them once they’re bigger.
  6. SCISSORS – For pruning as the plant grows
  7. CHOPSTICKS & YARN / STRAW – For support
  8. PLASTIC / WOODEN SPOON – To help transplant seedlings
  9. GLOVES – Since you’ll eventually work with the potting mix
  10. ACCESS TO WIND – To help dry the leaves in case they get wet
  11. CONTAINERS – Egg cartons, small cups, and the final pot (Around 8-10” high and wide will be enough, depending on how big you want the basil to grow.)


HOW TO GROW BASIL:


STEP ONE: Prepare the Container

I start by adding 1-2 spoons of potting mix inside each egg carton space. The potting mix I use has vermicast, cocopeat, and carbonized rice hull in it. It is very loose and ideal for growing seedlings.


STEP TWO: Sow the Seeds and Water Them

I spray the potting mix in the cartoon with water. Then, I lightly sow 1 seed in each hole. Afterwards, I spray water over them again. Also, I place this beside a window with sunlight and water them every morning for 5-7 days.


STEP THREE: First Transplant

Seeds first grow cotyledons (initial two leaves / “fake” leaves) in preparation for the seedling. Once you see the true leaves forming (third leaf onwards), you can now transfer these seedlings to bigger cups. Or you can also wait until the plant is 2-3” tall.

ONE SEEDLING PER CUP, PLEASE! :) This will prevent the roots from competing with each other. In the photo below, I eventually separated these two seedlings that sprouted in the cup. I usually transfer them to small plastic cups with small holes at the bottom, for good drainage. You may use a spoon to carefully scoop out the whole seedling as you transfer, without damaging the roots. Also, you may add more potting mix to the cups to help provide support and nutrients.


STEP FOUR: Water, Expose to Direct Sunlight, & Fertilize

Continue watering every morning and expose your seedlings to direct sunlight at least 4-6 hours each day. This will help them grow faster. You can also give fertilizer every two weeks. I find that 1-2 tablespoons of chicken manure is enough for each seedling. Also, WATER THE SOIL, not the leaves. This will prevent bacteria in the soil from infecting the leaves, especially when the water splashes on the soil.


STEP FIVE: Second or Final Transplant

Depending on the height that you want to maintain, after the seedling grows to 5-6”, you can transfer it to its final pot (or keep transferring to bigger pots as it grows). By this time, a spoon might not be enough to scoop out the seedling. So, you may use your gloves and carefully transfer the seedling to its new home. Add more potting mix to cover the roots and stems. Also, make sure that the bottom leaves aren’t touching the soil.


STEP SIX: Support the Plant

Using chopsticks, you can support the plant as it grows. I let the stalks lean on them or I lightly tie them to the sticks using yarn.


STEP SEVEN: Prune, Fertilize, and Water

When the plant reaches 8-10” in height, I would recommend for you to prune it since this will help you develop more leaves for harvest. I included a video below on how to prune basil. Also, continue watering every morning and giving fertilizer every two weeks.

Remember, if you want to keep harvesting Basil leaves, the goal is for the plant to become bushy. Not to become tall with thin leaves and flowers.


STEP EIGHT: Remove Flowers and Dying Leaves

Flowers are used to collect seeds. But when the Basil plant flowers, it means that the plant is using its energy to produce seeds, not to make leaves. So, make sure to snip off flowers when you see them growing (unless you want to collect seeds).

Also, snip off yellow, brown, or infected leaves when you see them, so the plant’s energy can focus on the healthier ones. This will prevent diseases from spreading too!


STEP NINE: Keep Harvesting

This will encourage the plant to continue producing leaves. But, make sure NOT to harvest more than 1/3 of the plant, so that it won’t have a hard time recovering.


STEP TEN: Enjoy Growing!

Aside from enjoying the process of seeing plants grow, I’ve been having a blast learning from this too, both in my successful attempts and in my failures (or what I call “experiments”) along the way.


I hope this detailed post helps you get a clearer picture of how to plant Basil seeds. If you have more questions, feel free to let me know in the comments below. Or you can also visit my gardening page “ANYONE CAN GARDEN” on Facebook and Instagram, where I post more about lessons learned. :)

Subscribe to Blog via Email

Enter your email address to subscribe to this blog and receive notifications of new posts by email.

About Me

My name is Nicole Obligacion and I started this blog because I was inspired by Hebrews 10:24 and Hebrews 3:13. I love to eat, cook, bake, read the Bible, and encourage. :)

copyright © 2012 - 2024 encouragingtreats.com this site is designed, managed and optimized by sean si of seo hacker