How to Grow Melons in Containers

As mentioned in my previous post about melons , here are some things that we can take note of when we’re growing melons in containers. :)

1. Grow Seedlings

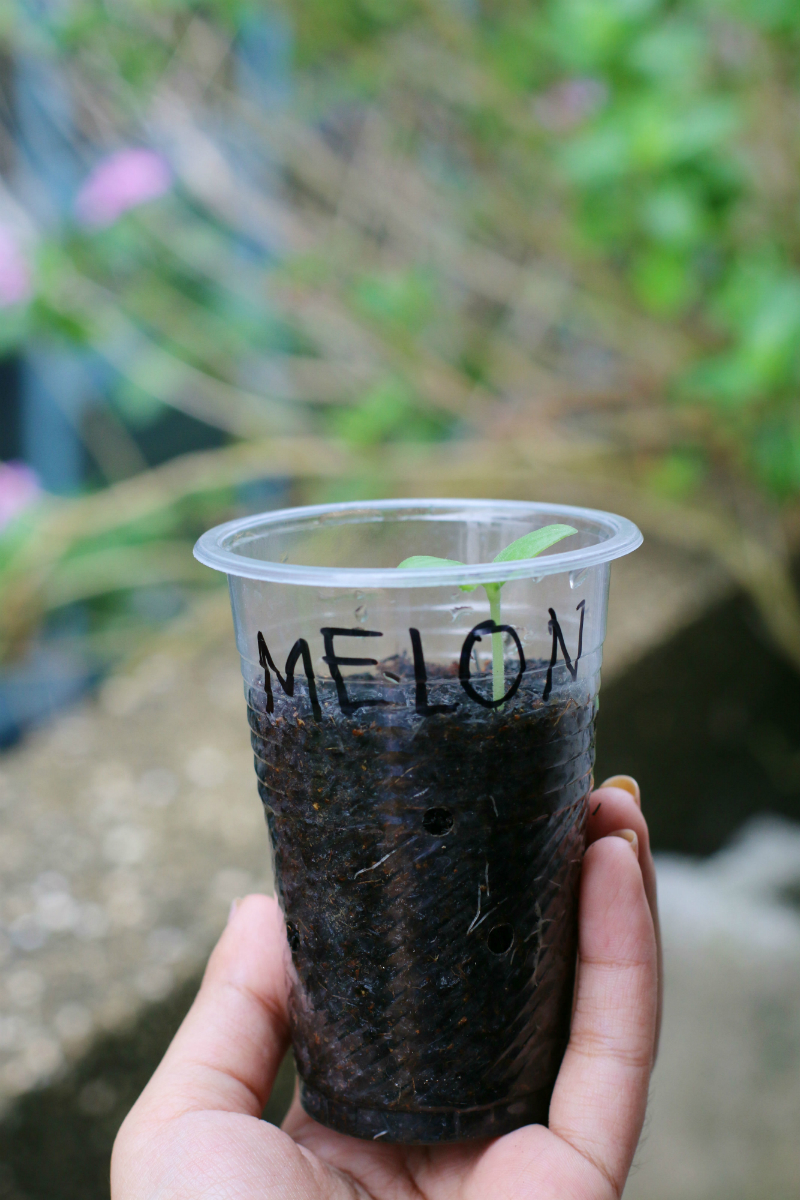
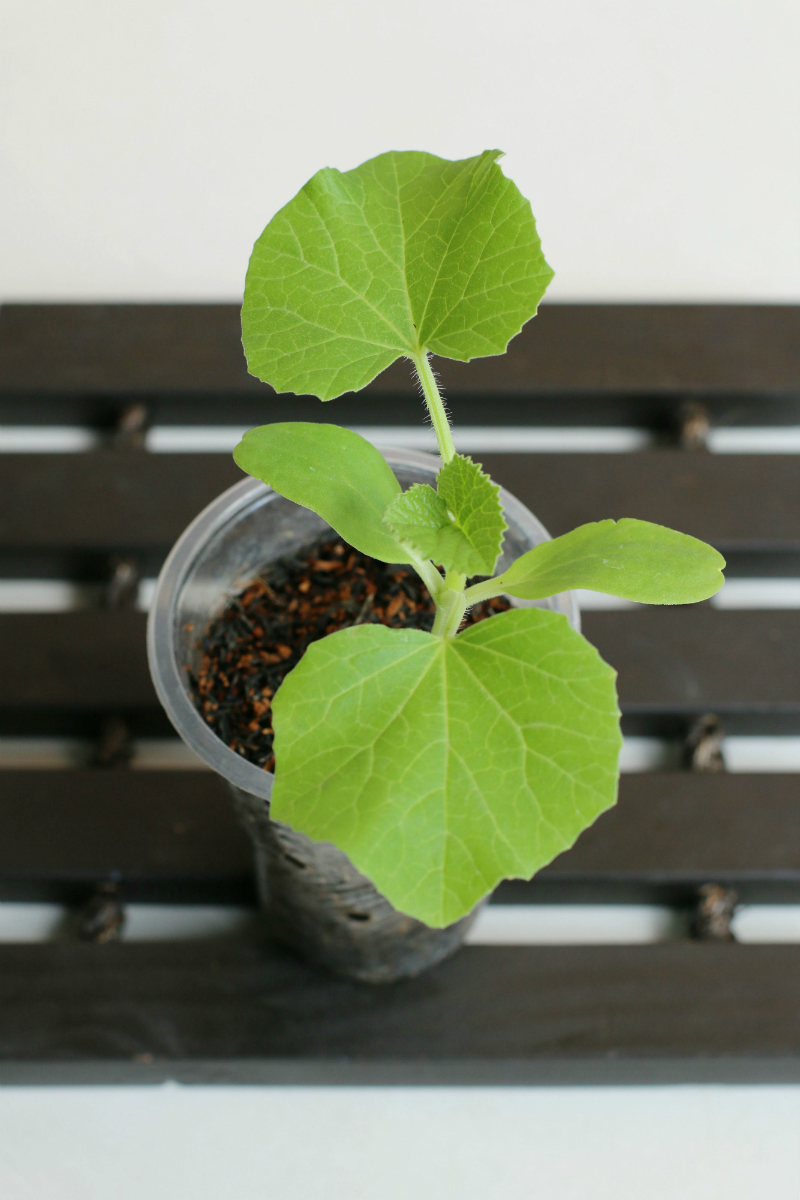
Start by planting seeds in small plastic cups filled with soil. It’s best to plant one seed in each cup for easier transplanting. Then, sprinkle fertilizer on the soil to help the seedling grow. After two weeks, it will most likely grow 4-5 inches long. By this time, you’ll see heart-shaped leaves (well, sort of) which have a furry texture.
how to grow melons (3) - Copy


2. Transfer to a Bigger Pot

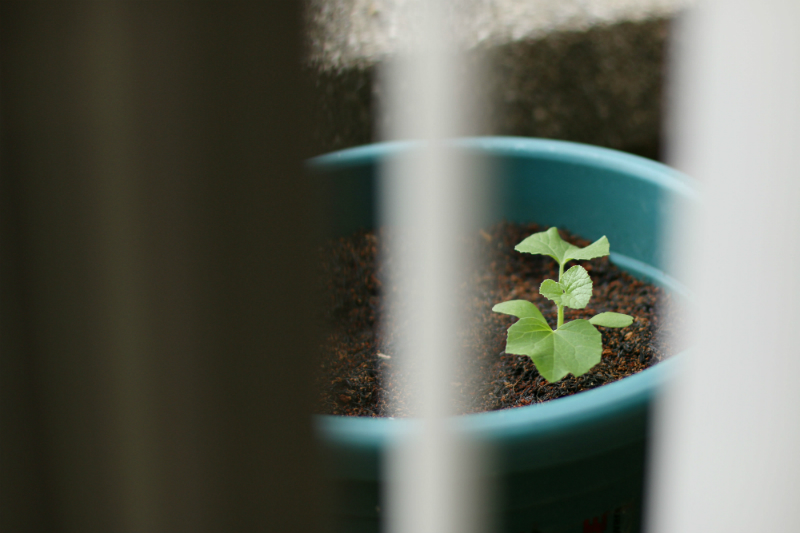
When the seedling is about 4 inches long, you may transplant it so its roots can grow deeper in a bigger bed or pot of soil. You may use a large pot that is 15” wide and 15” tall. Any pot or container with a similar or larger dimension is enough. Before carefully transferring the seedling, make sure to sprinkle fertilizer on the soil and mix thoroughly. I usually add 2-3 tablespoons of powdered organic fertilizer to loose soil.
how to grow melons (1) - Copy

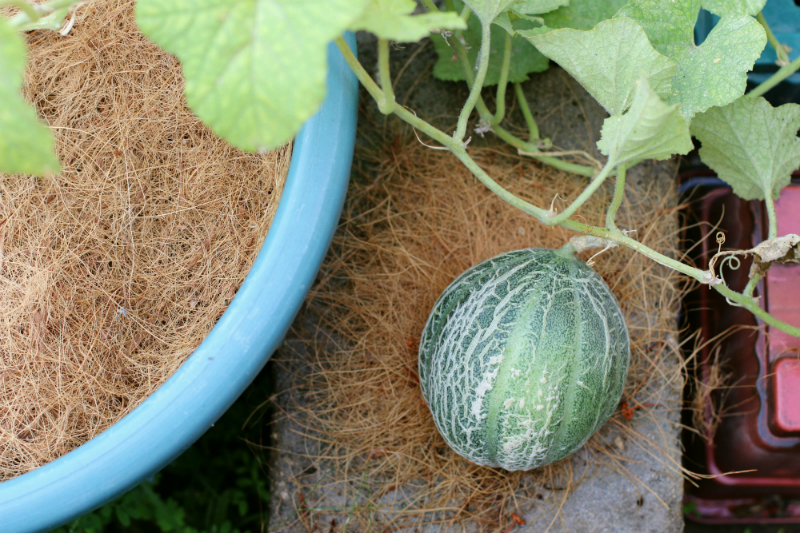
One important factor to consider when transferring the seedling is being gentle with the roots. Transplanting can be very stressful for any plant, so try to do your best not to damage or cut the roots in the process. Also, once the seedling is placed in its new container, its roots must be covered with soil and mulch (e.g. dried leaves, hay, etc.). This will protect the roots from being exposed too much to the heat of the sun.
how to grow melons (4) - Copy


3. Watch Out for Flowers (Male and Female)

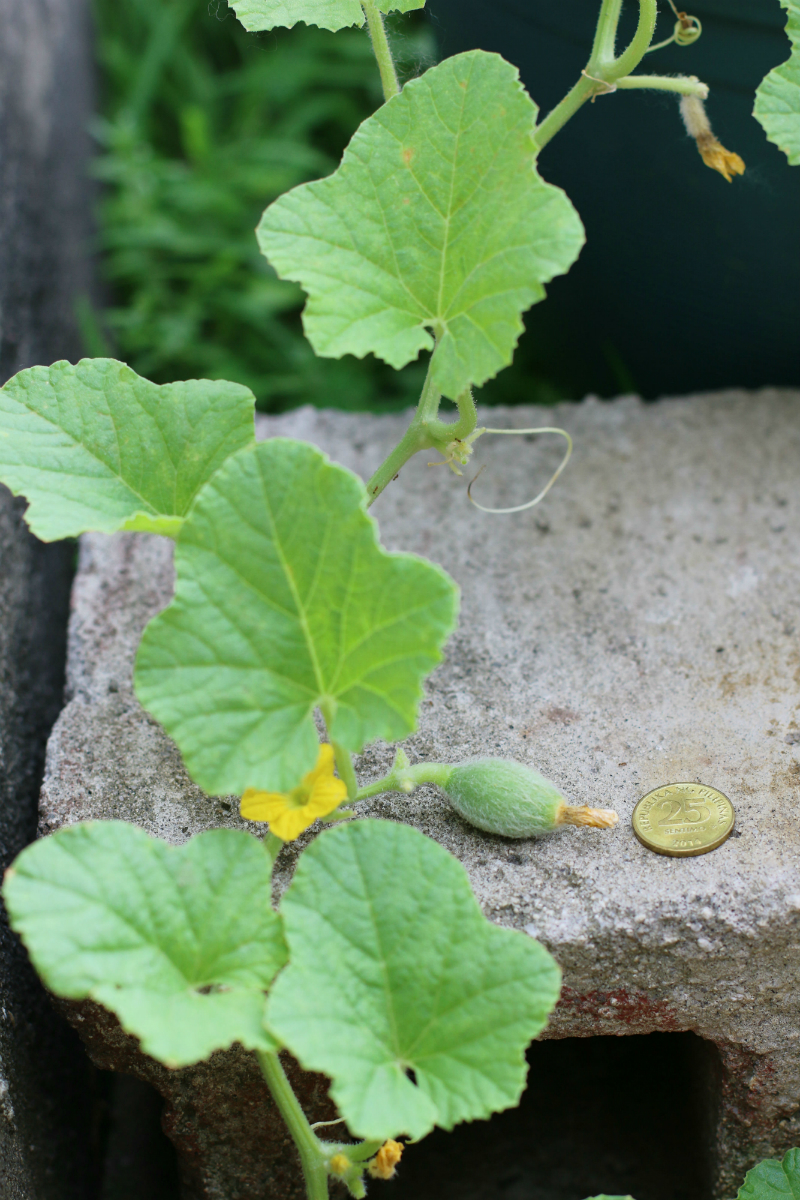
This is one unique trait of fruit-bearing vines. They grow male AND female flowers. The latter ones eventually become the fruit, when they are properly pollinated with the male flowers. It’s important to look out for the flowers when the plant is growing because the female flower only opens up for a few hours in its lifetime.
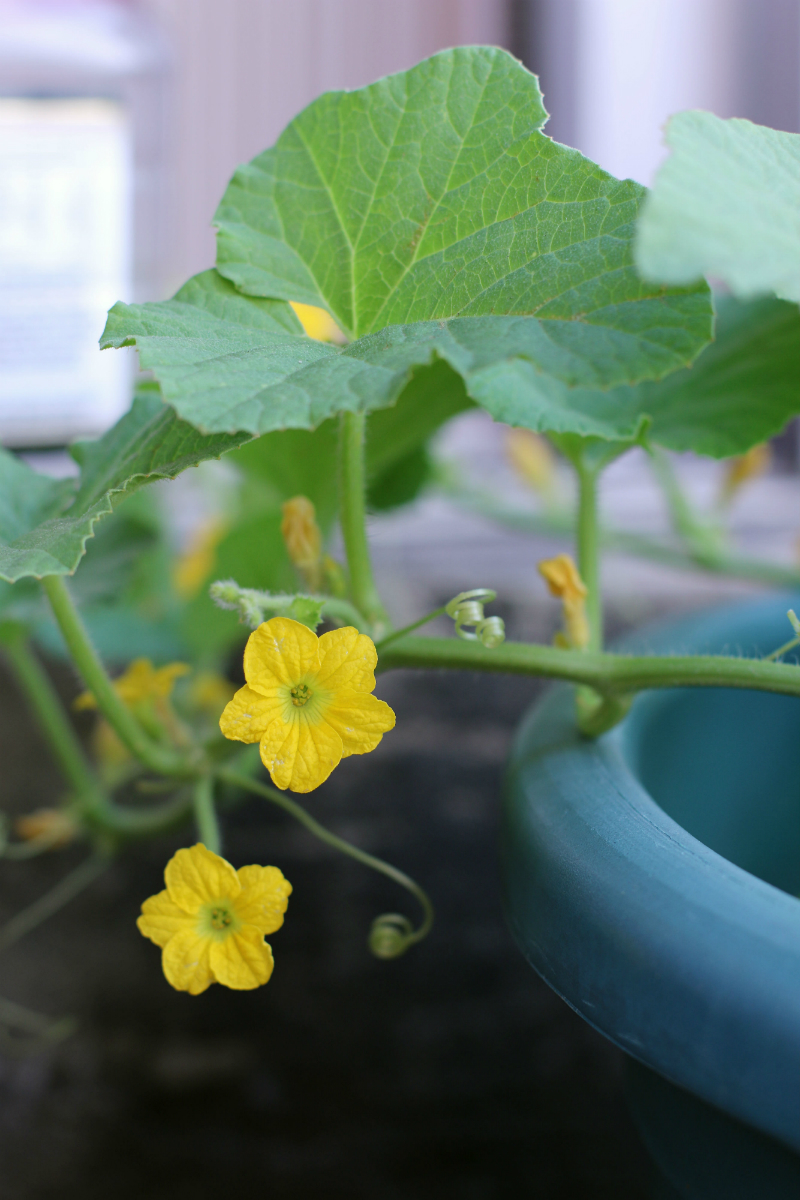
how to grow melons (7) - Copy

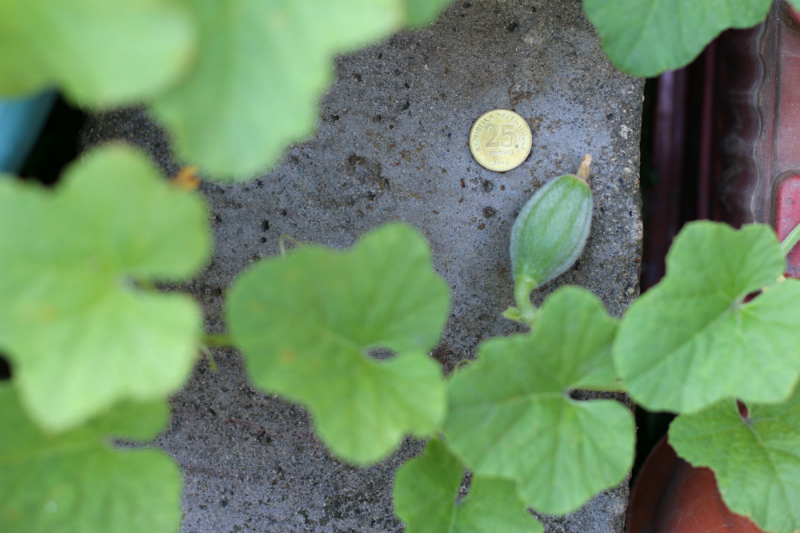
If you don’t get to transfer pollens from the male flower to the female flower, the fruit won’t grow. The male flowers will first appear and then, after a few days, female flowers will bloom too. The difference between the two is the flower’s stalk. The male flowers have a thin stalk; while the female flowers will have a rounded one, similar to having a small ball below the yellow petals.
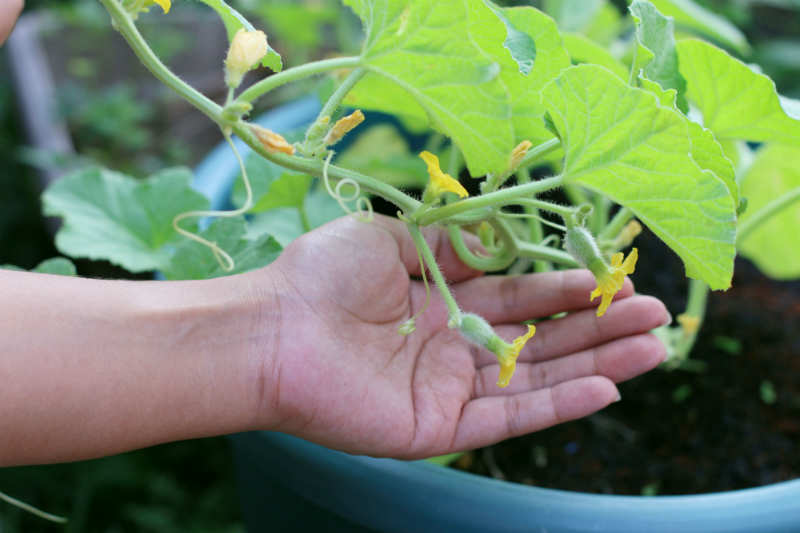
how to grow melons (6) - Copy


4. Pollinate by Hand

When the fruit-bearing vines are grown in larger areas like farms and fields, pollination is usually done by the bees. But, if we want to grow fruits from vines in smaller containers at home, it would require pollination by hand. How exactly do we pollinate by hand? It’s a simple process, but it can only be done when the female flower opens up. Once you see the petals of the female flower spread out, you can get one to three male flowers and remove its petals.
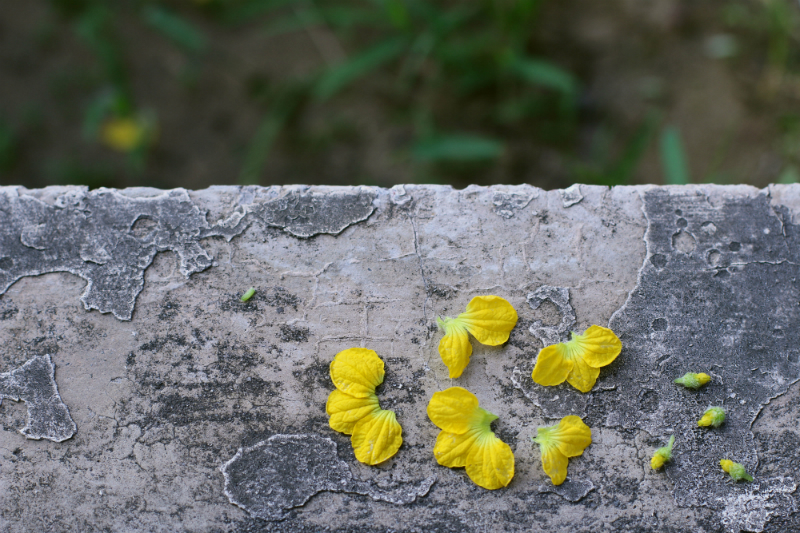
how to grow melons (8) - Copy

Our goal is to transfer the yellow dots (pollens) from the middle of the male flowers to the bud of the female flowers by carefully rubbing it against the latter. After a few hours, you’ll notice that the petals of the female flowers will start to close up and cover the bud. Then, in a few days, it will begin to form the fruit.
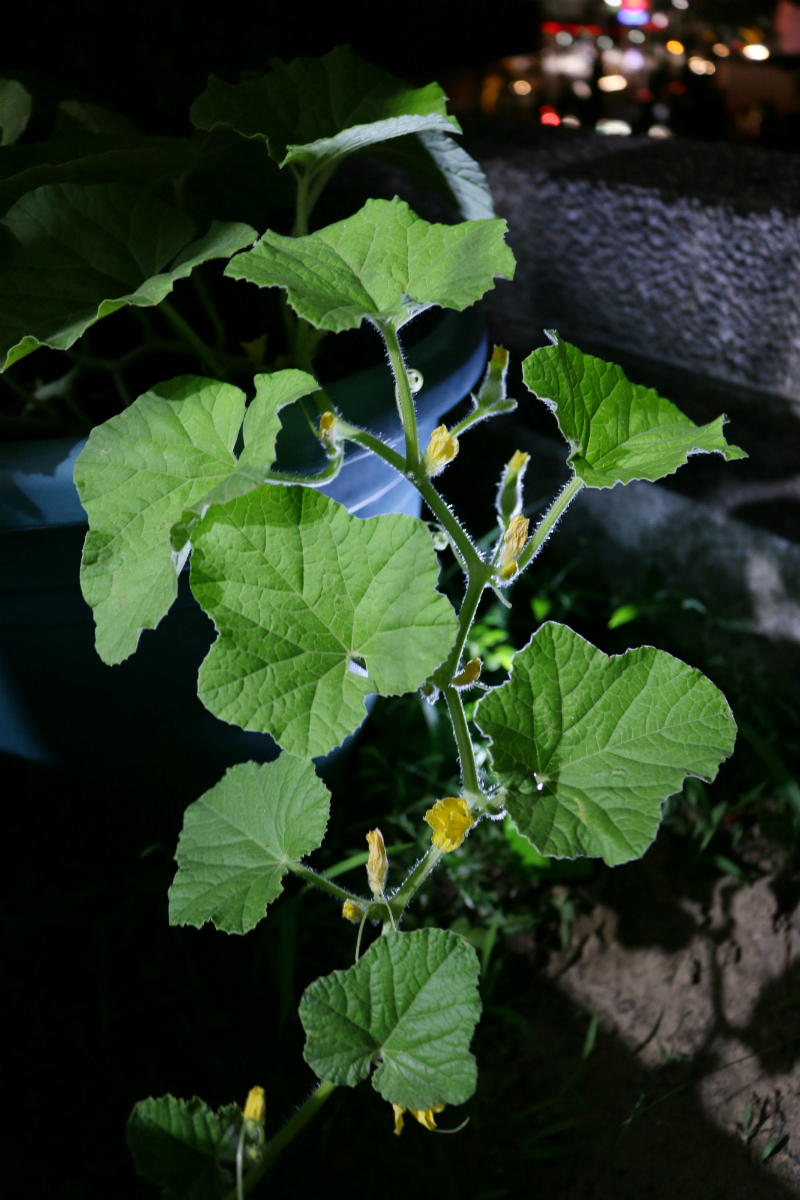
how to grow melons (5) - Copy


5. Fertilize and Water when needed

You can add fertilizer to the plant every time it goes through the different stages of growth (e.g. when the plant grows it leaves, longer stems, flowers, and fruits). Another option is to add fertilizer every two weeks. On the other hand, when it comes to watering the plant, you can water the plant once a day, depending on the weather in your area. Since it’s hot and humid in the Philippines (where I live), I usually water the plant once or twice a day. However, by the time the fruit matures, it’s best to lessen the water added to the plant’s soil. Overwatering may hinder the fruit from reaching its maximum sweetness.
how to grow melons (9) - Copy

how to grow melons (10) - Copy

how to grow melons (11) - Copy

how to grow melons (12) - Copy


6. Harvest

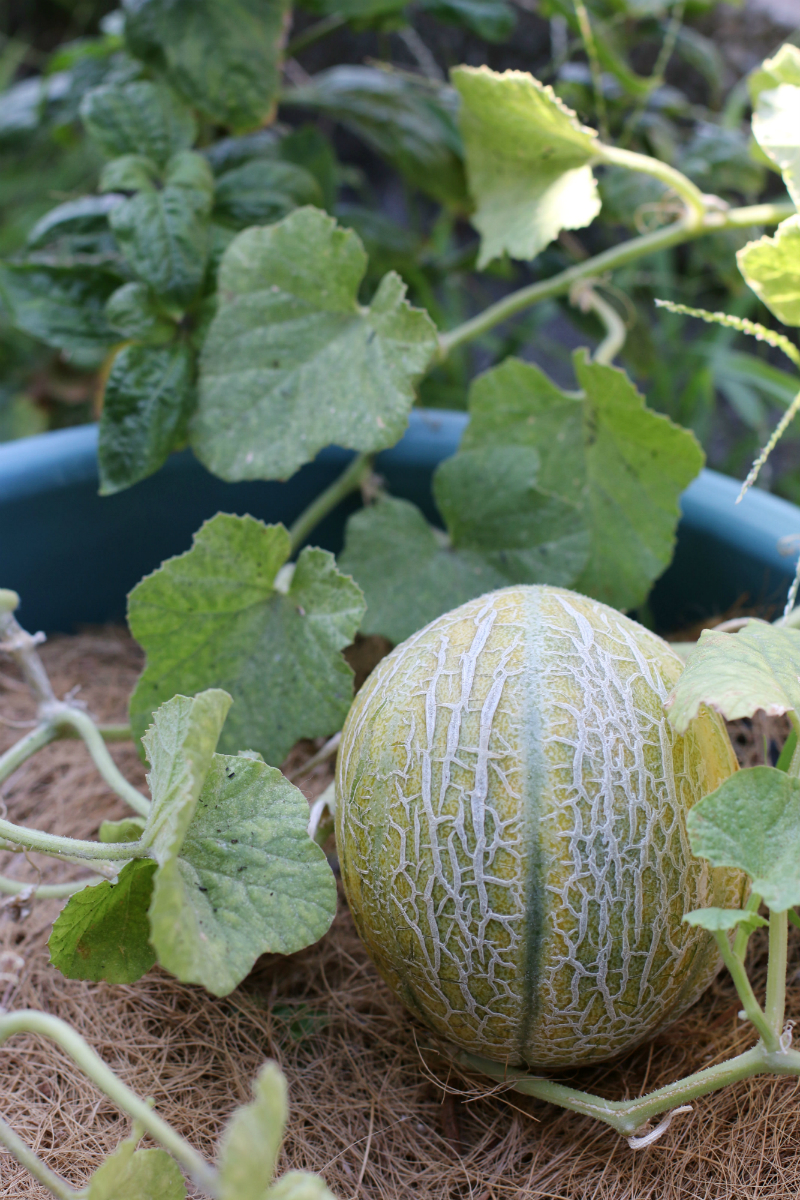
Melons that are ready for harvest will show the ff. signs:

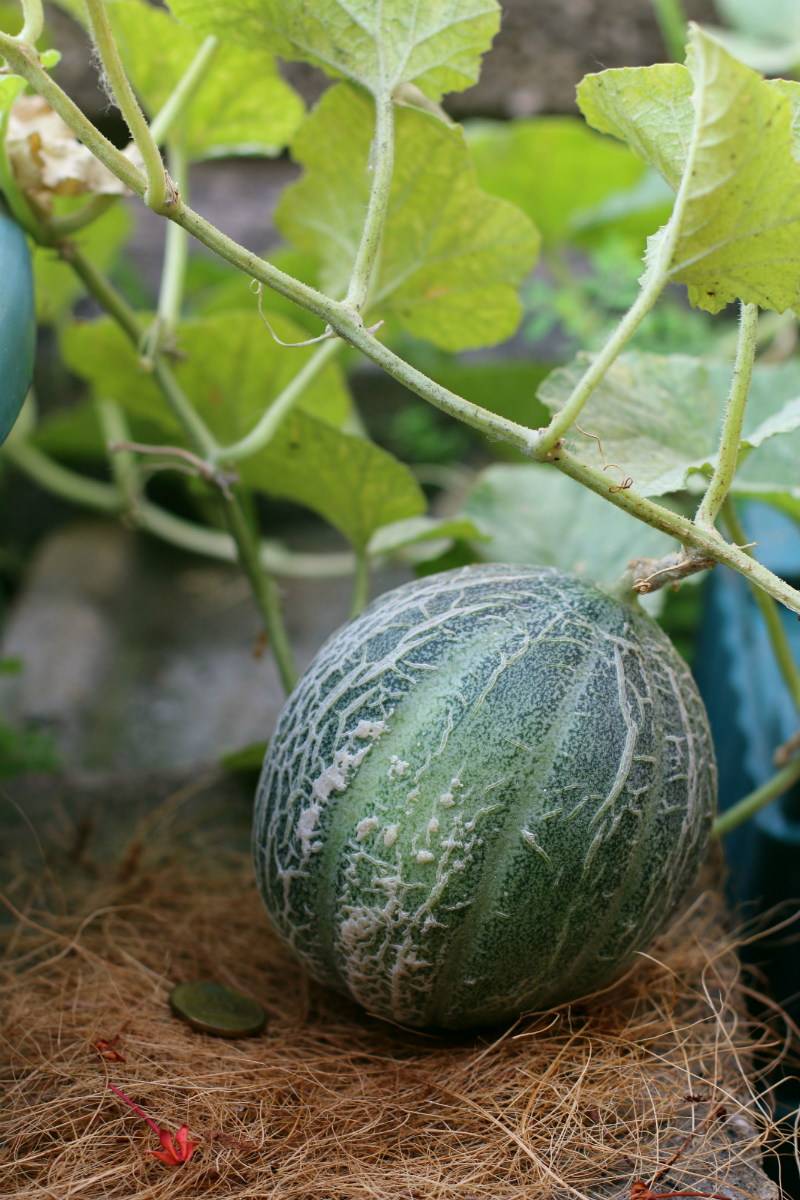
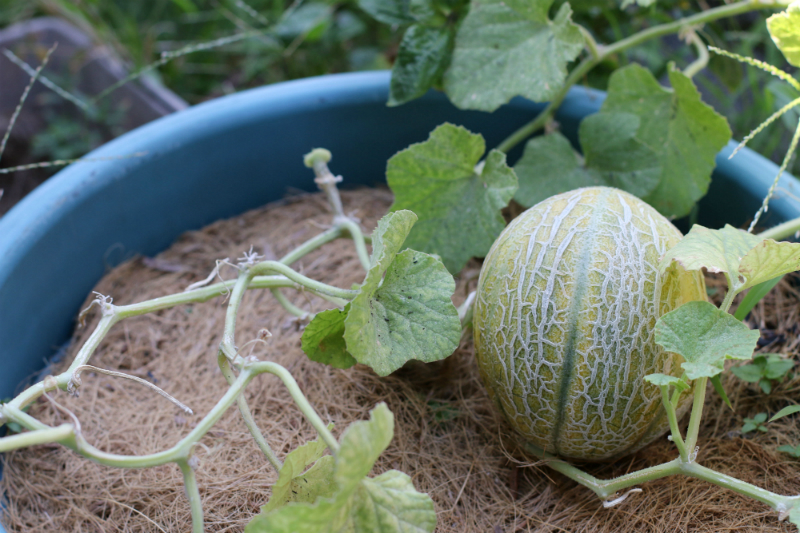
a. The color of the melon will turn from green to orange or yellow orange.

b. The fruit will have a sweet smell especially when you go closer to the stem of the fruit.

c. The stem will easily detach from the fruit when you slightly move the melon.
how to grow melons (14) - Copy

how to grow melons (13) - Copy

how to grow melons (18) - Copy

how to grow melons (16) - Copy

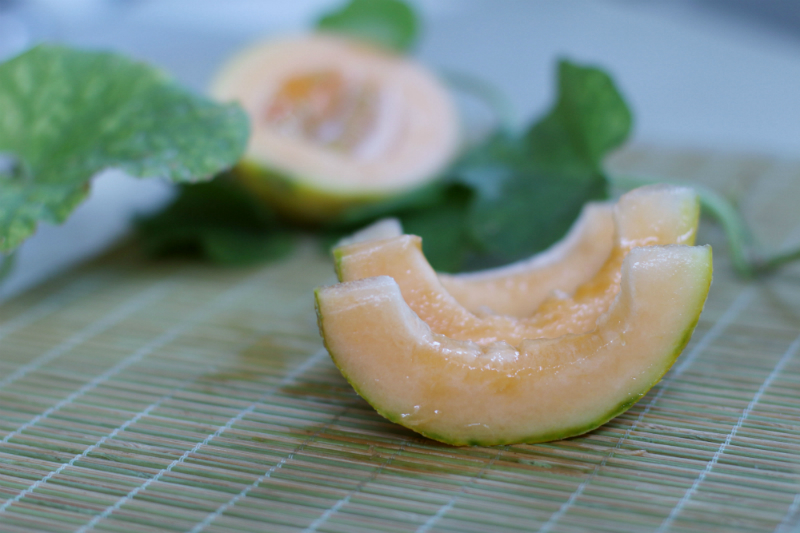
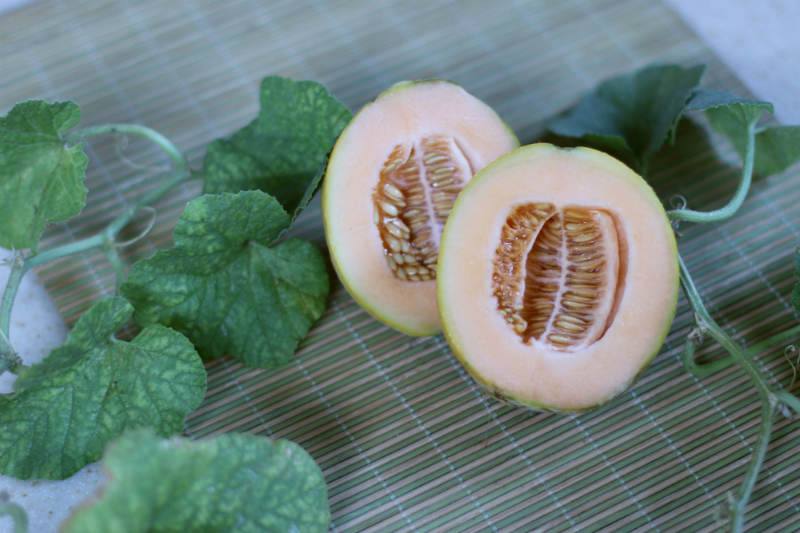
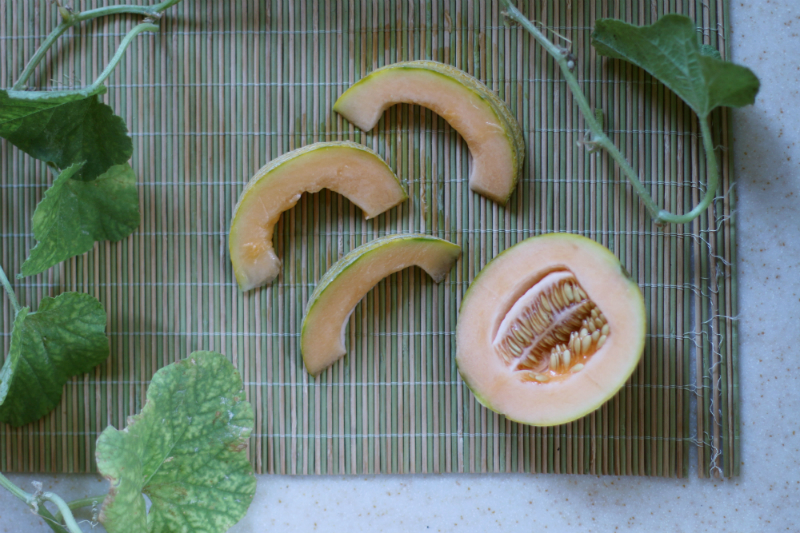
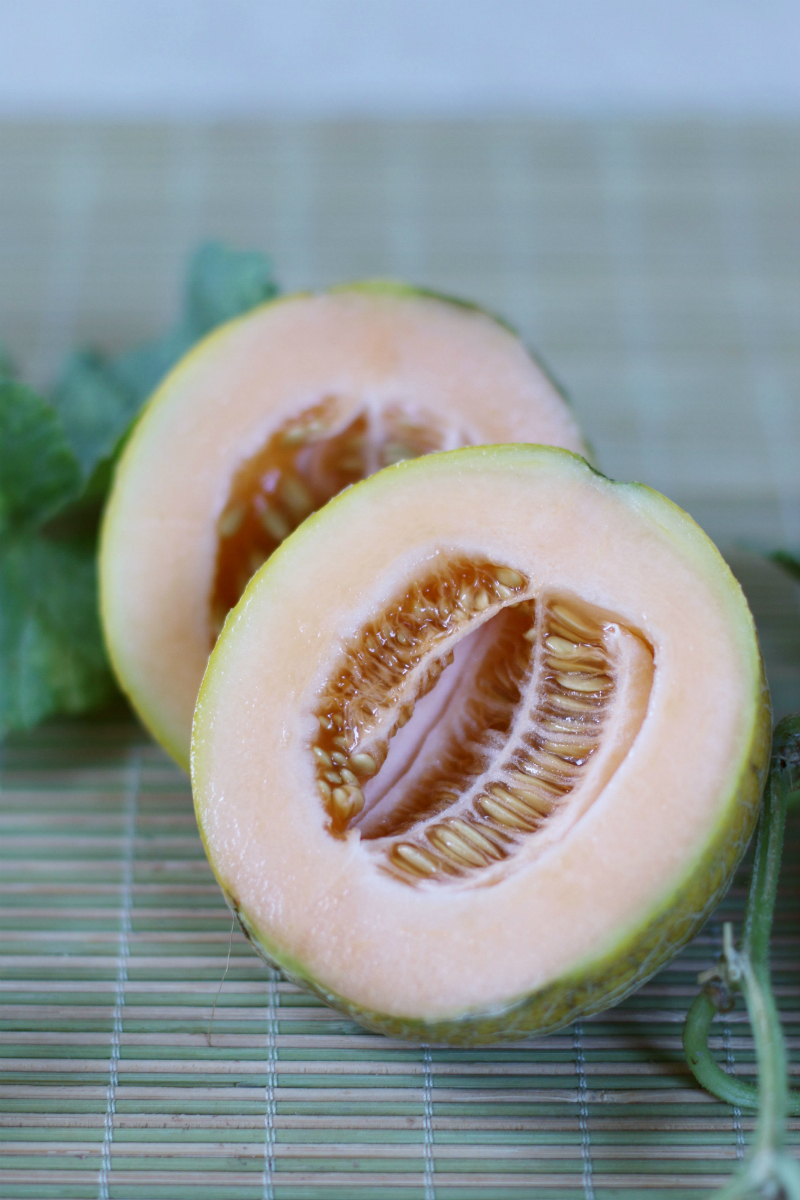
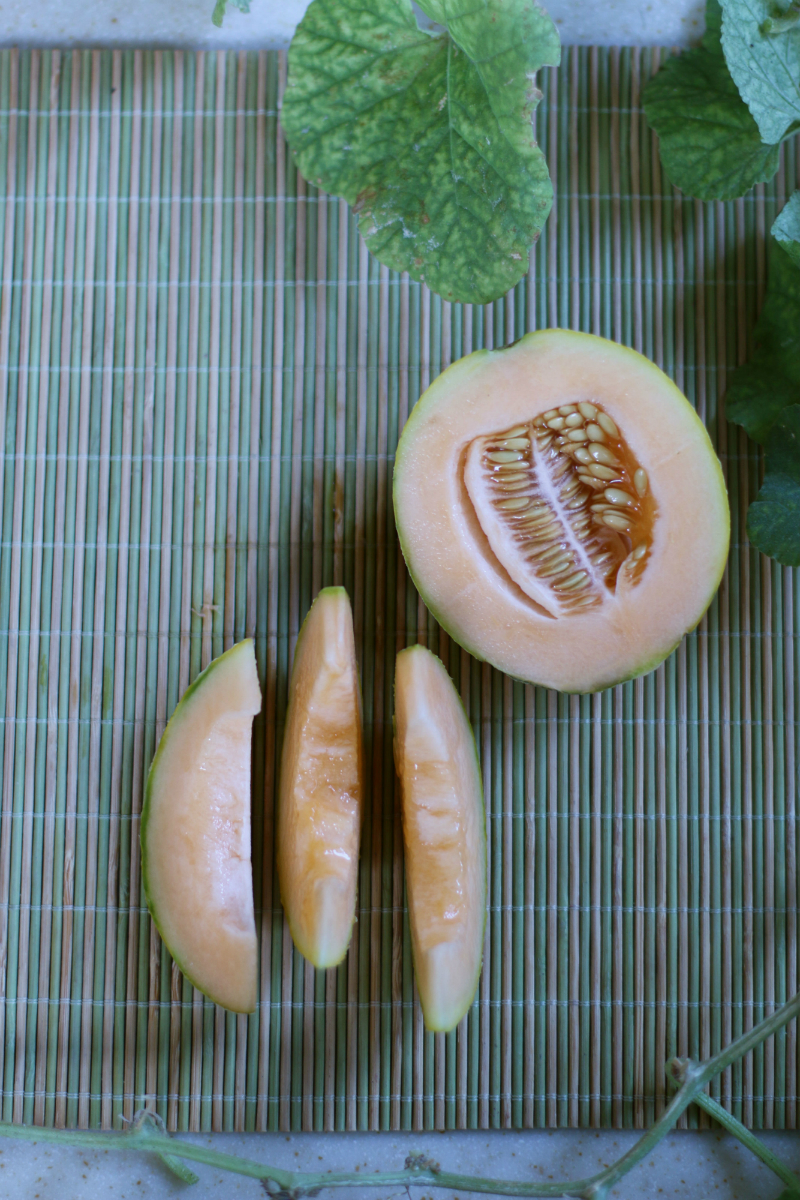
If you are into gardening, growing fruits from vines is a fun and challenging experience that I would recommend. There’s nothing like slicing a sweet, homegrown melon in half and seeing the seeds and juices flow on the chopping board. It was such a refreshing and delightful moment! If you would like to give it a try, I would encourage you to plant the seeds in January or February, so you can harvest it by March or April. Fruit-bearing vines don’t grow well during the rainy season. Hopefully, I can try to grow more early next year.


For more gardening updates and tips, feel free to visit the ff. pages of ANYONE CAN GARDEN. :)
Facebook

Instagram

how to grow melons (15) - Copy

how to grow melons (17) - Copy

how to grow melons (2) - Copy

how to grow melons (19) - Copy

how to grow melons (20) - Copy

Harvesting Broccoli

I miss the cold weather in Manila. I miss it terribly. Although we were already warned by many reports, it was still heartbreaking for me to experience the heat so soon, because I wanted the cold weather to last for a few more months. I was just getting used to wearing hoodies, not experiencing sweat that much and constantly feeling the cool breeze whenever I would take a quick walk outside. However, when I stay inside or go outside of our house nowadays, I’m not able to feel and appreciate the cold, fresh air anymore.

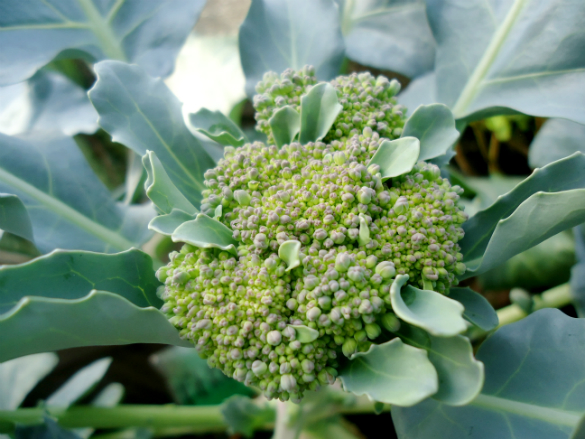
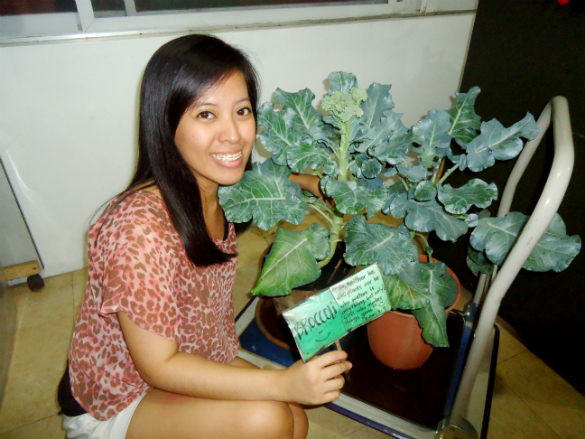
My first Broccoli. :)

Just last week, I got so affected by the sudden change in the weather because I noticed how both my Broccoli and Cherry Tomato plants were having a difficult time surviving each day. Before, watering the plants twice a day (morning and evening) was already sufficient. But because of the extreme heat recently, the plants and soil dried up immediately after they were watered.

DSC07143

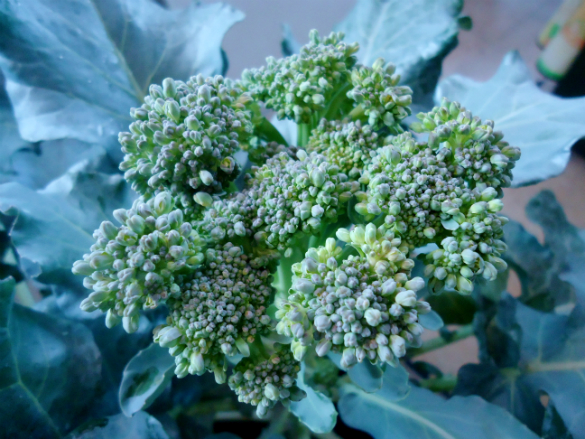
Also, I noticed how weird my Broccoli eventually looked like. In my former posts, I showed photos of how the Broccoli plant was able to produce its first Broccoli, but when I had a closer look at it a few days ago, I saw little flower buds growing on it. The Broccoli certainly didn’t look like the ones being sold at the supermarket. It had puffy buds.

DSC07295

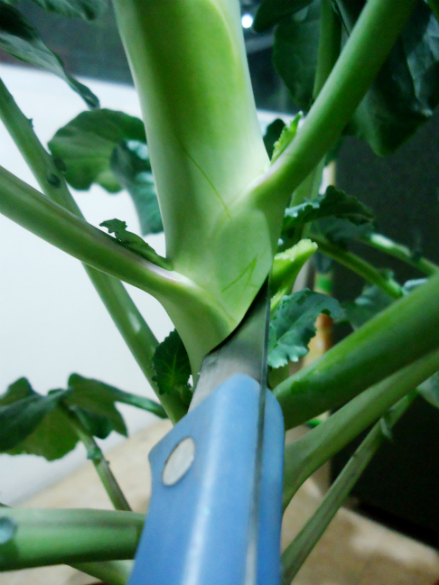
After doing more research online, I found out that the heat and lack of water caused the Broccoli to grow prematurely, thus, allowing the flower buds to grow. And when we allow the yellow Broccoli flowers to grow on its head more, it would eventually develop a bitter taste. So, I inspected the head and saw that some of the flower buds already started to open up a bit. At first, I didn’t want to remove it from its stem since it was still a small head. But then, I also knew that I needed to harvest it soon because if I didn’t, it would end up as a ball of yellow, inedible Broccoli flowers. I prayed about it and decided to harvest the head the next day.

DSC07337


DSC07463
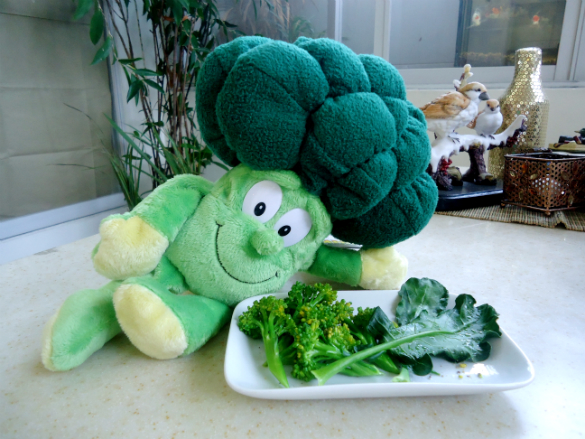
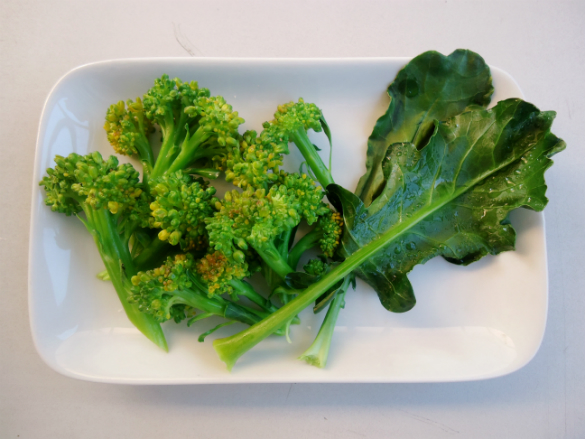
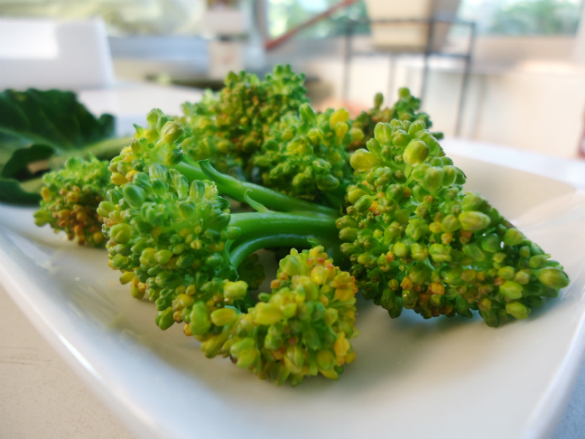
Steamed Broccoli with Salt & Pepper. They were quite sweet! :)

When I was tempted to complain and grumble last week, God encouraged me to thank Him instead because He gave me the privilege of growing even just a small head of Broccoli. It reminded me of the verse in the Bible where it says:

“Though the fig tree does not bud
and there are no grapes on the vines,
though the olive crop fails
and the fields produce no food…
yet I will rejoice in the Lord…”

[Habakkuk 3:17-18]

DSC07464

Two days ago, I went online and browsed through one of my favorite gardening blogs, White On Rice Couple (http://whiteonricecouple.com/). To my surprise, the couple behind the blog shared about how they lost their 10-year old Blood Orange tree due to overwatering. Somehow, I sympathized with them because I felt like I lost my 9-month old Broccoli plant when it grew a head prematurely because of the heat and lack of water. But in their blog, they shared about how they decided to plant a new tree to replace the old one. And that simple act reminded me of hope. Hope not in ourselves or in the situations around us, but Hope that is found in God who causes things to grow.

DSC07463

When I first planted the Broccoli seed, I remember placing a sign in the pot to encourage me. It said “So neither he who plants nor he who waters is anything, but only God, who makes things grow.” [1 Corinthians 3:7]

DSC07316

Thank You, Lord, for the past nine months of growing a Broccoli seed and learning more about You from it. Thank you for allowing it to grow. I look forward to growing more plants and trees with You in the near future. ‘Til our next harvest!


Encourage yourself one treat at a time. :)

Subscribe to Blog via Email

Enter your email address to subscribe to this blog and receive notifications of new posts by email.

About Me

My name is Nicole Obligacion and I started this blog because I was inspired by Hebrews 10:24 and Hebrews 3:13. I love to eat, cook, bake, read the Bible, and encourage. :)

copyright © 2012 - 2024 encouragingtreats.com this site is designed, managed and optimized by sean si of seo hacker