My Cherry Tomatoes Stopped Ripening on the Vine

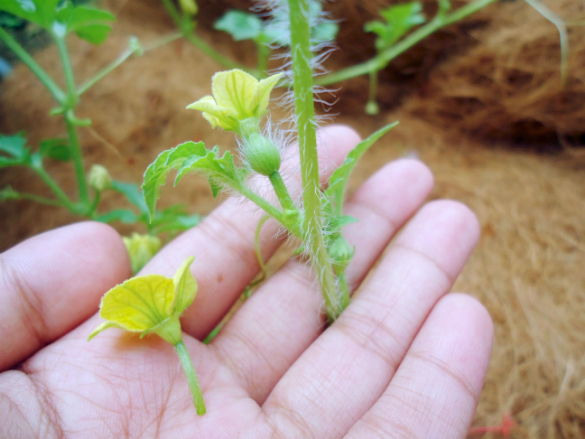
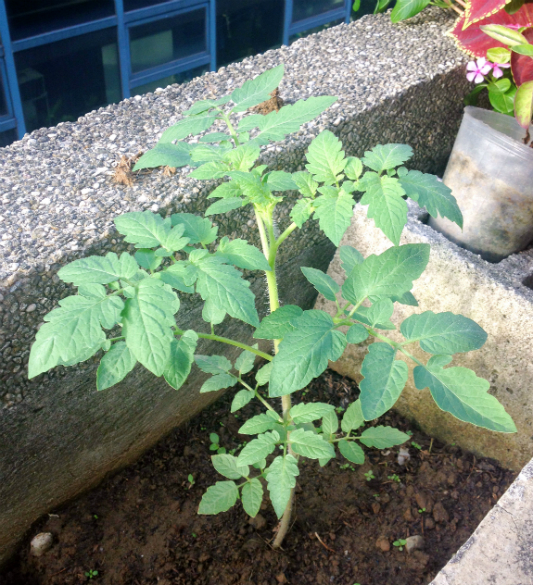
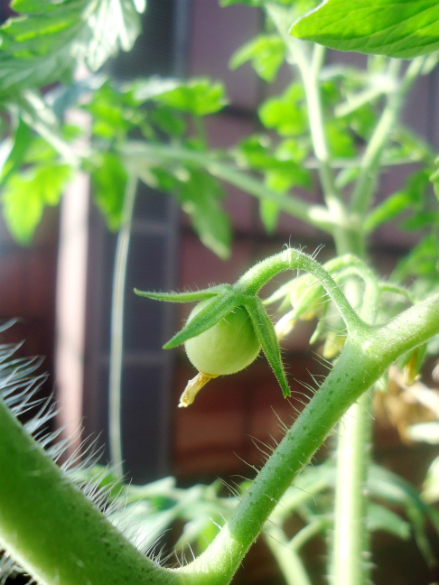
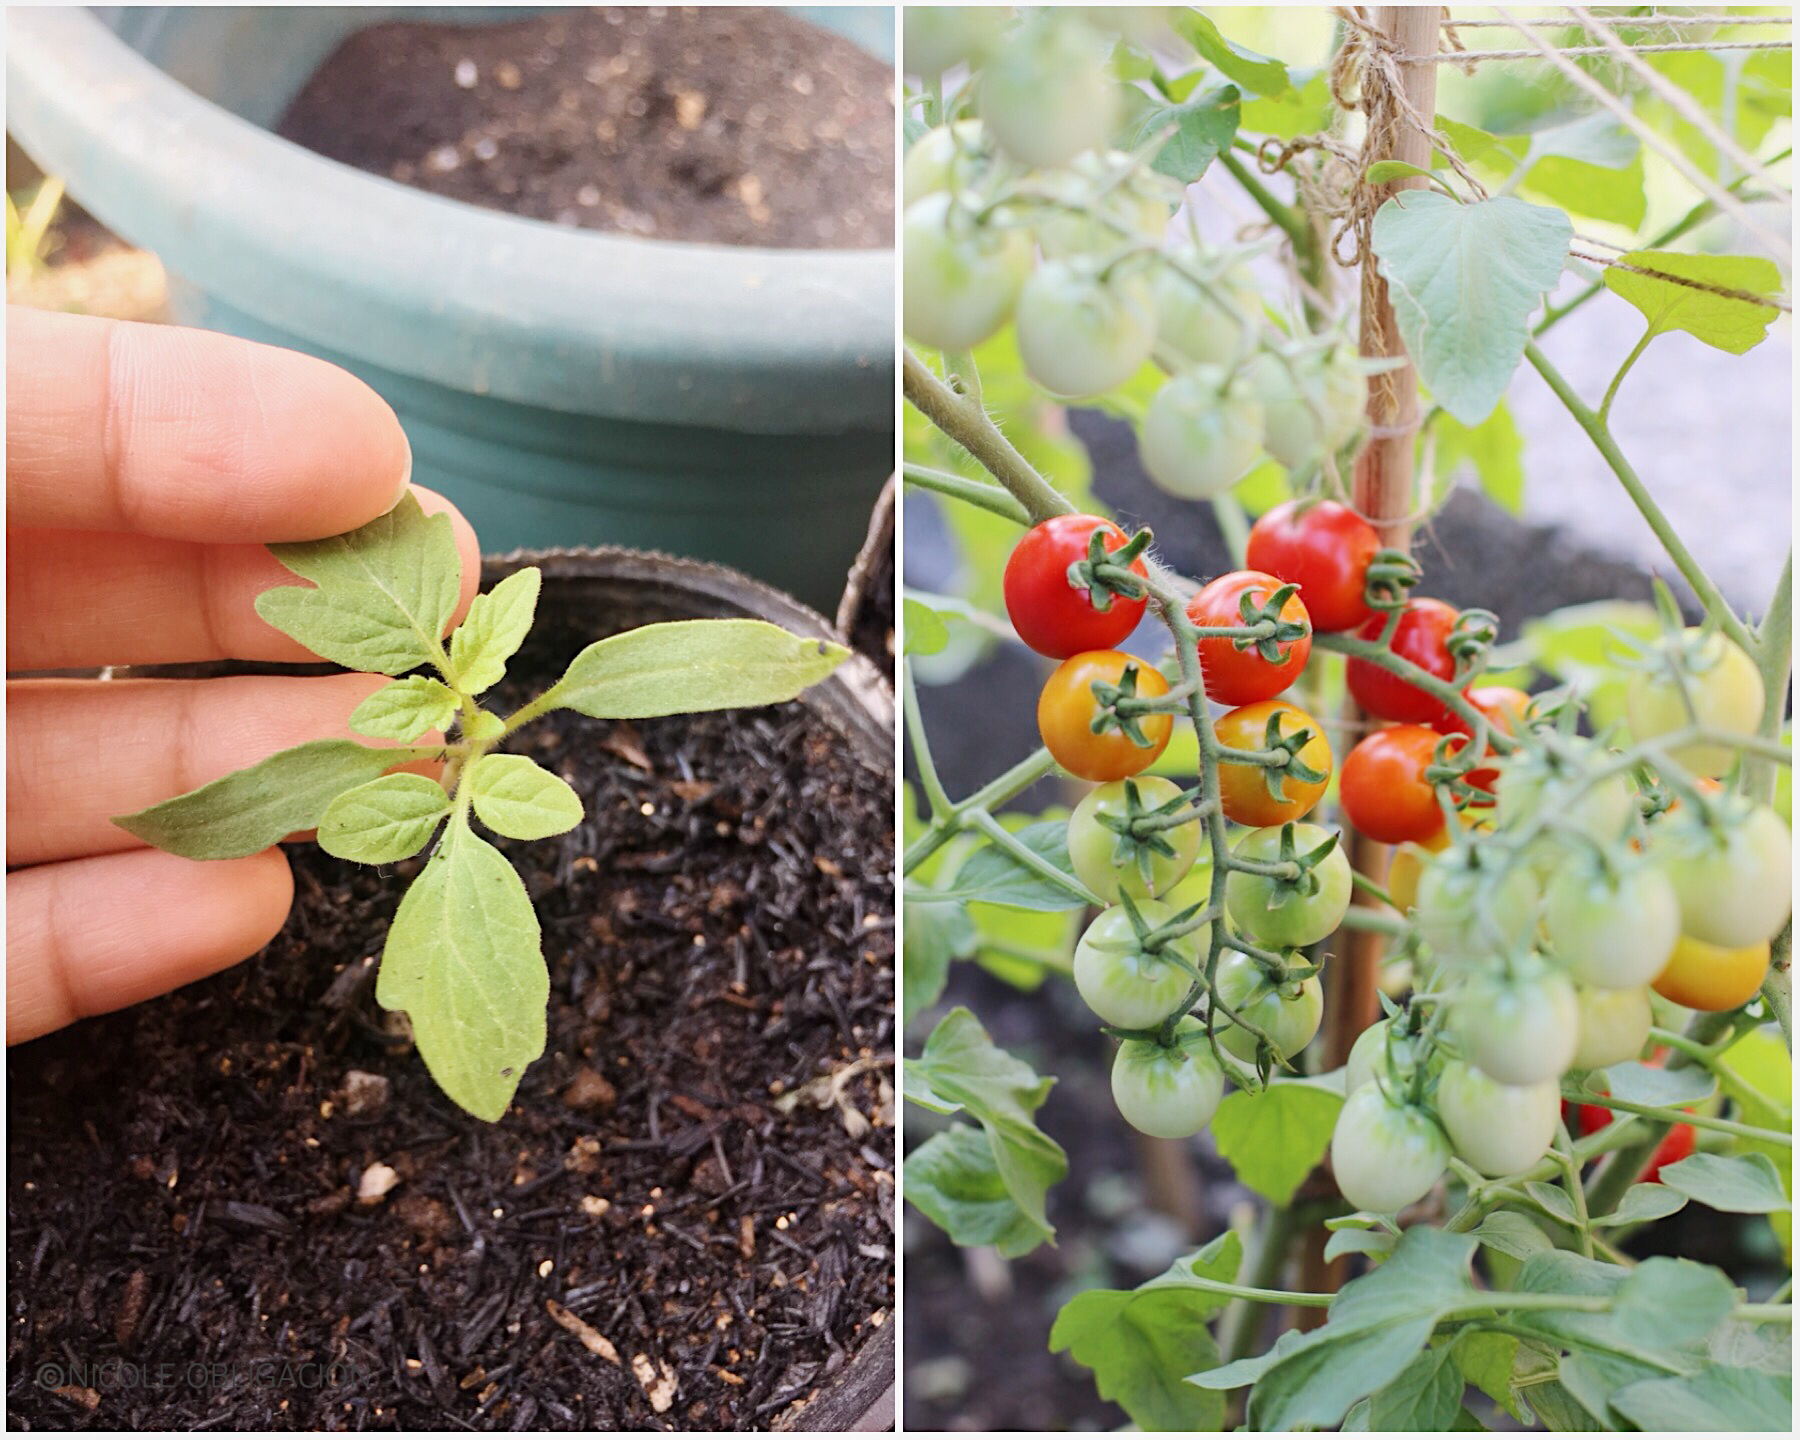
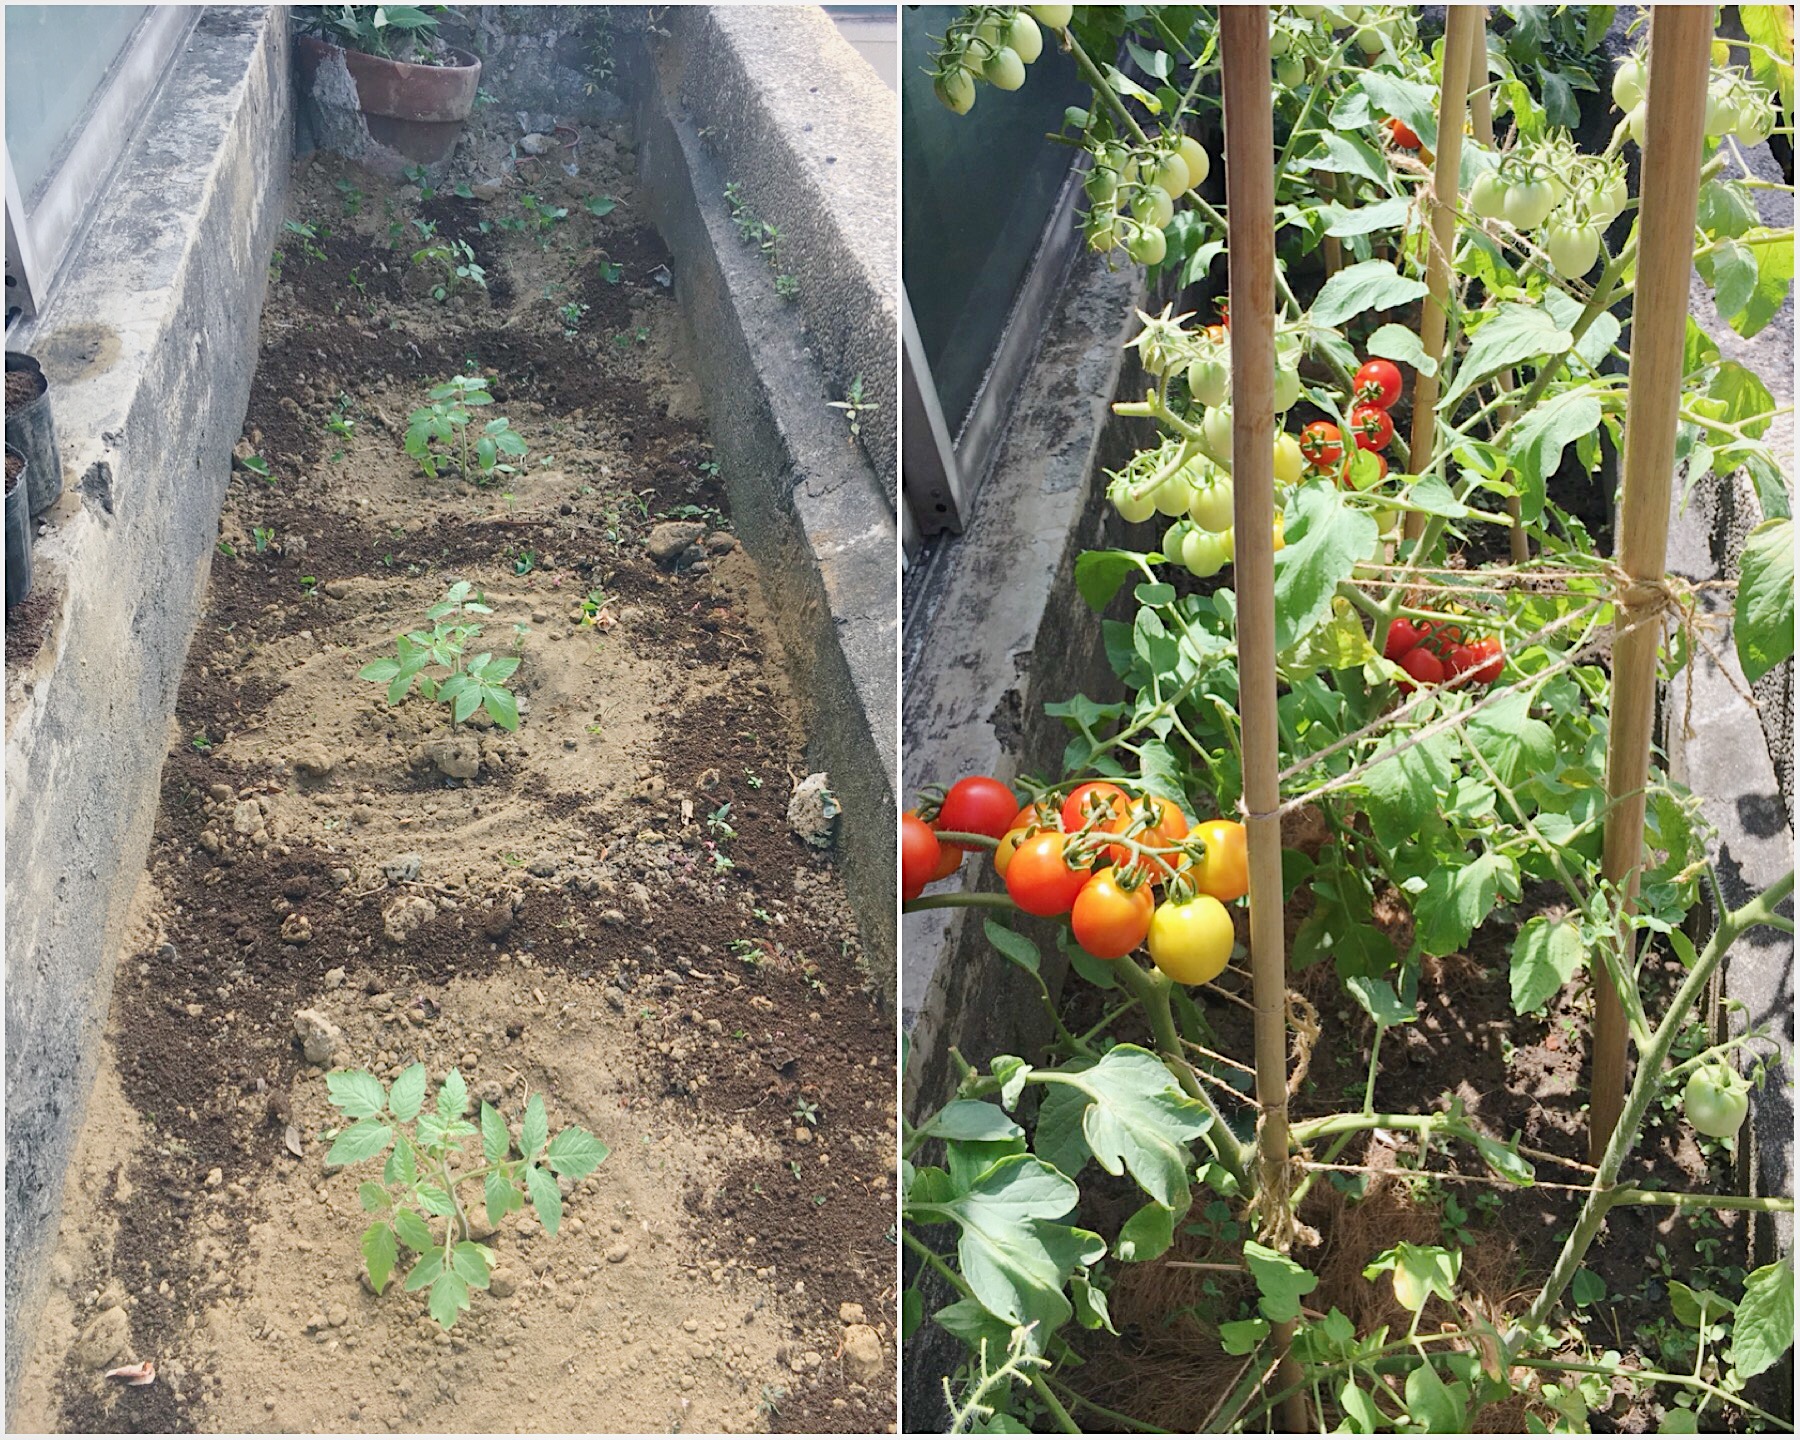
The cherry tomatoes I grew this summer looked very promising. During the plants’ second month, I remember counting 45 buds and 120 tomato flowers, which would eventually become ripe tomatoes! Compared to the previous batches I have had in the past summers, this batch yielded the most number of fruits and I could not be more ecstatic! However, it was only the beginning of what I call my “Humbling Harvest”.

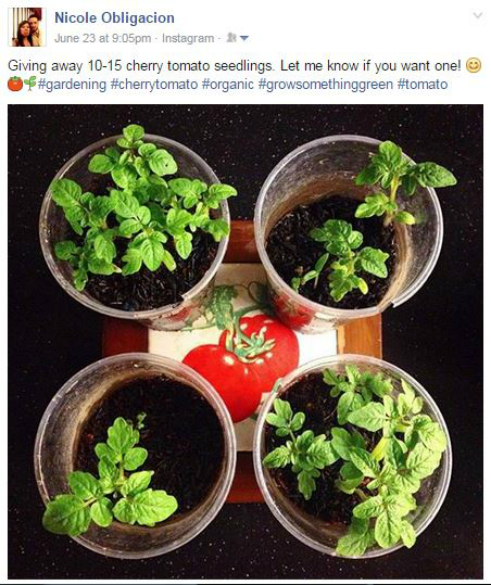
Before I planted the cherry tomato seeds last February, I thought that I would not have something new to share on the blog about growing these plants. Why? Because I already posted steps and photos a few years ago, as seen HERE. However, God used this batch to humble me and help me realize the ff.:

  1. I have so much to learn about gardening wisely.
  2. Our gracious God is more than able to turn seemingly impossible and discouraging situations around.
  3. Tomato plants only thrive in certain temperatures and I should be prepared for this.

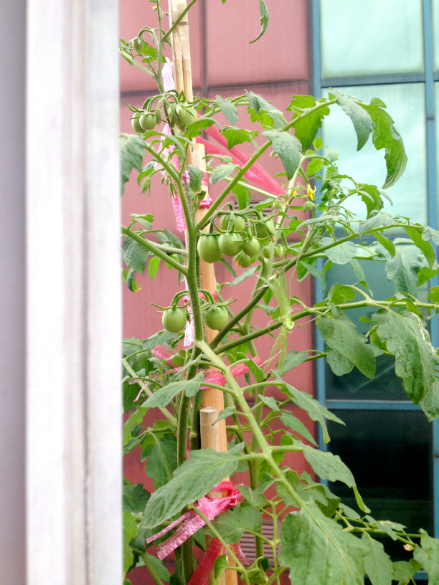
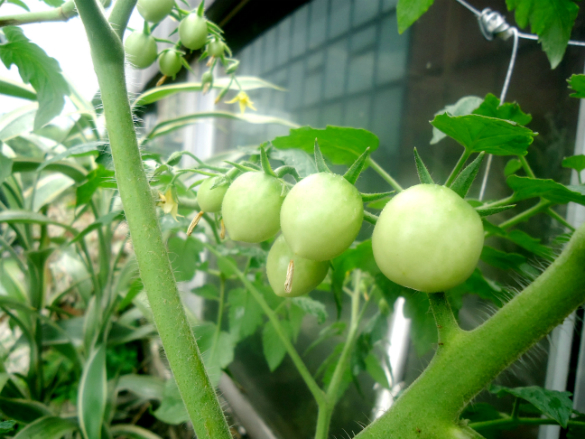
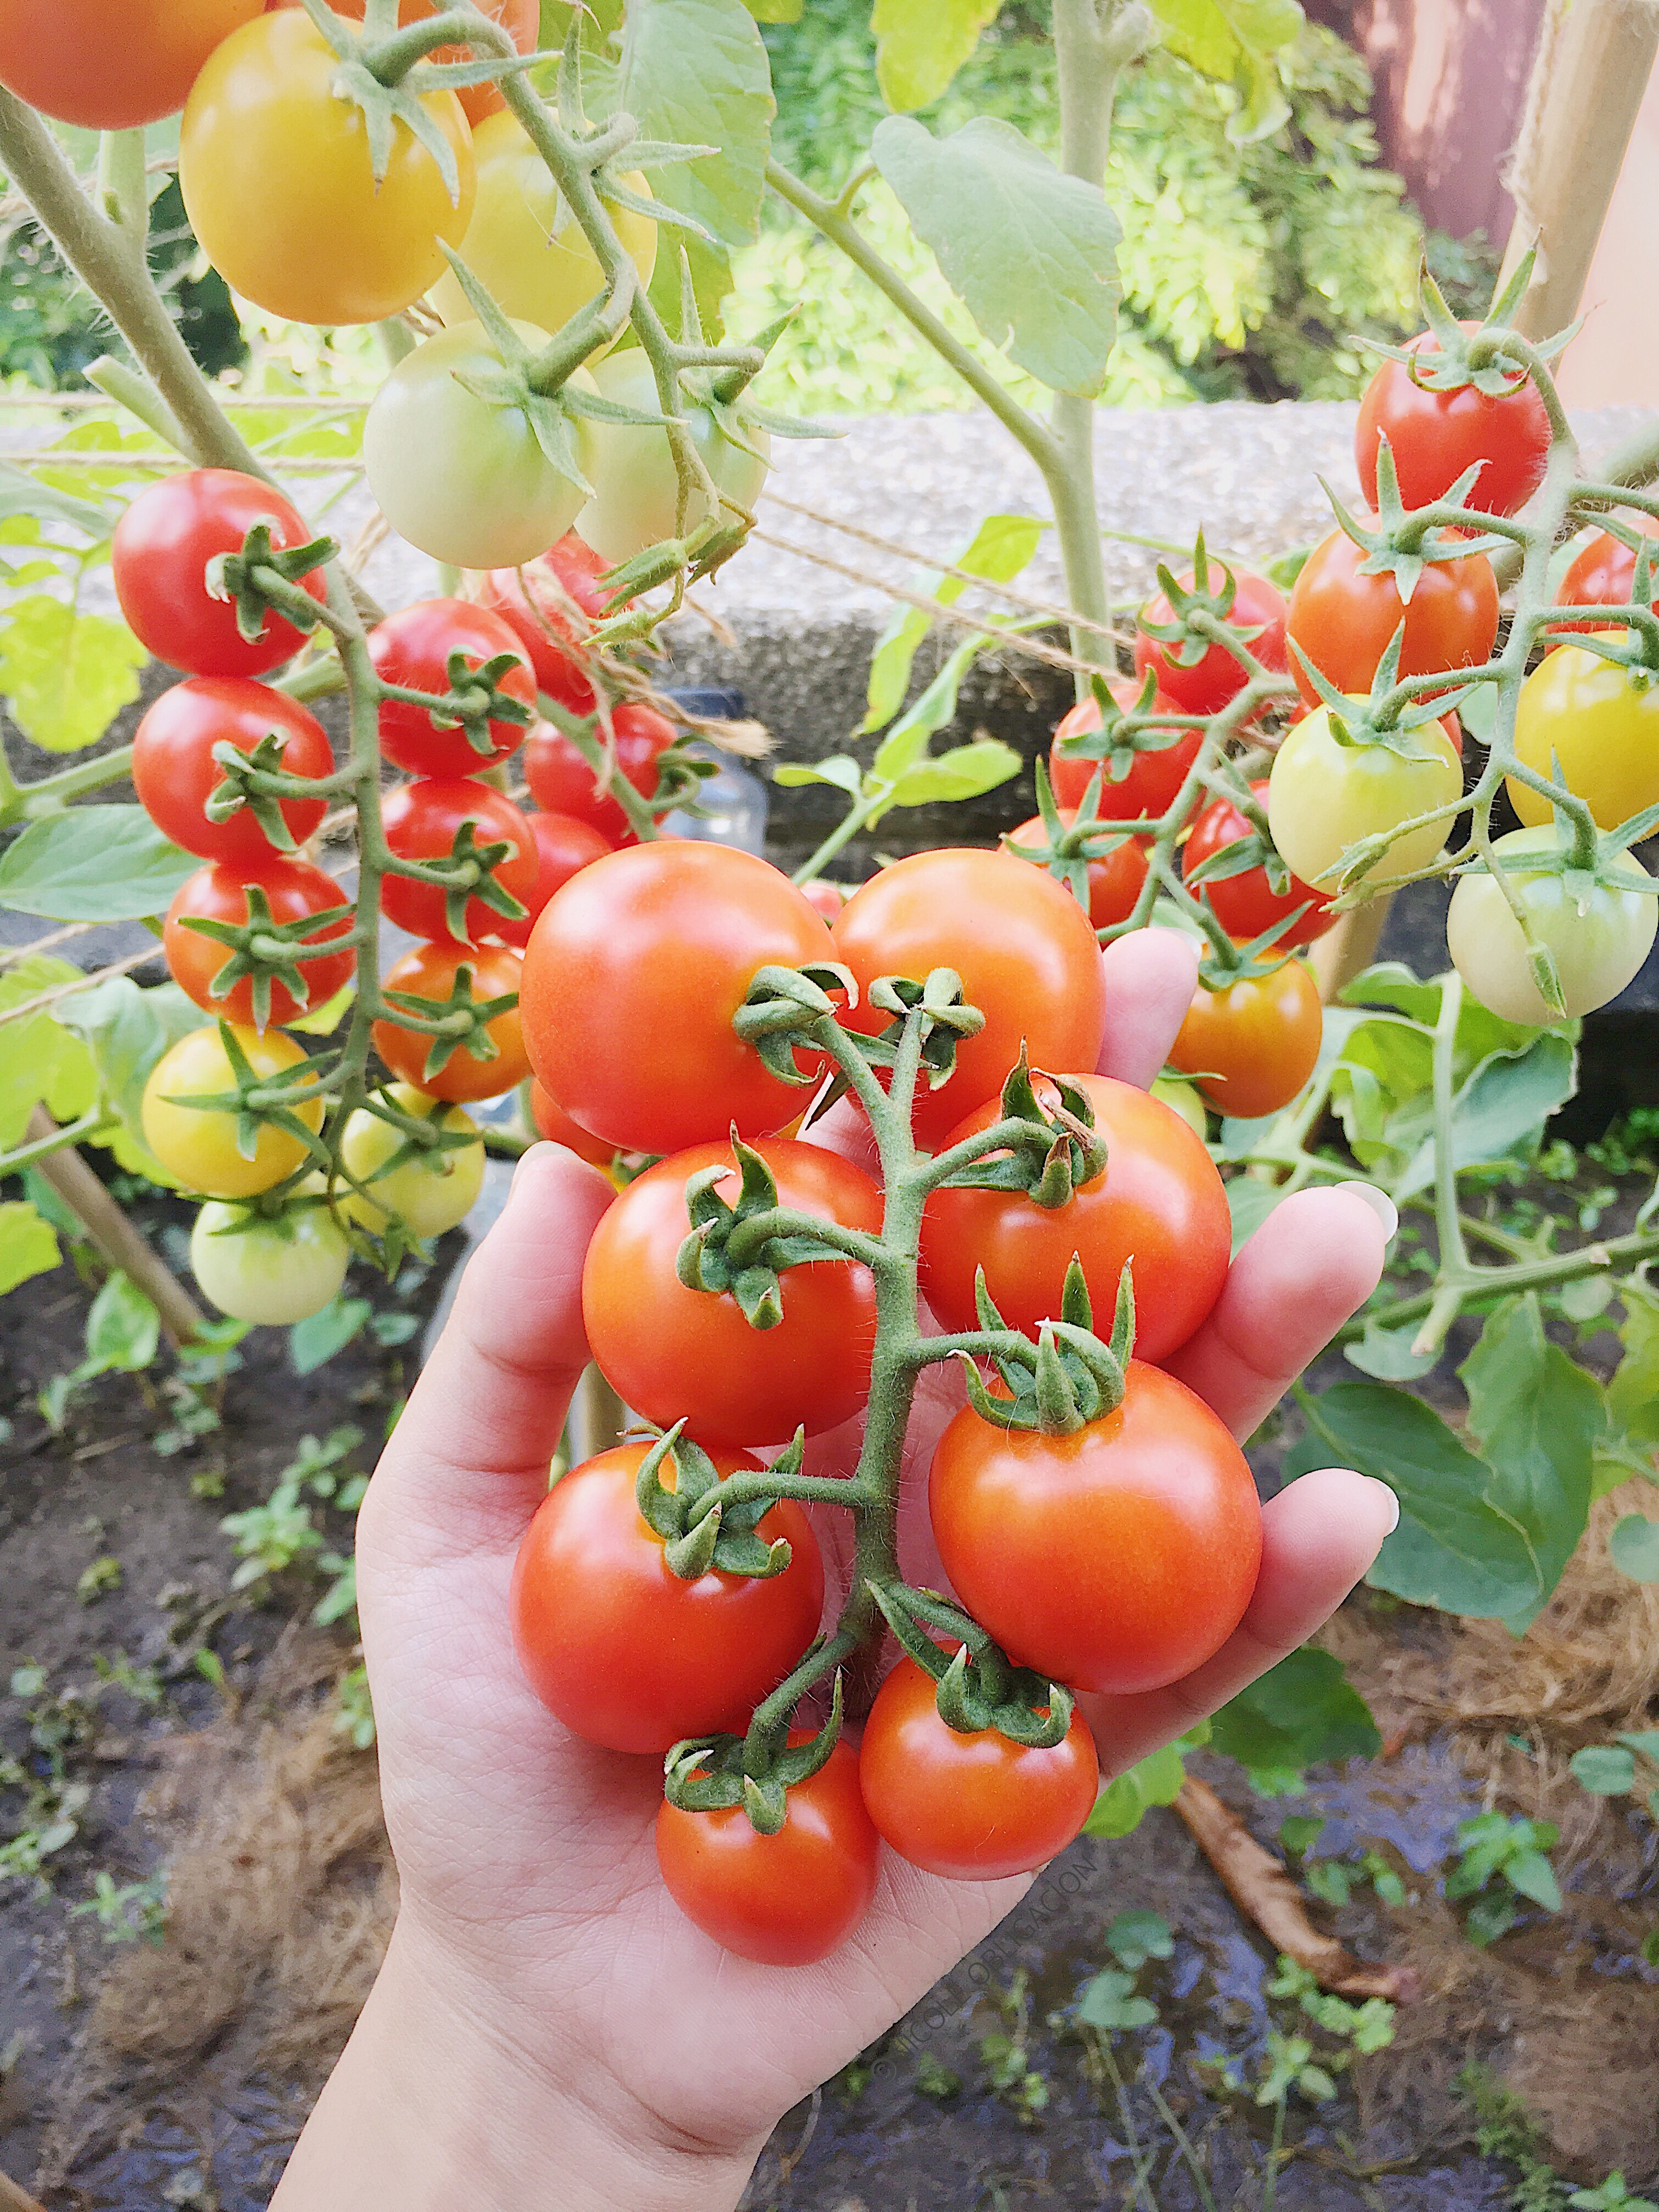
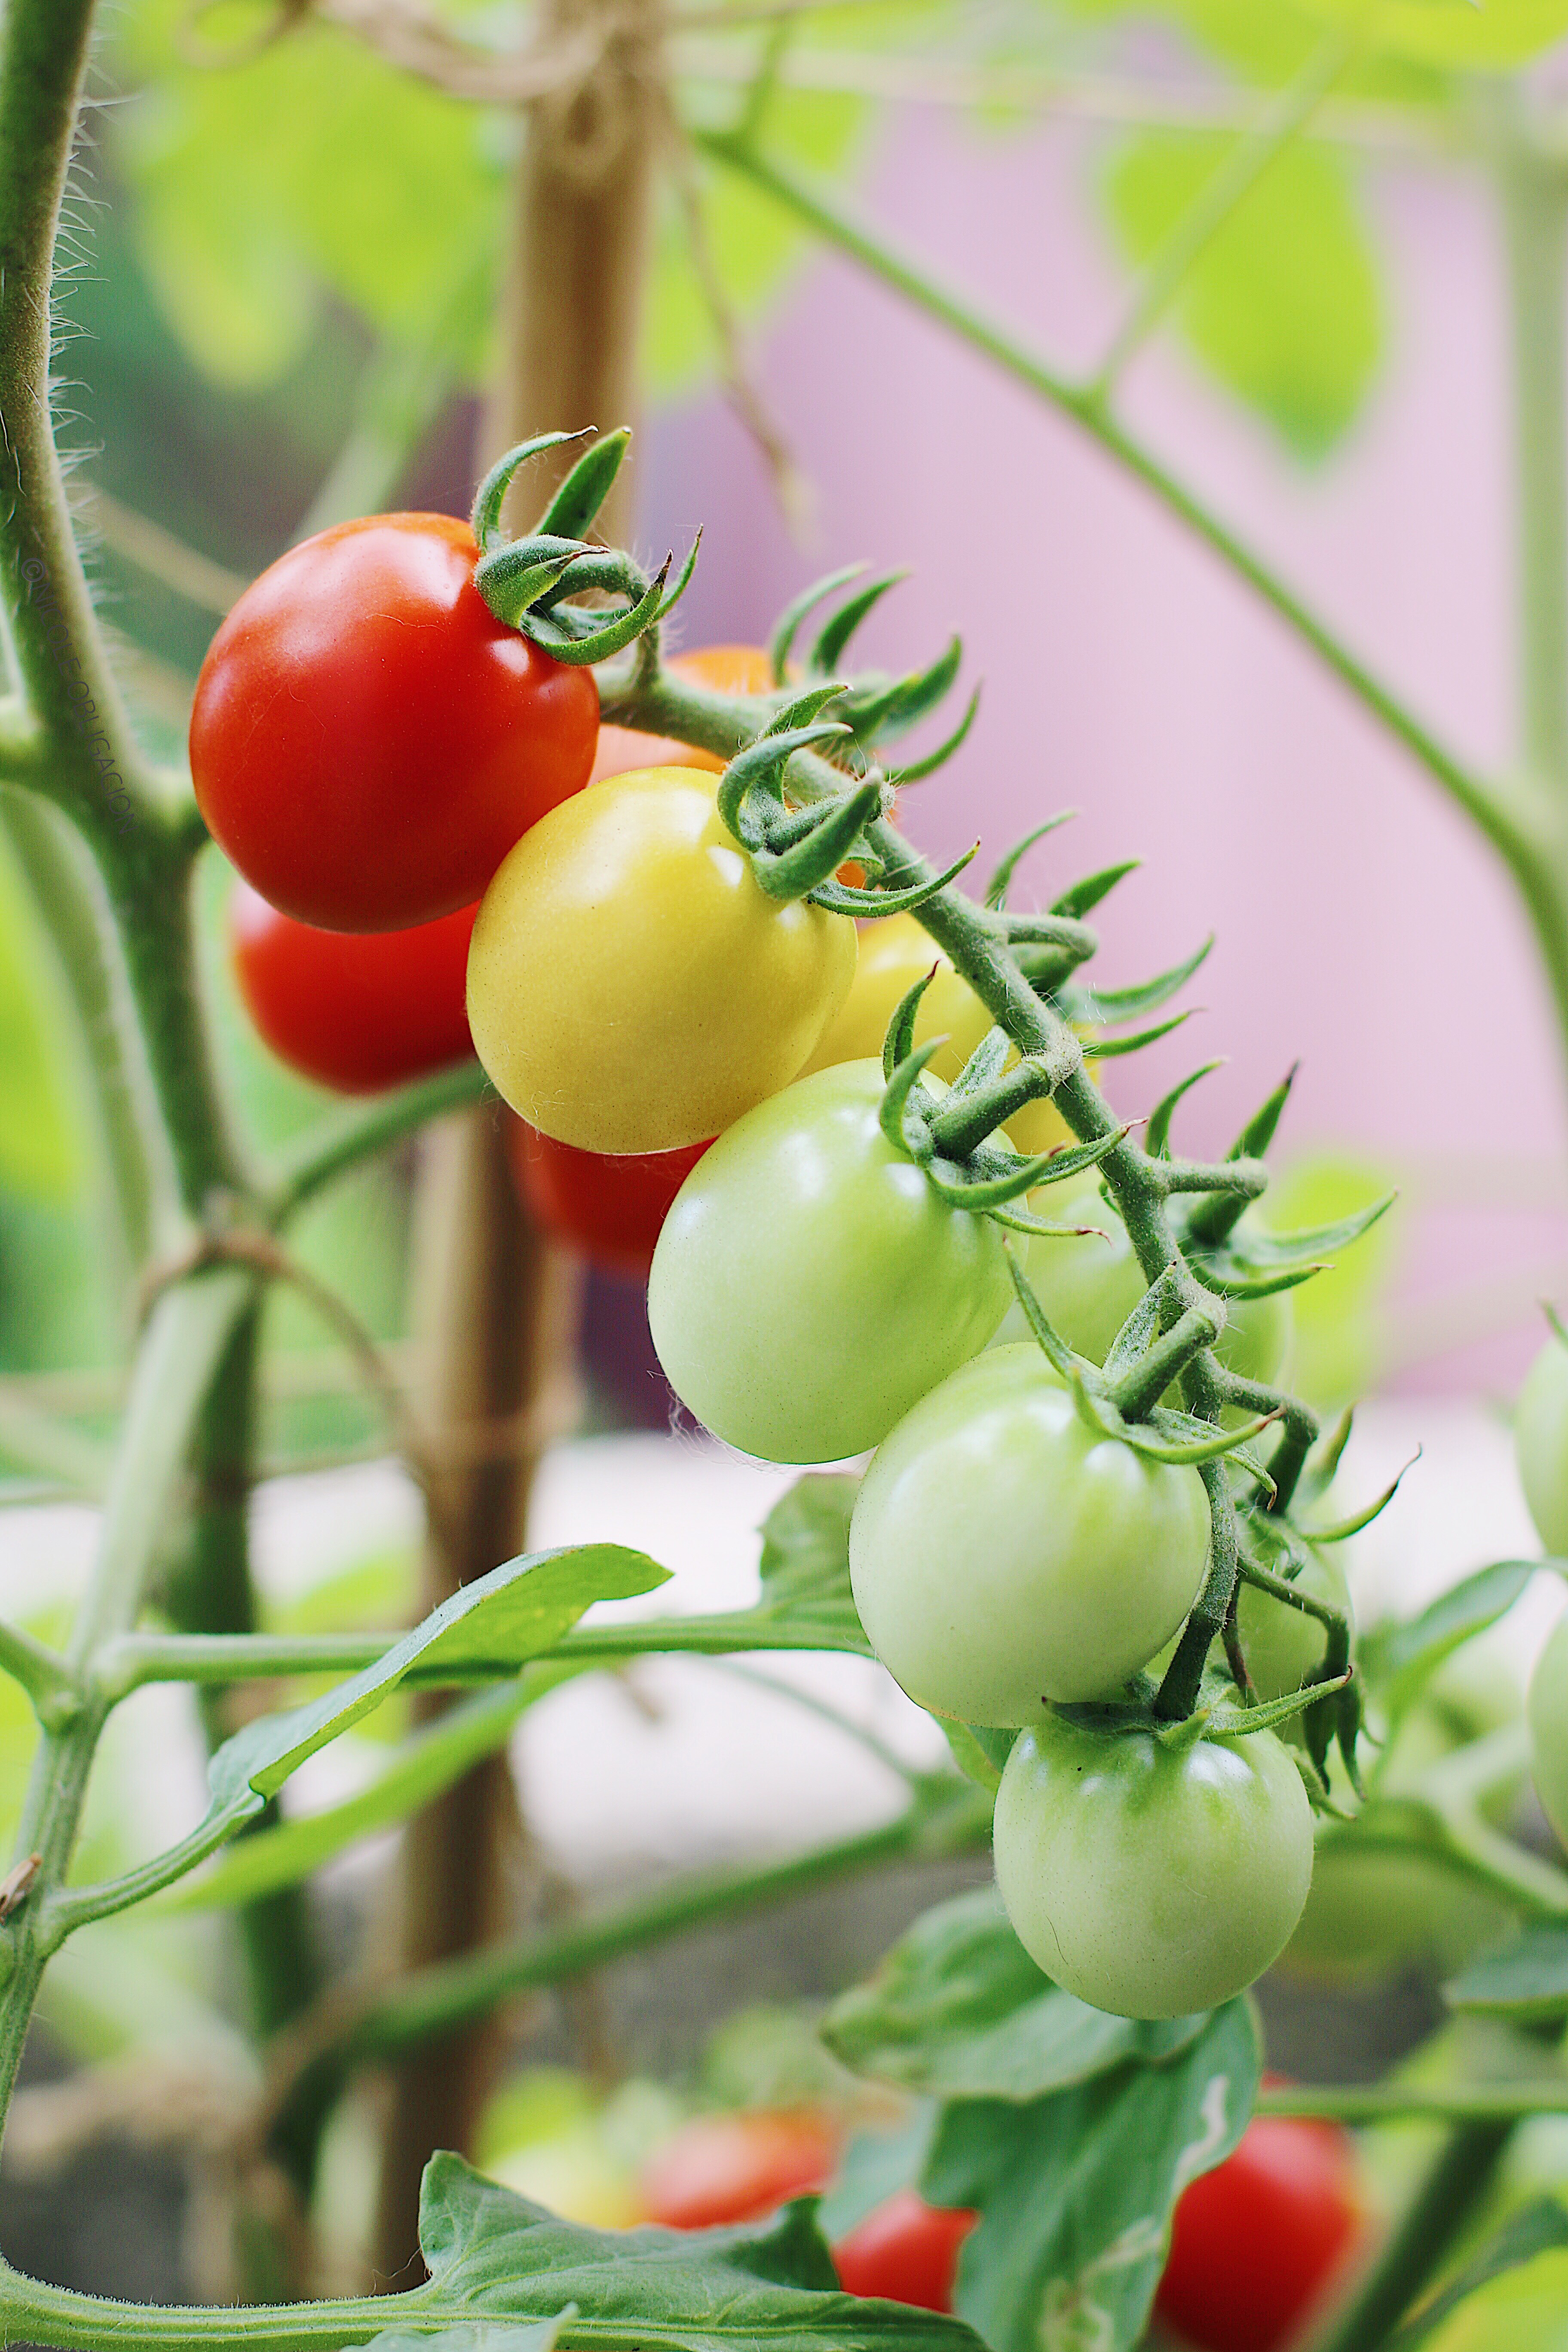
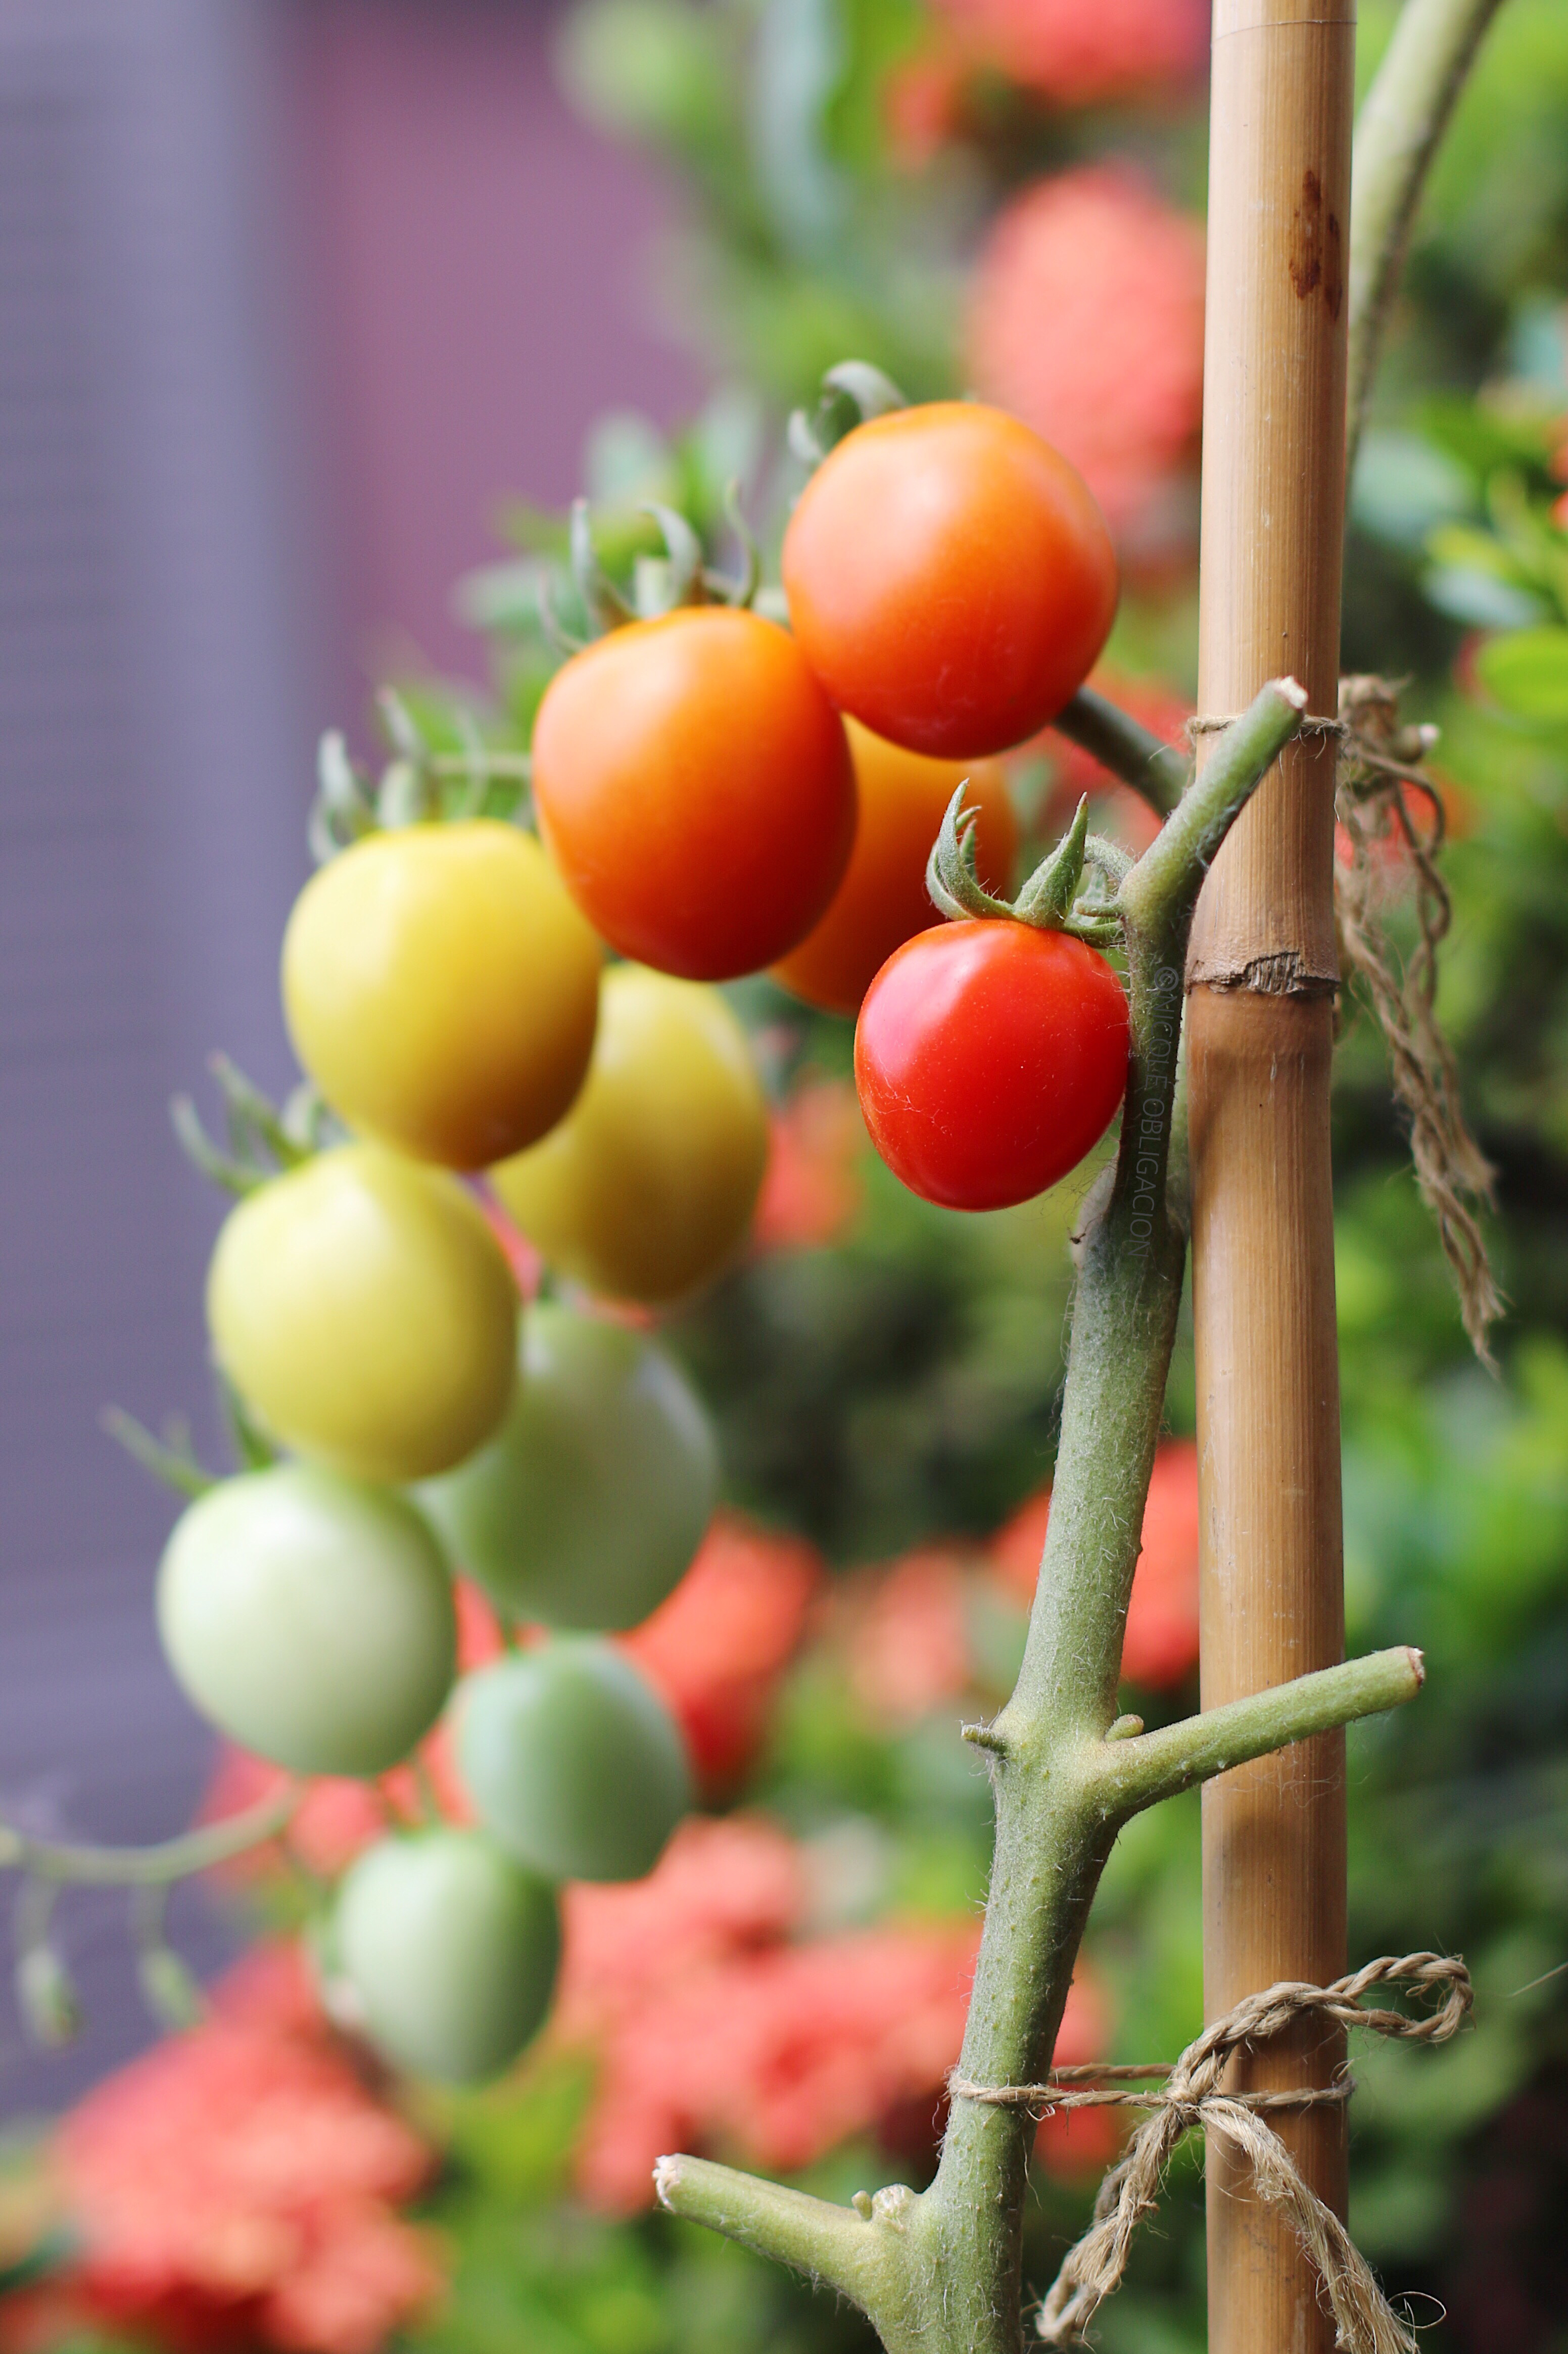
It started when most of the flowers already turned into full-grown green, unripe tomatoes. I was so excited to see them turn into yellow green, orange, red orange, and red within the next few days. Based on my past experiences with growing tomatoes, the changes in their colors happen in less than a week. I even remember panicking before because the tomatoes ripened so fast that I had to give most of them away.

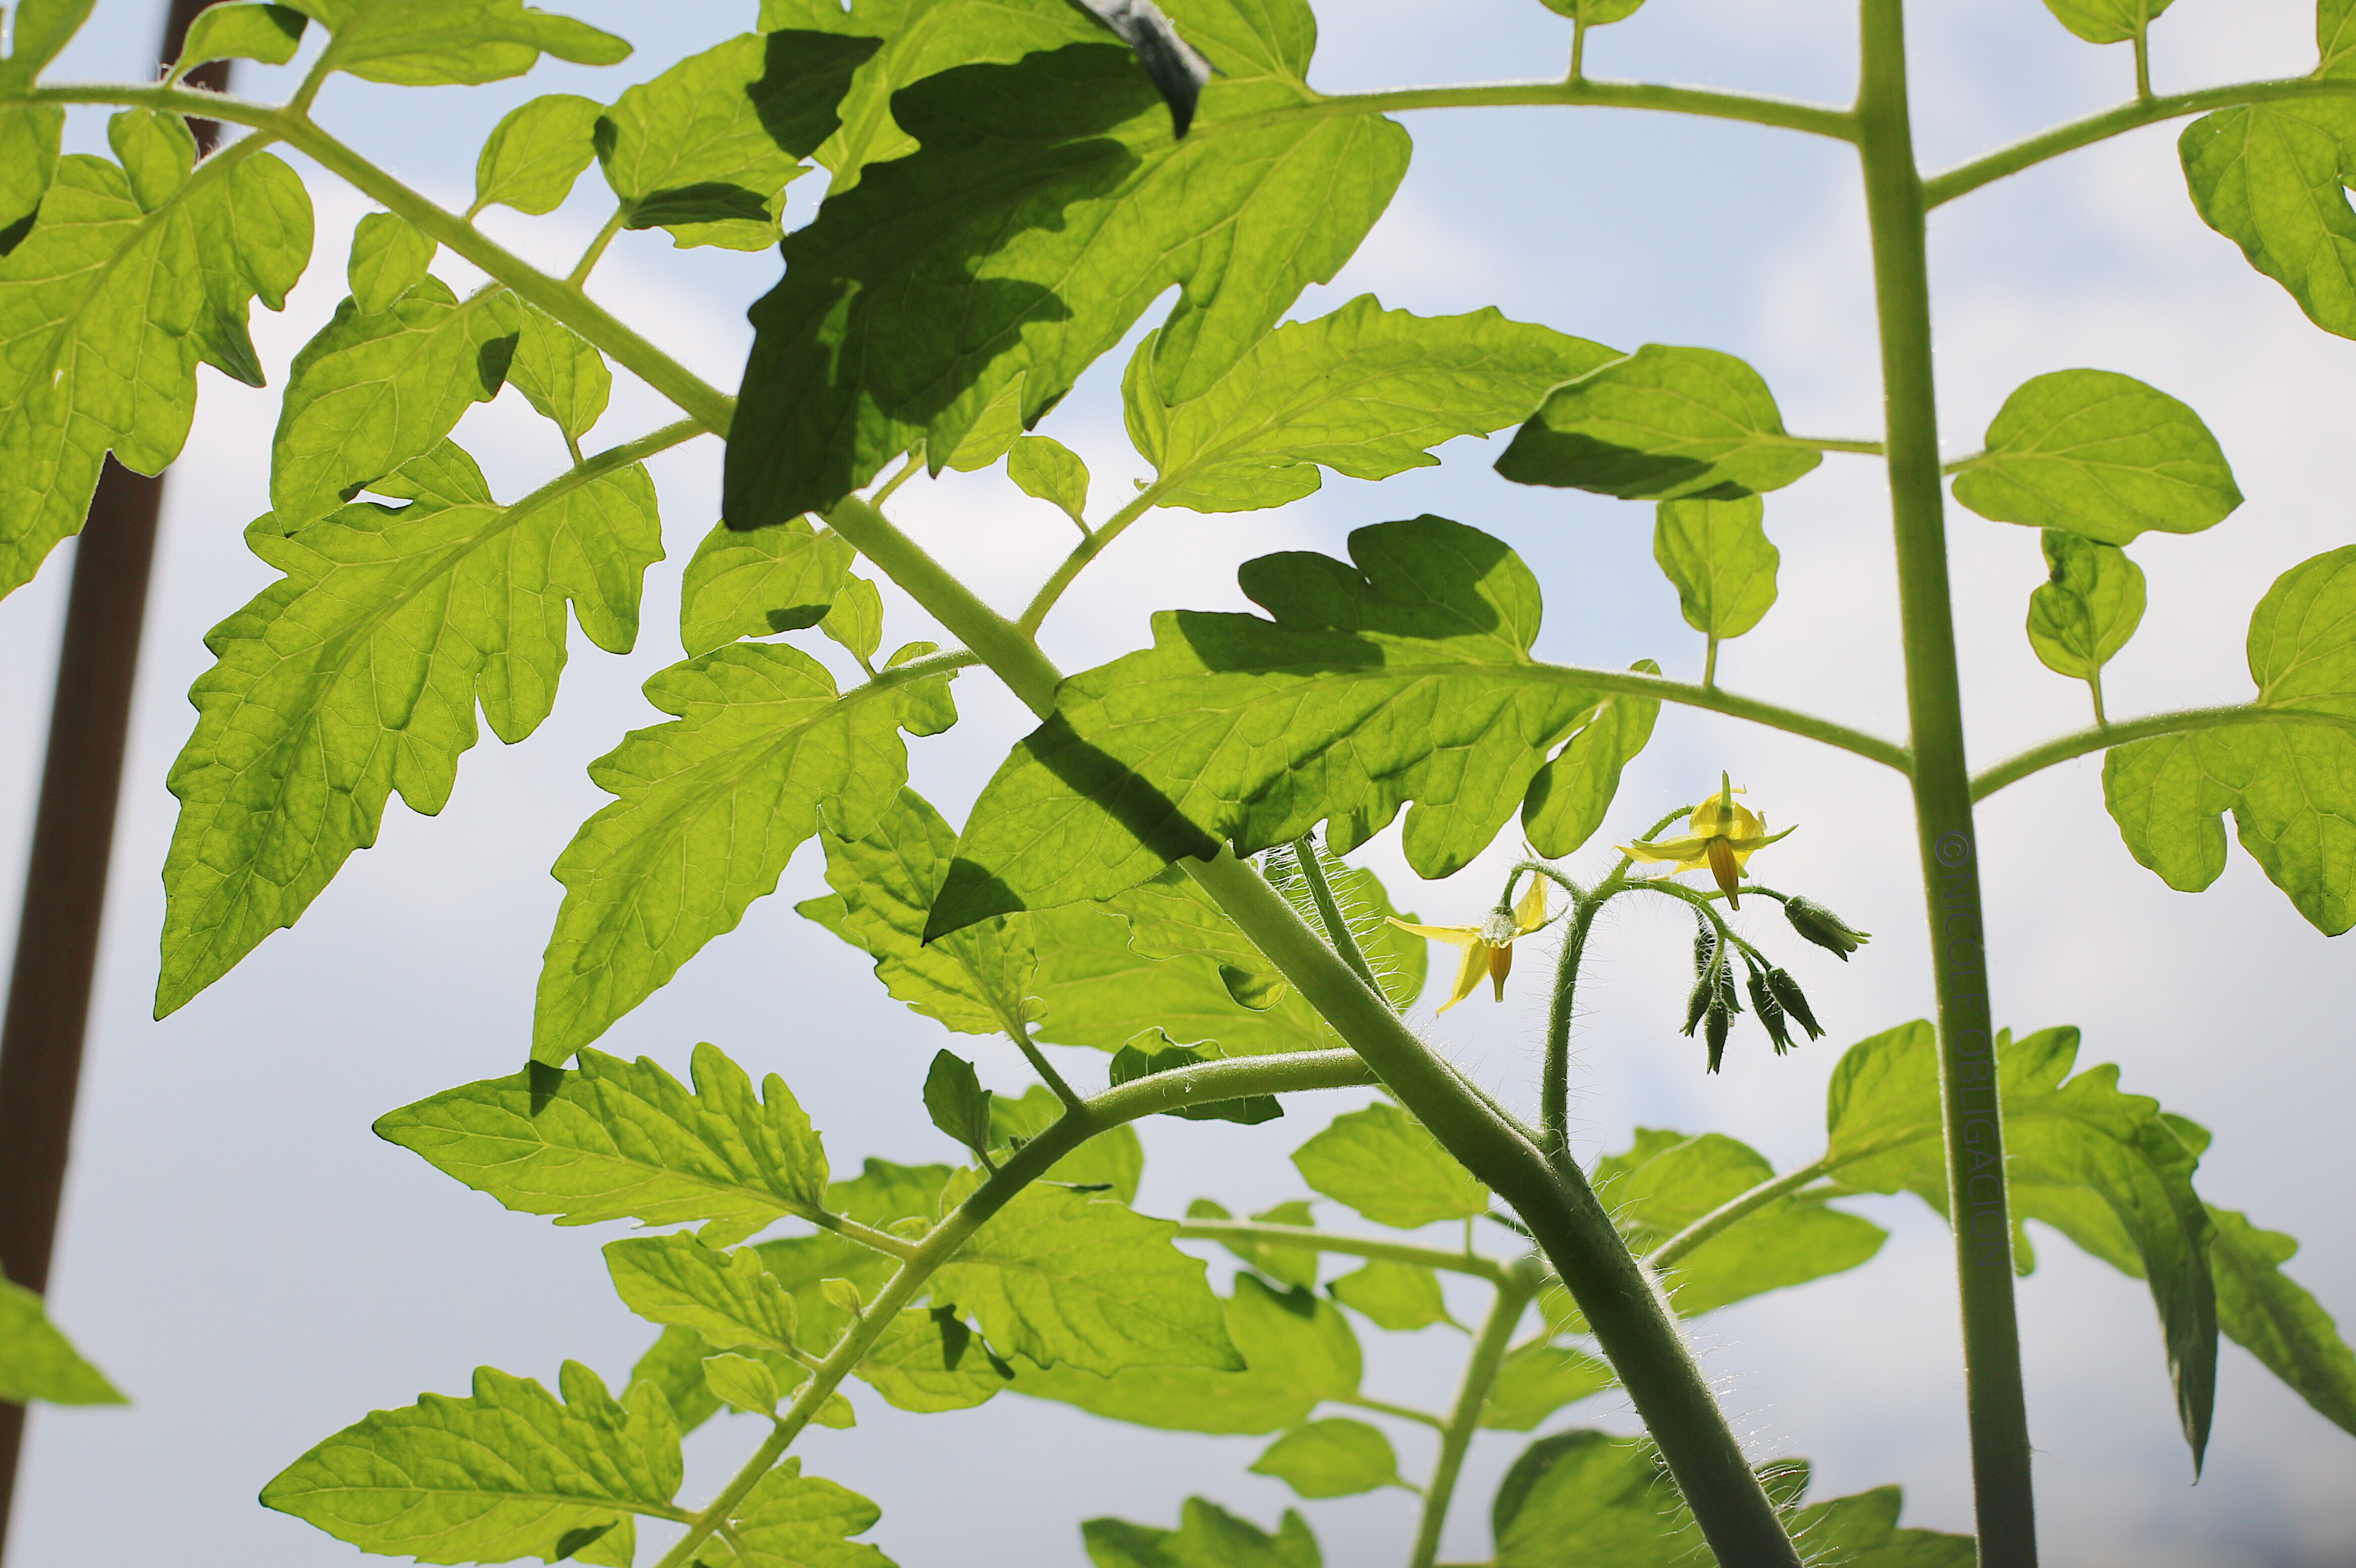
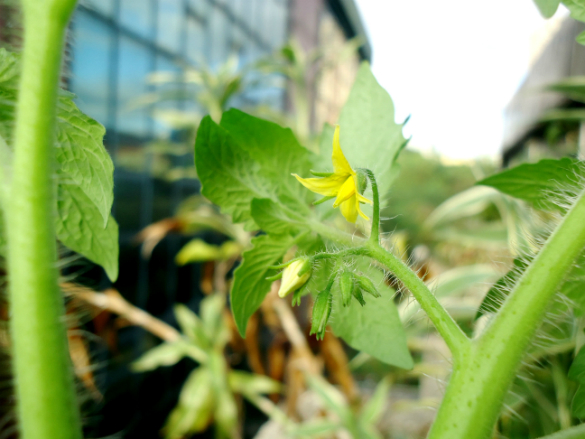
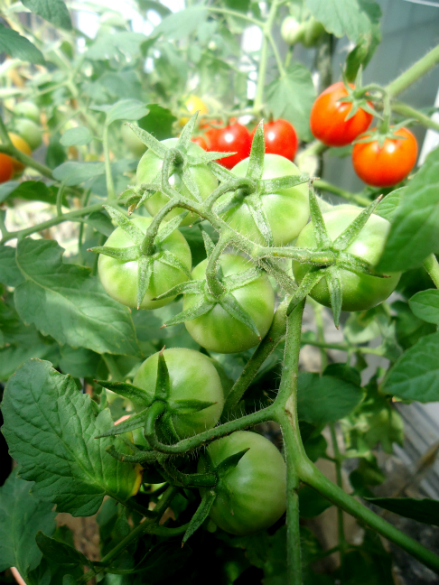
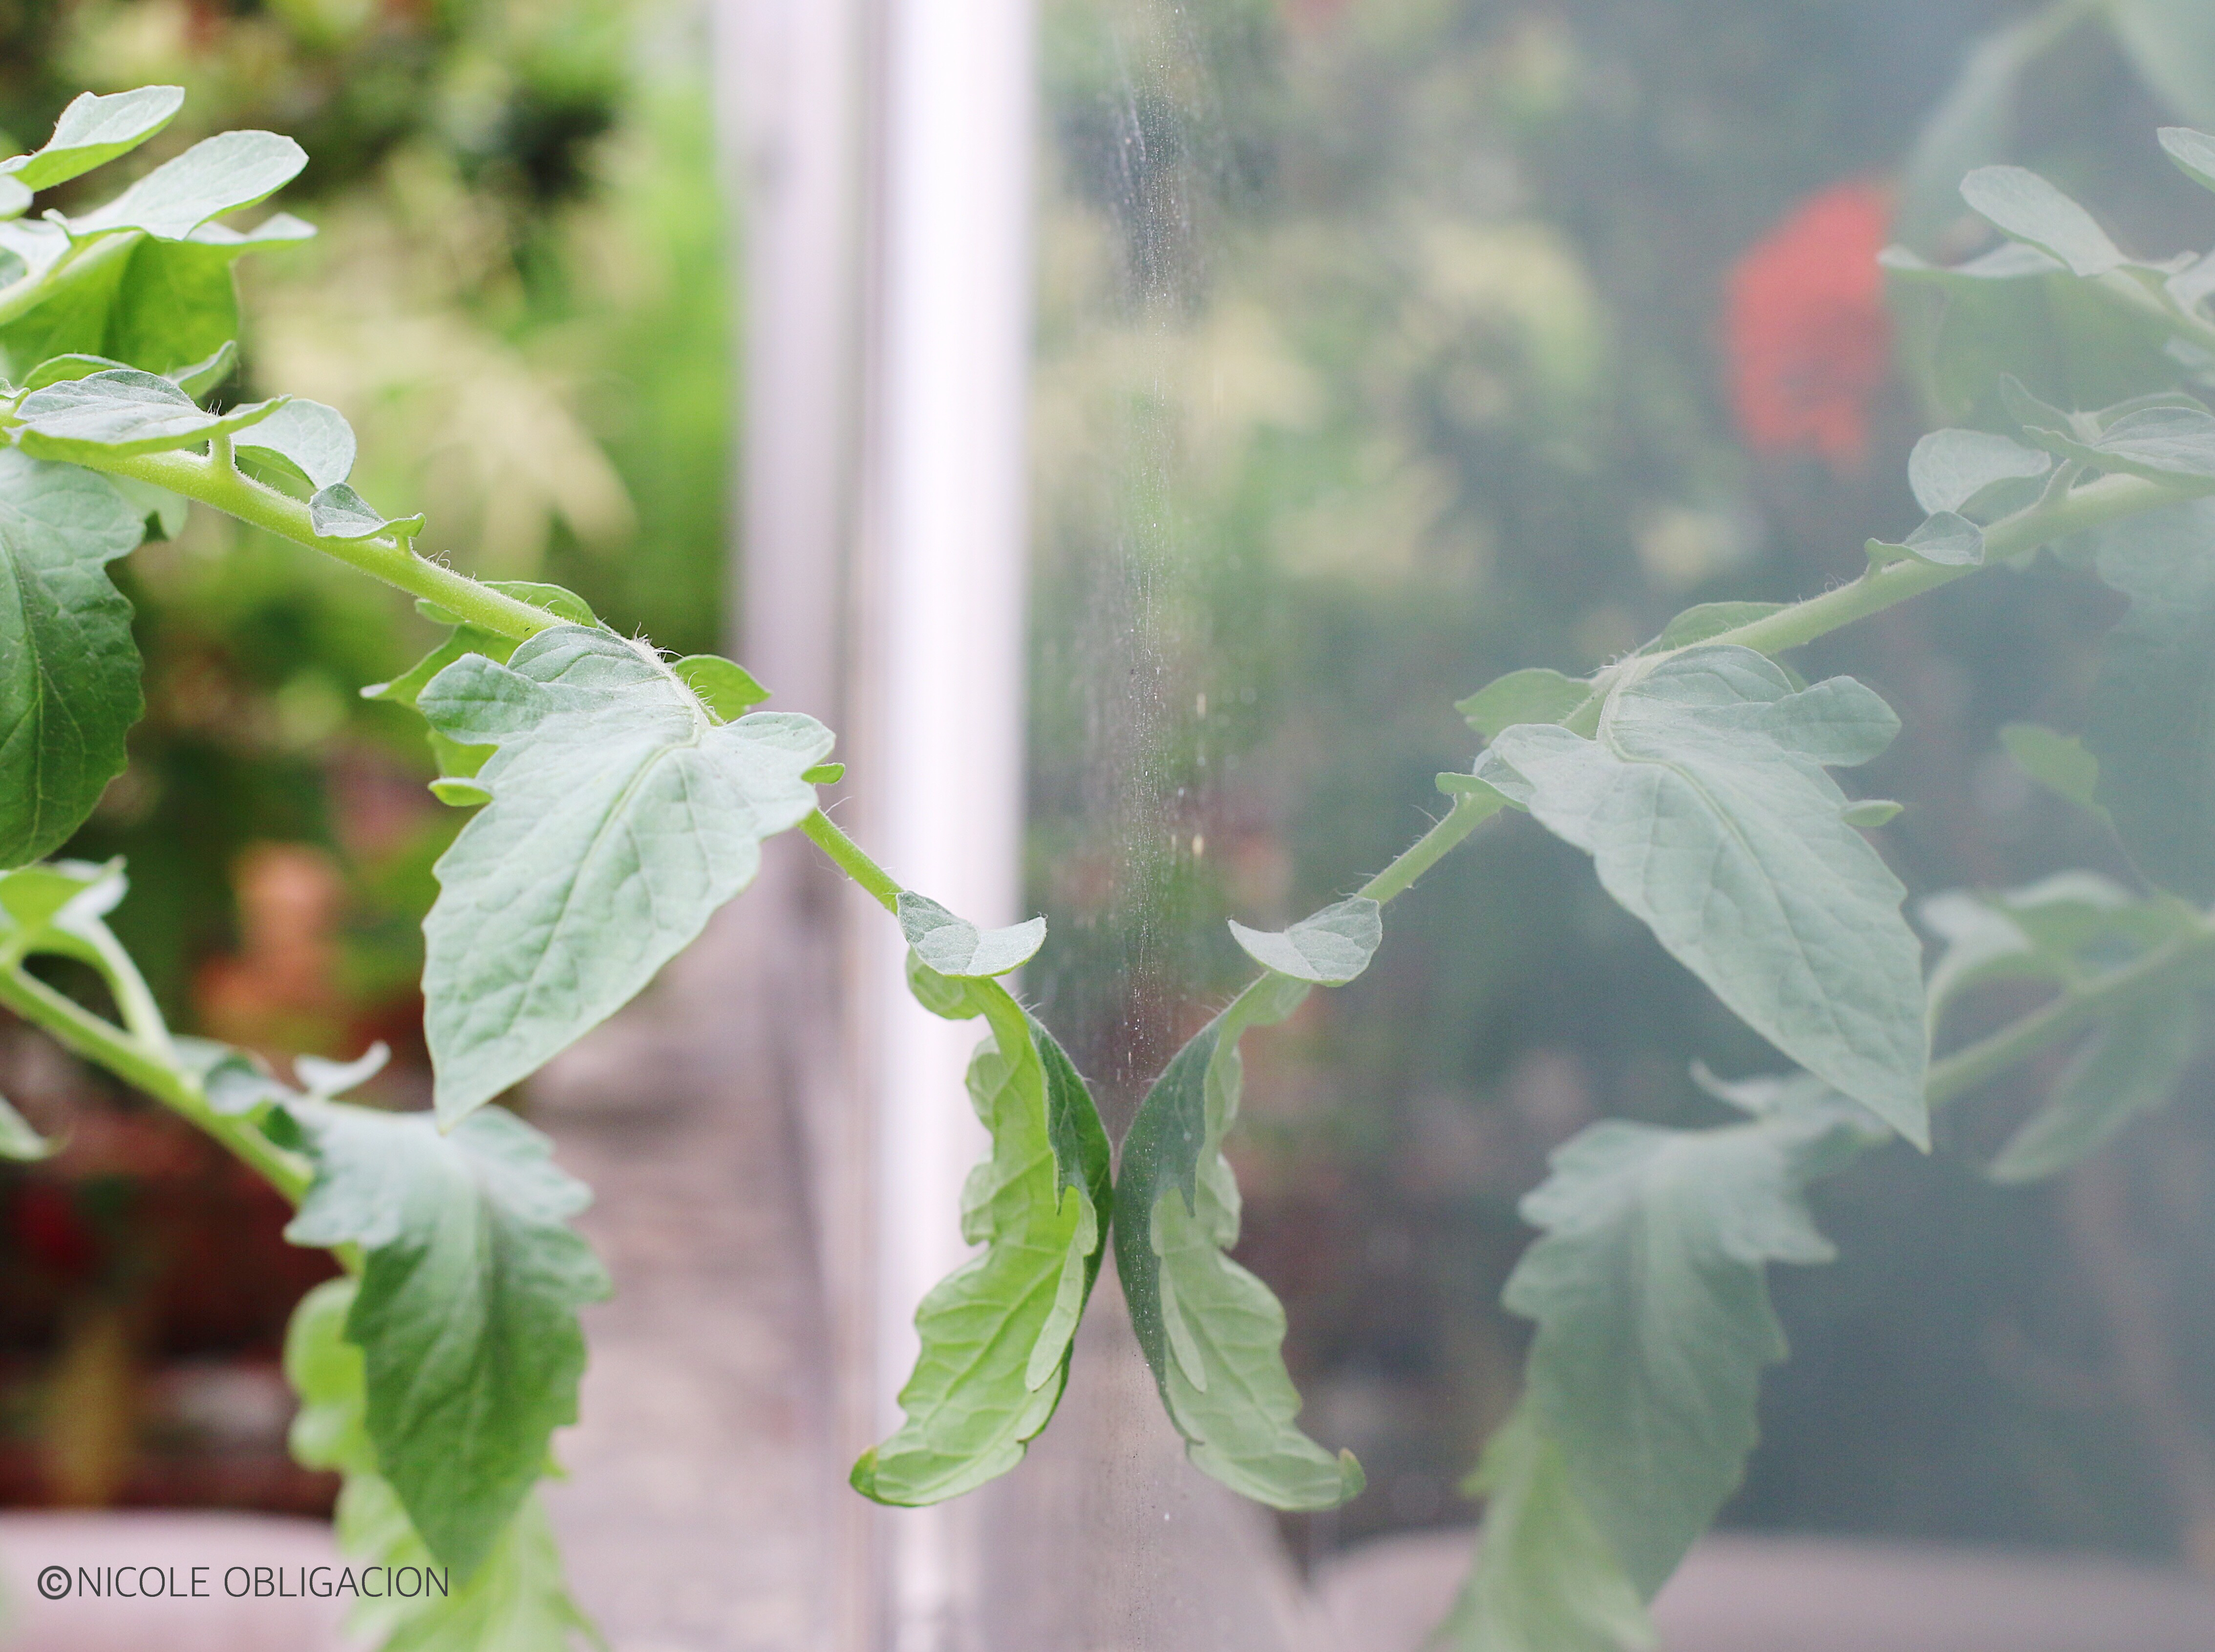
I expected the same result in this batch. But, when the unripe, green tomatoes stayed exactly the same after more than two weeks on the vine, I started to get worried. What was happening?! The fruits were not ripening on the vine; the remaining flowers were not turning into fruits; and the leaves were curling up and looking dehydrated.

I consistently and generously watered the plants twice a day and I monitored the leaves to make sure there were no pests sticking under them. I even added organic fertilizer to the plants, hoping that it would help them ripen. But, none of these things worked. It only left me with one choice: To kill the plant if the fruits still do not ripen after a week and accept the fact that I will be harvesting more than two hundred unripe green cherry tomatoes.

That week, I expressed my disappointment towards myself and the situation to God. I asked Him why He still allowed me to go through the experience of seeing them grow and bear fruit ONLY to end up witnessing their growth “freeze” in the heat of summer. My heart got more discouraged after I read articles online about the possible reasons why tomatoes do not ripen on the vine.

The only common answer I read that was applicable to my situation was the extremely hot weather. Apparently, tomato plants thrive between 18 to 29 degrees Celsius. Anything less or more than that would not be advisable for their growth. This explains why my plants stopped developing its fruits! While the green tomatoes were growing on the vine, we were experiencing very hot weather in the city! We had an average of 33 to 35 degrees Celsius.

It was during this time that God helped me realize how I should be wise in gardening. Even if I wanted to grow certain vegetables, I should do my own research on the ideal temperature, water levels, composition of fertilizer, soil condition, and the weather in our city. If I do not do so, I will be wasting resources and I would not be able to maximize the plants’ potential. Some time ago, I did experience this when I tried to grow broccoli in the hot Manila weather. Instead of producing the usual broccoli, the plant got so stressed because of the heat that it caused its buds and florets to be unusually huge.

Unfortunately, I still did not learn my lesson in planning first before planting. So, I told God that in a way, this heartbreaking yet humbling harvest of green, unripe cherry tomatoes really taught me a lesson. I also said that if it was NOT His will for me to see, harvest, and taste red ones this time, then it would be okay with me. I was choosing to be grateful, but honestly, I also struggled with watering the plants because I thought “Why bother when they will not ripen on the vine anyway?” My heartbroken self intentionally did not water them for three days.

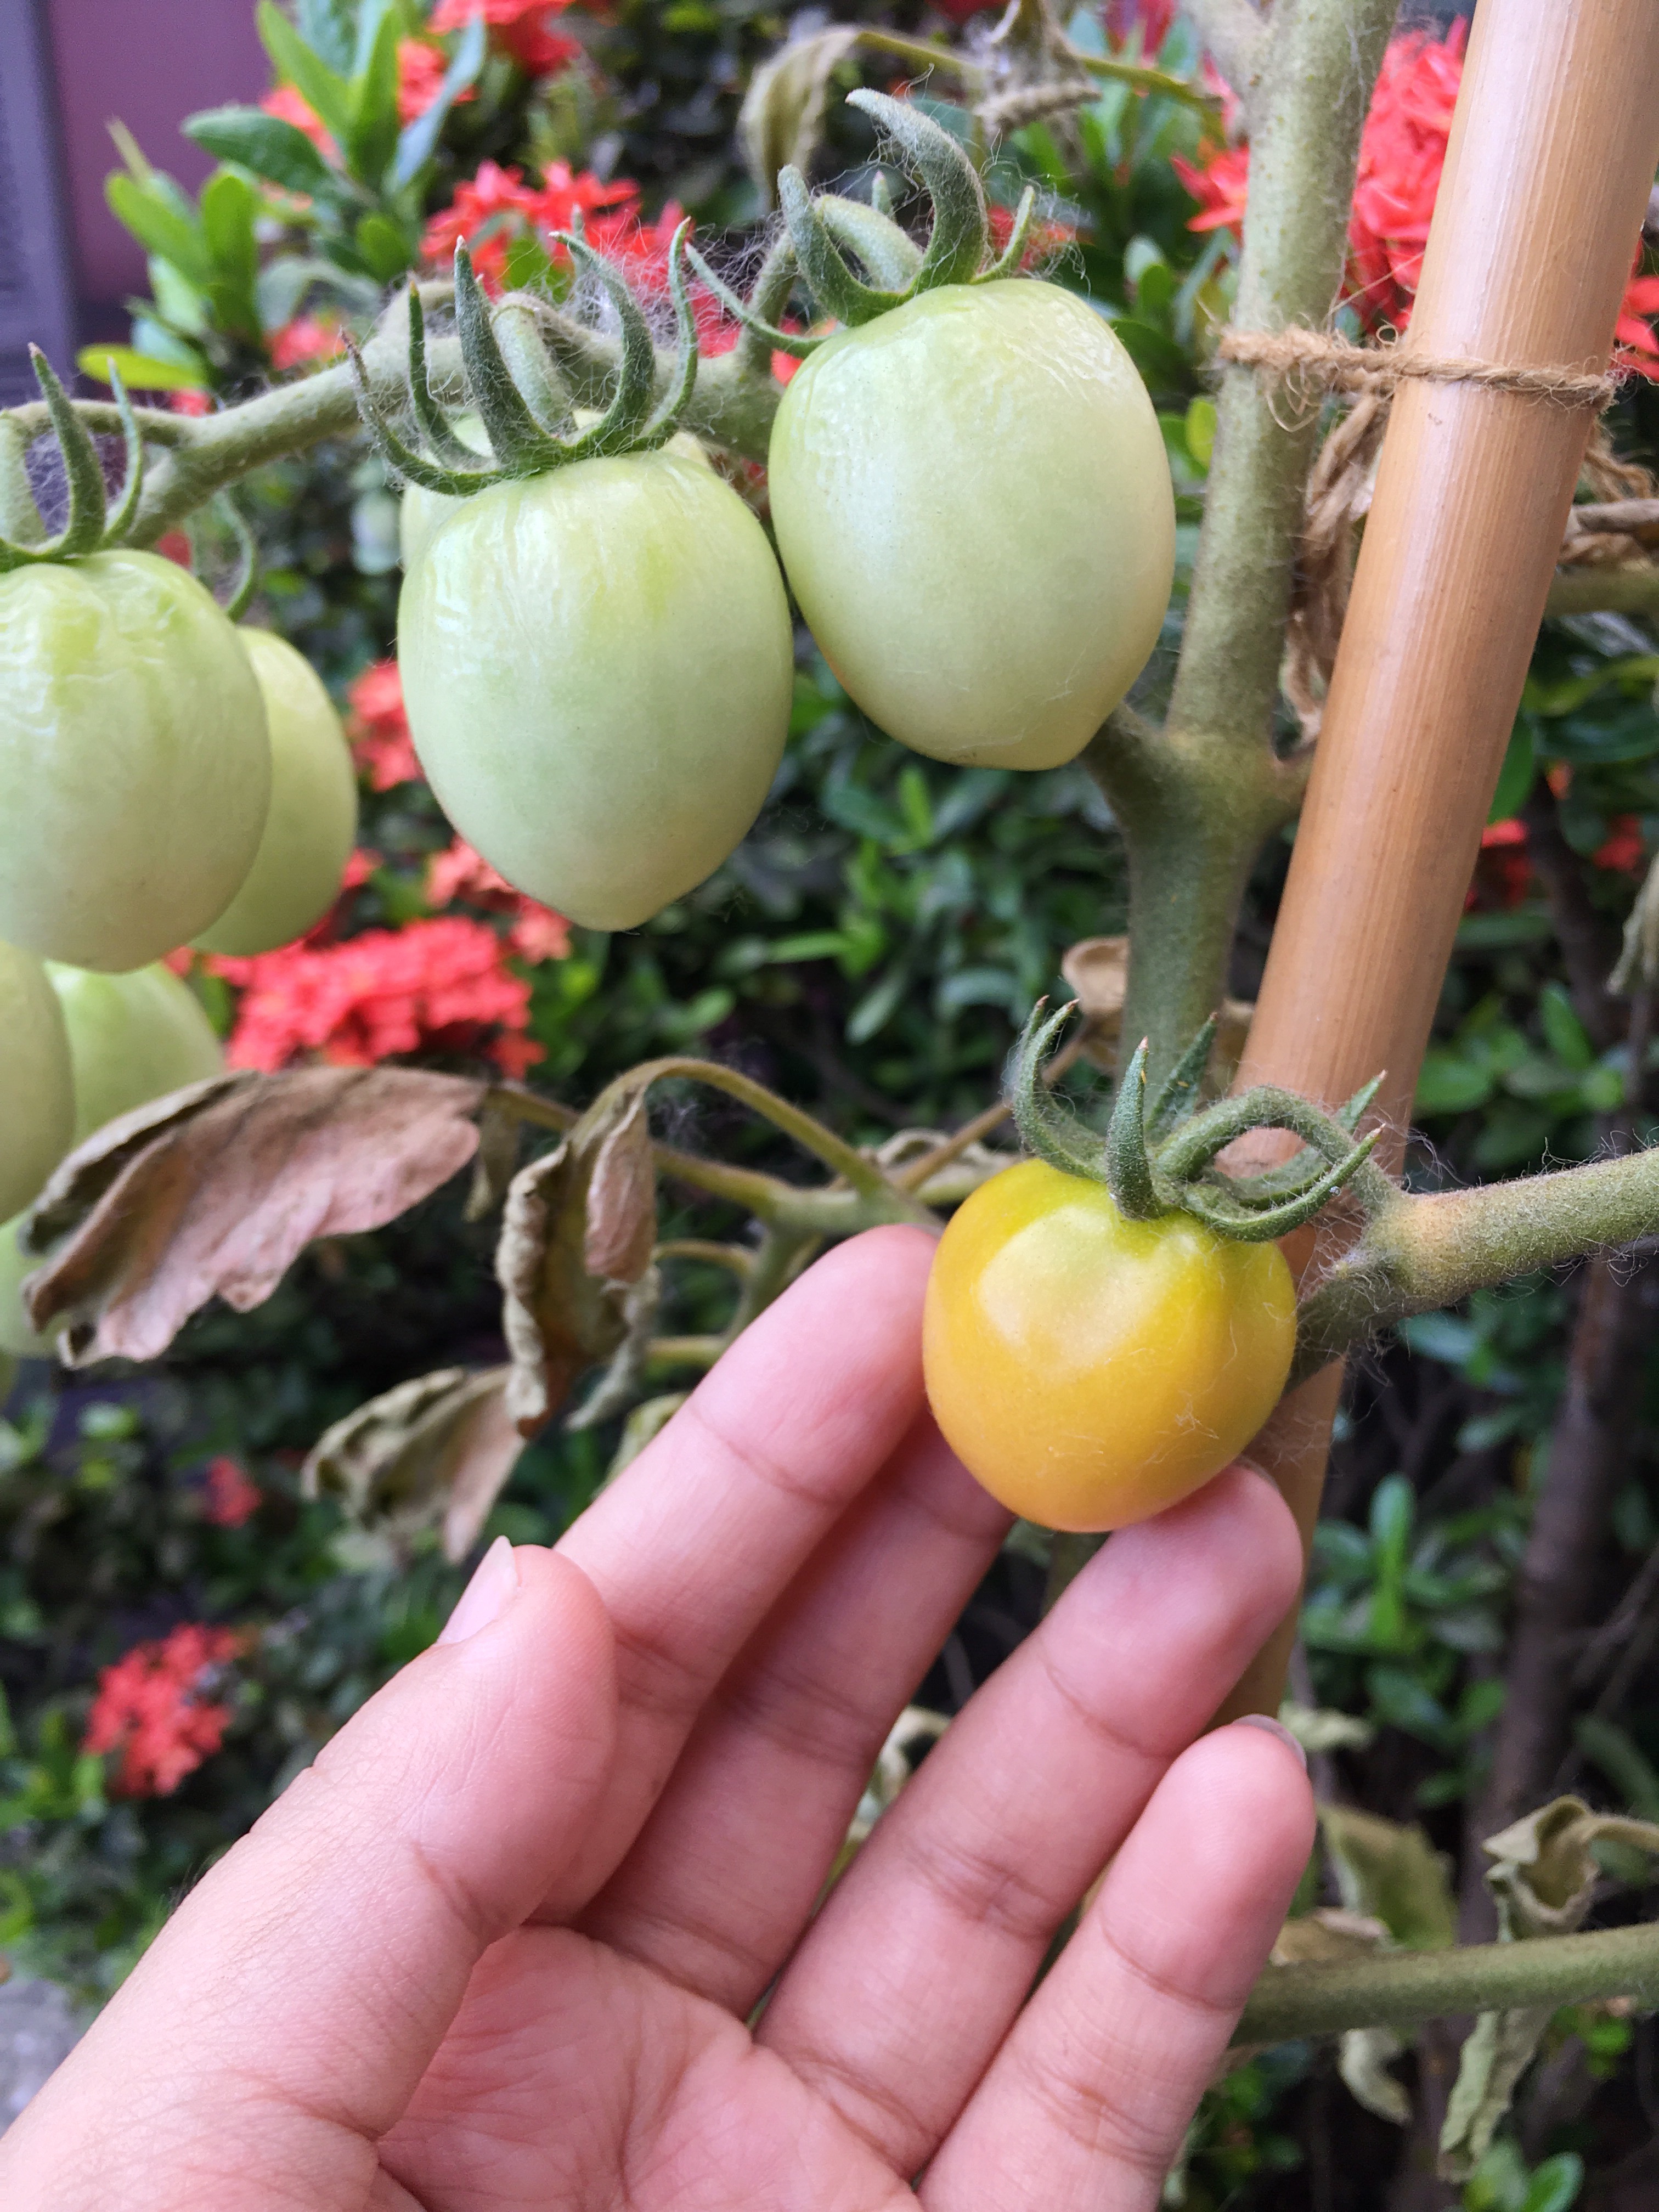
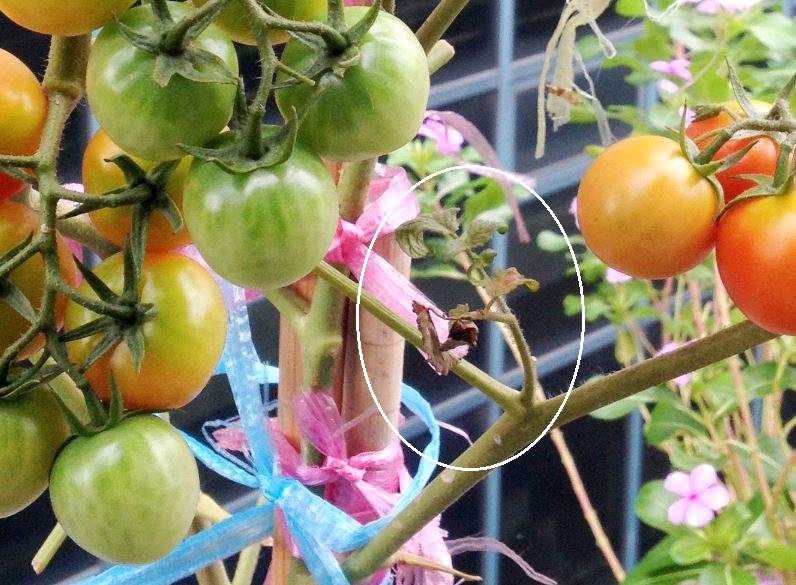
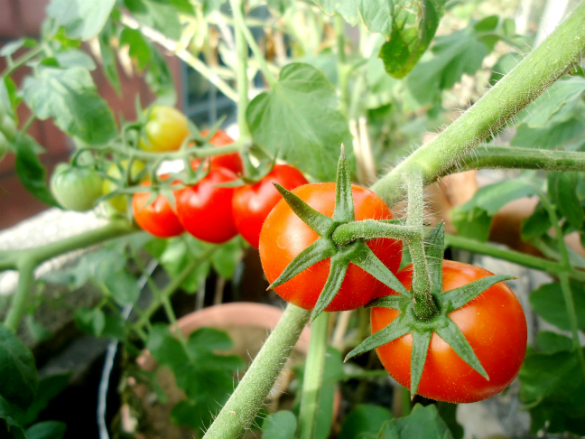
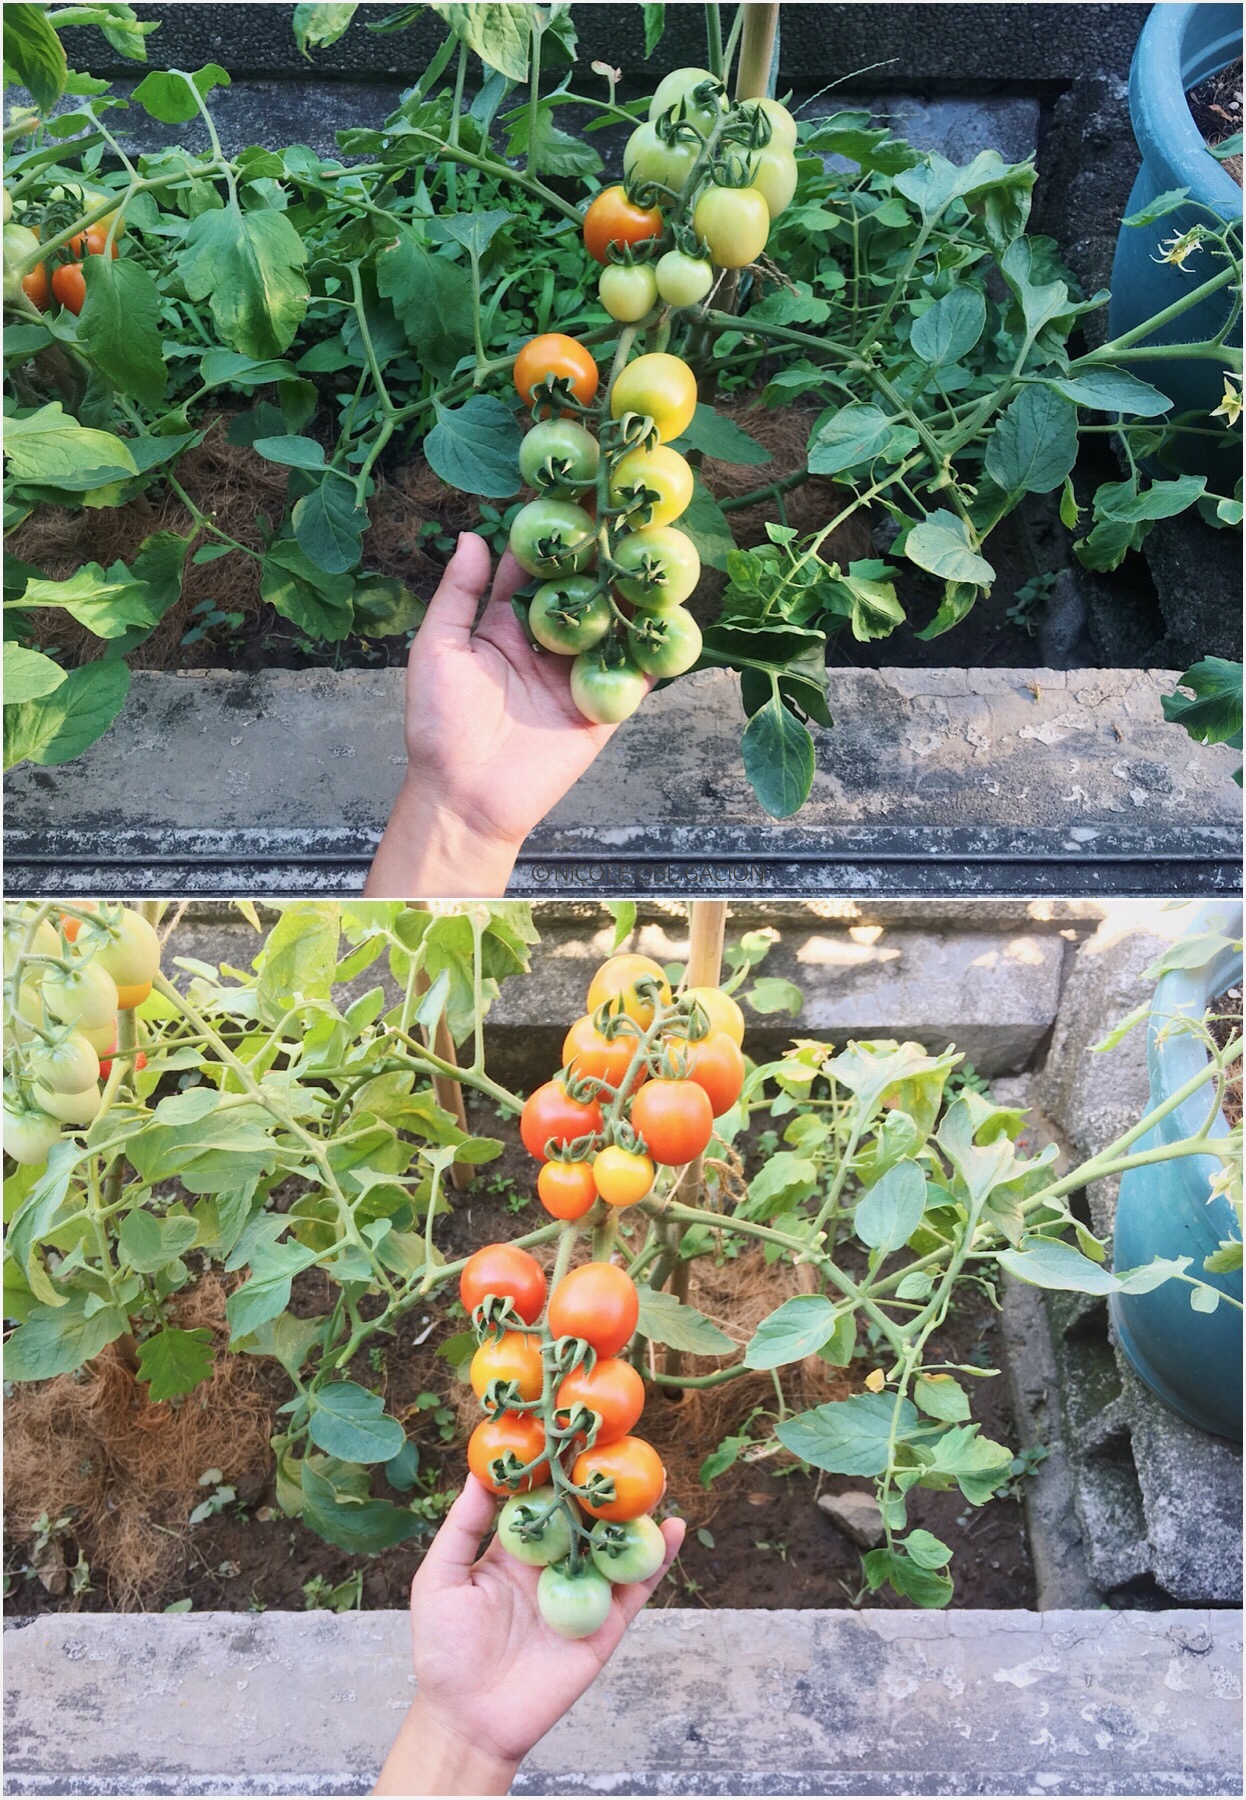
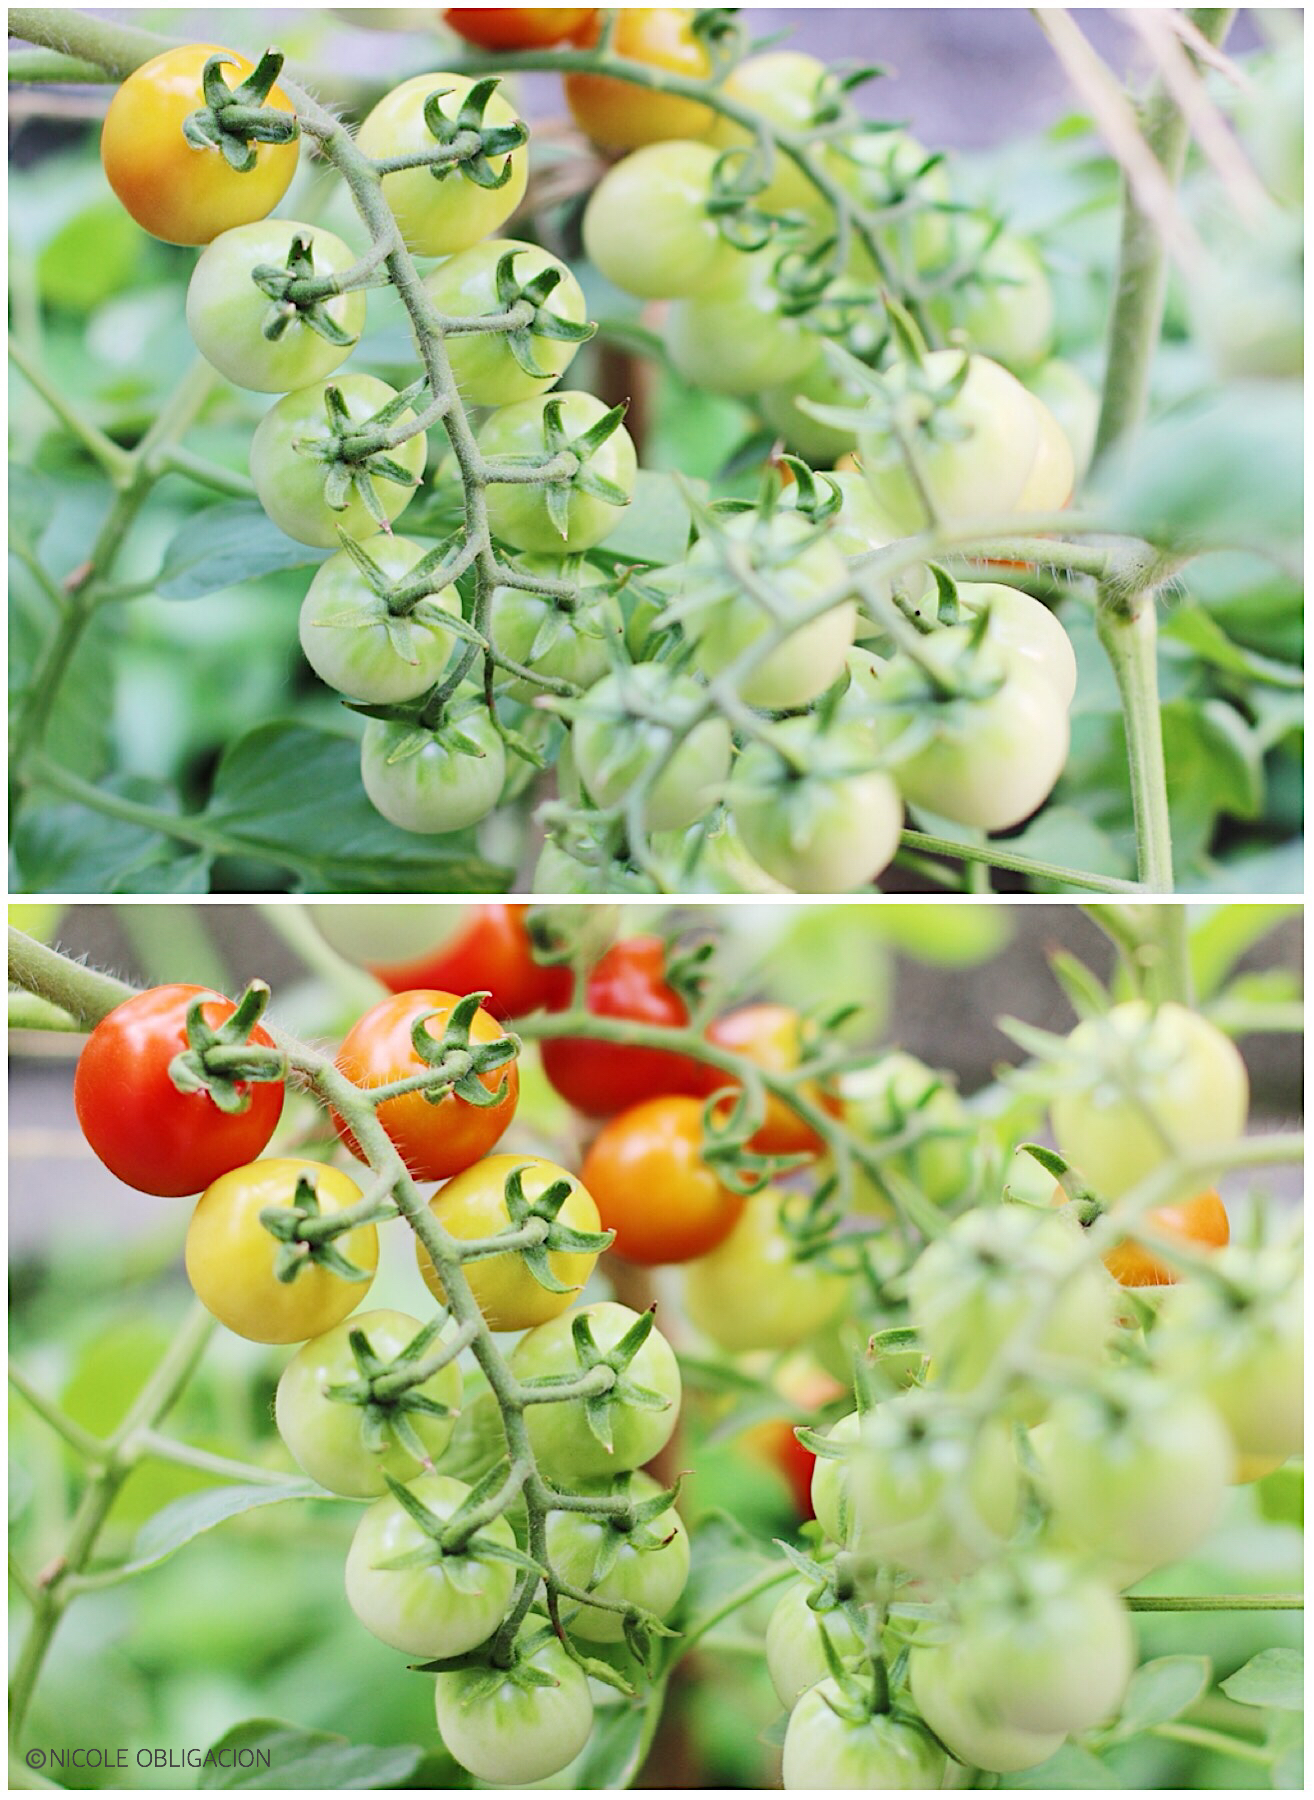
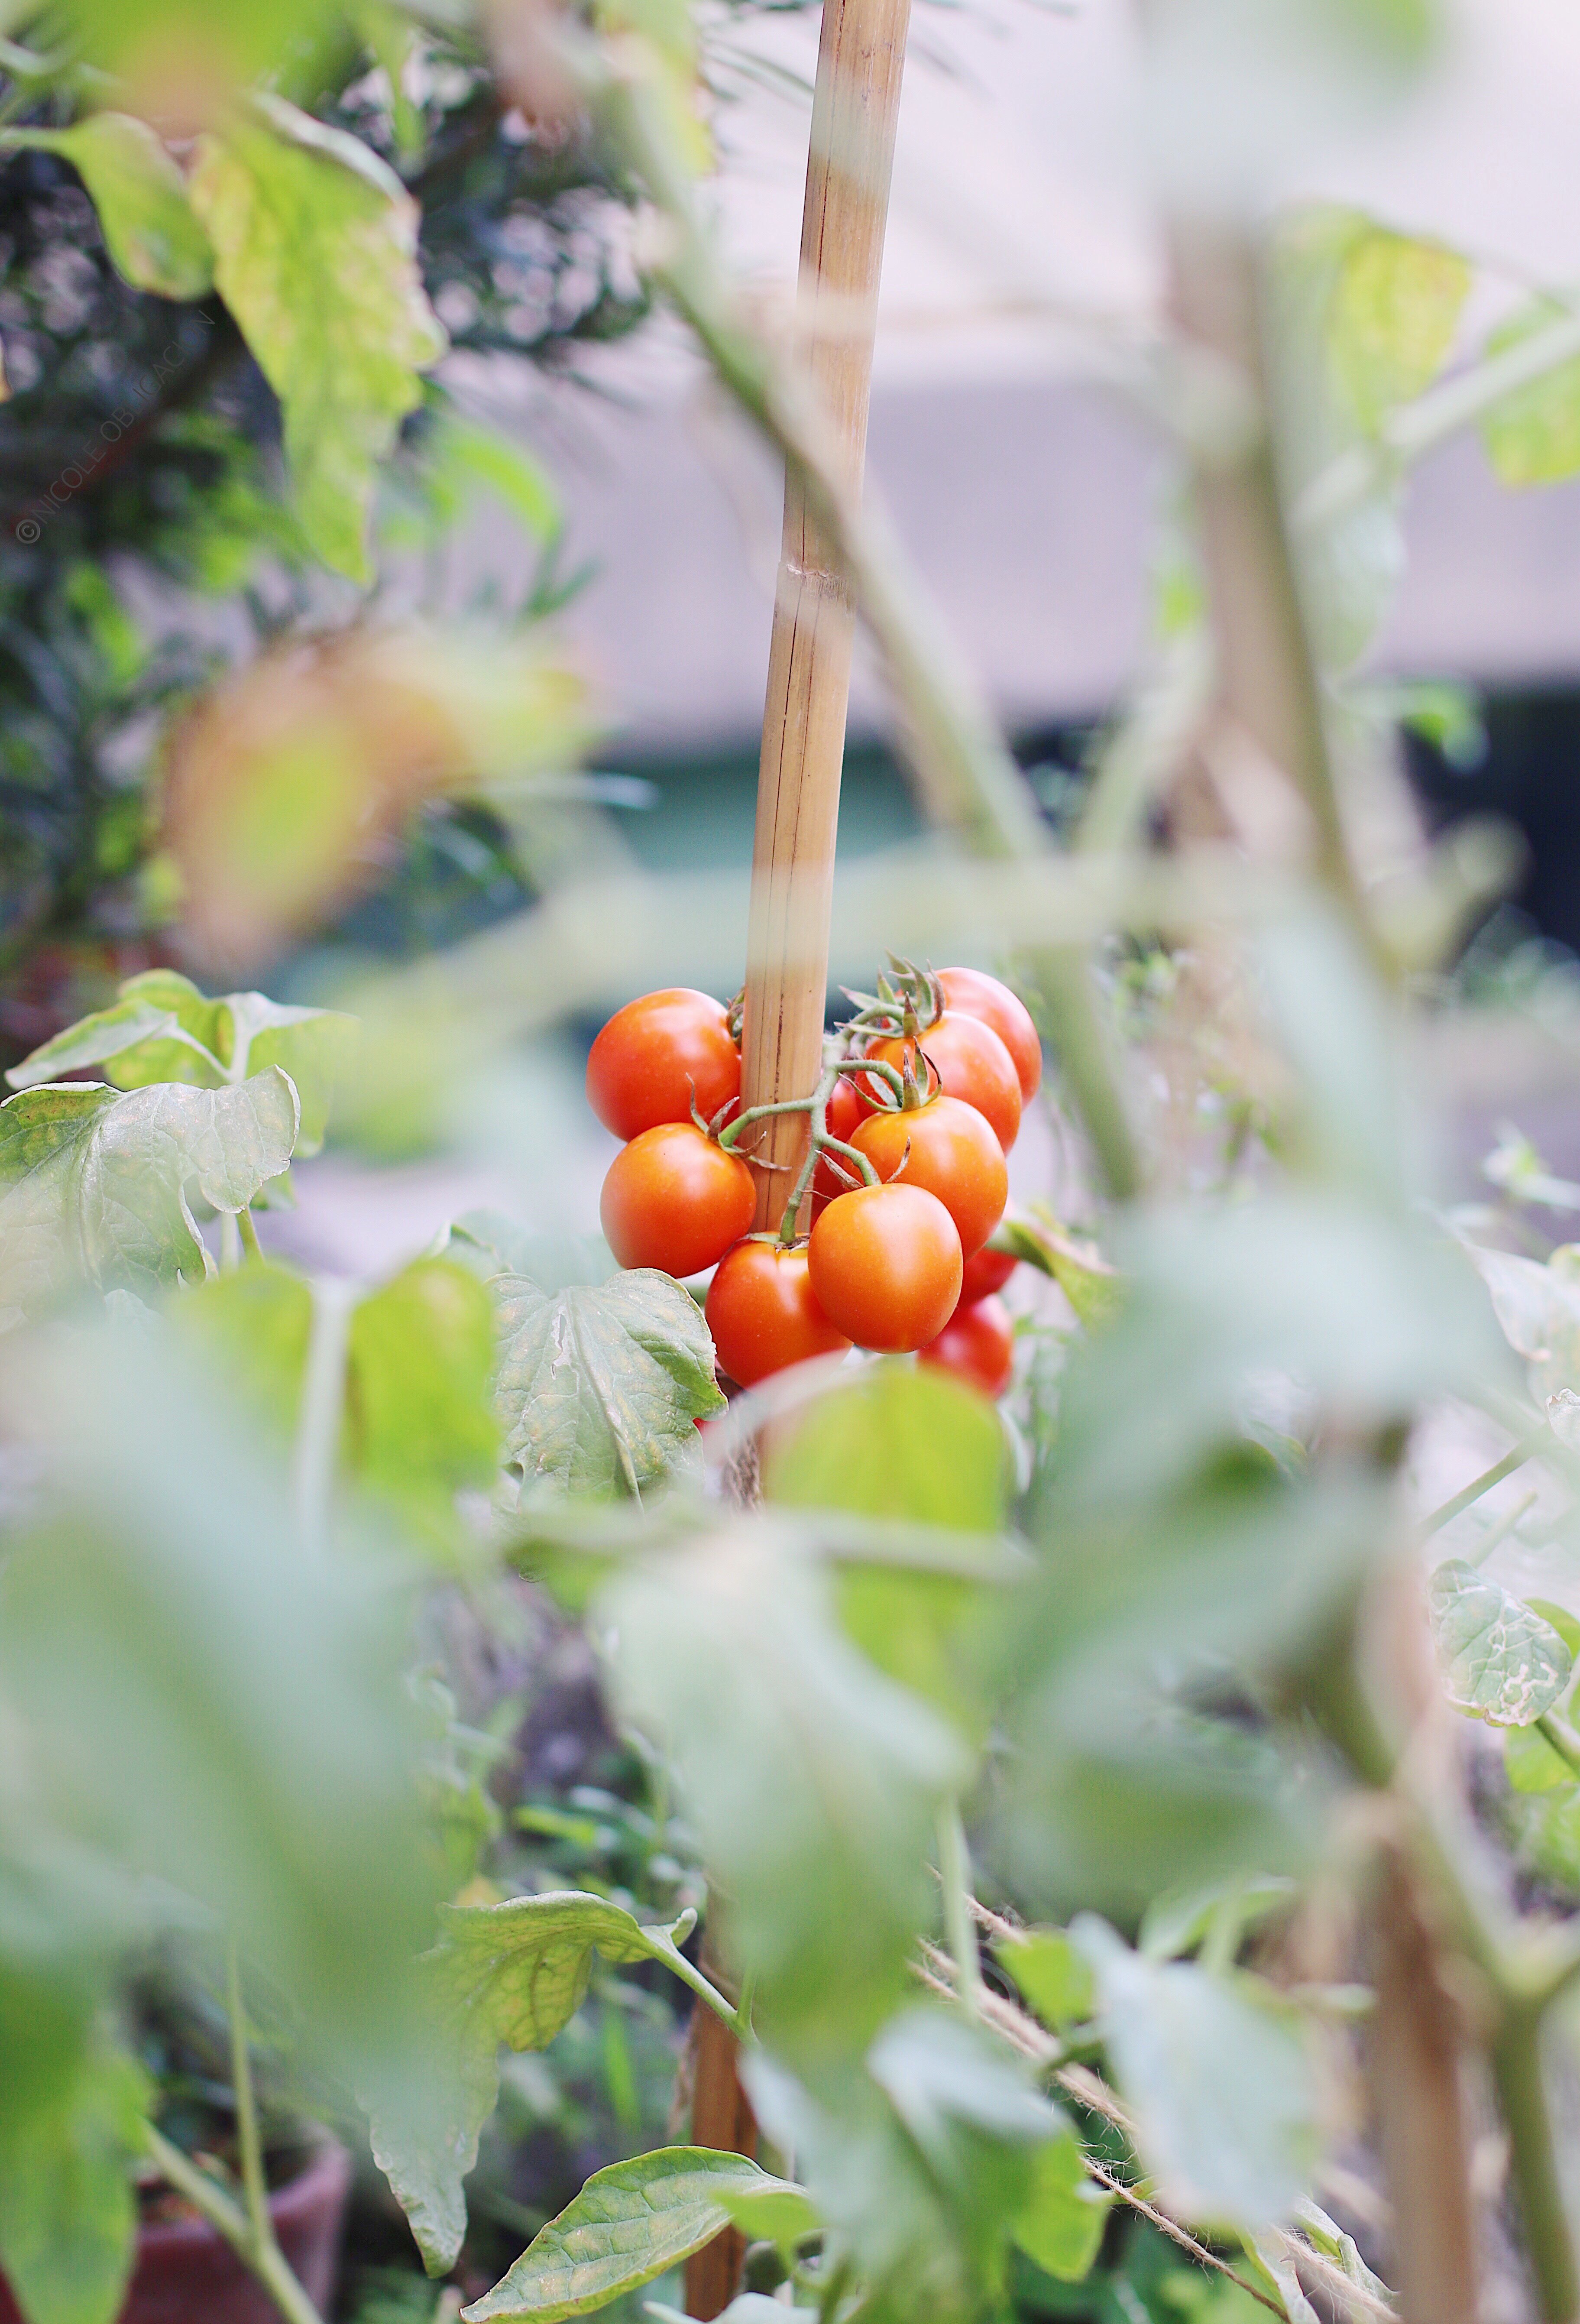
During those days, the sky surprisingly became gloomy. Would you believe it? After weeks of extreme heat, we were being showered with soft rains. Just a few days before the weekend (when I was supposed to kill the plants), I saw my first light orange cherry tomato. I thought, “Is this for real? I have an orange tomato?!”

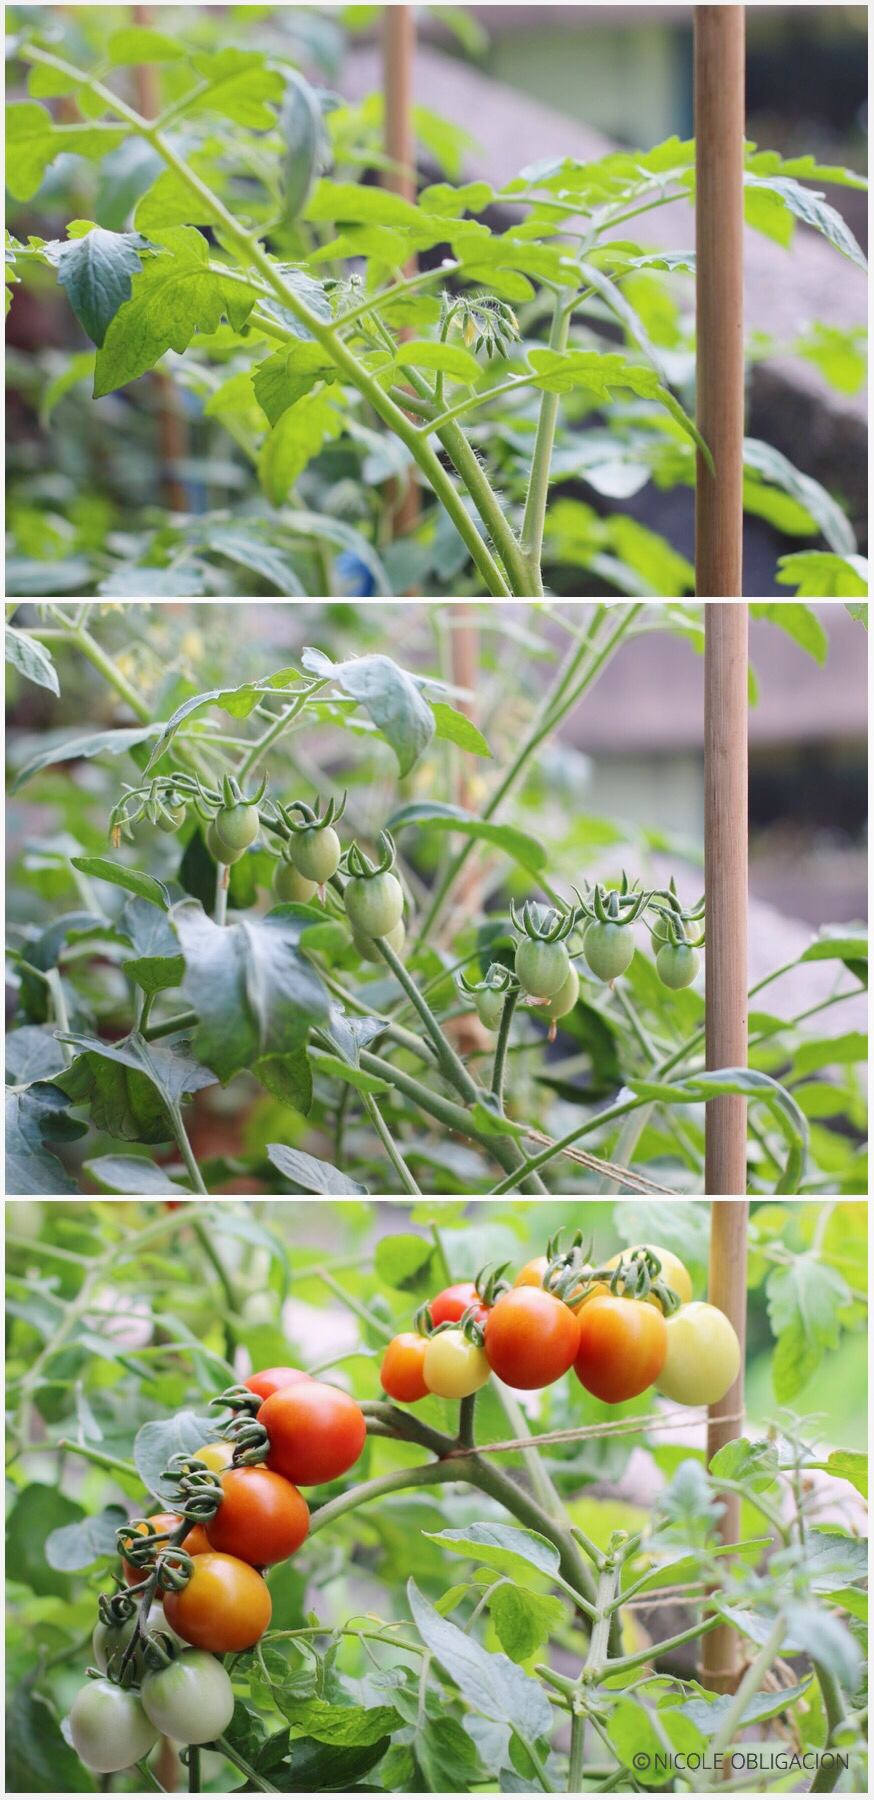
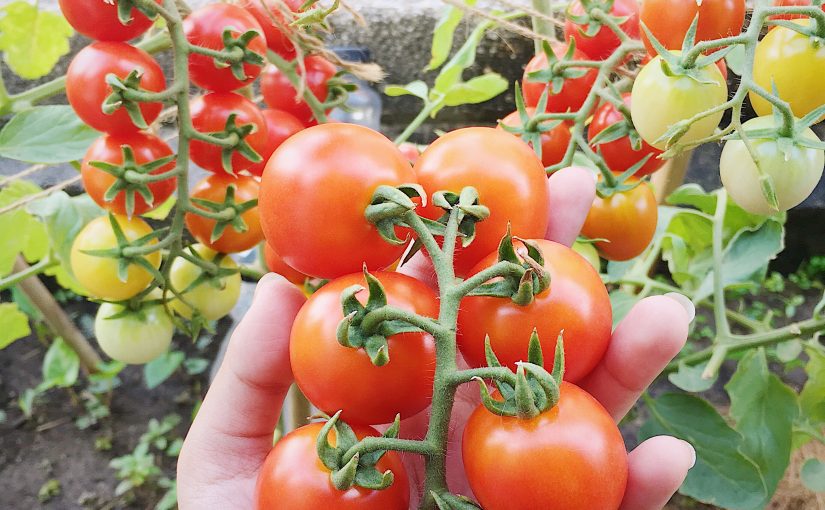
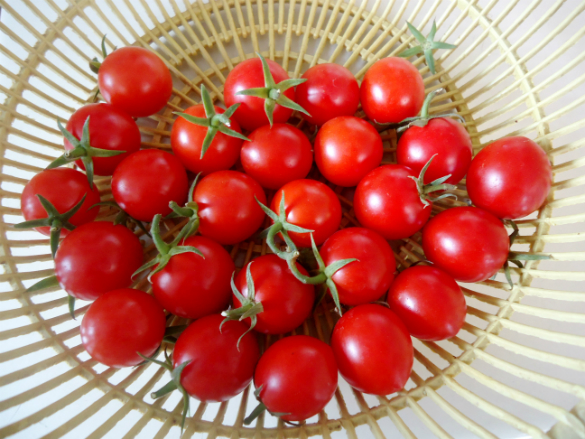
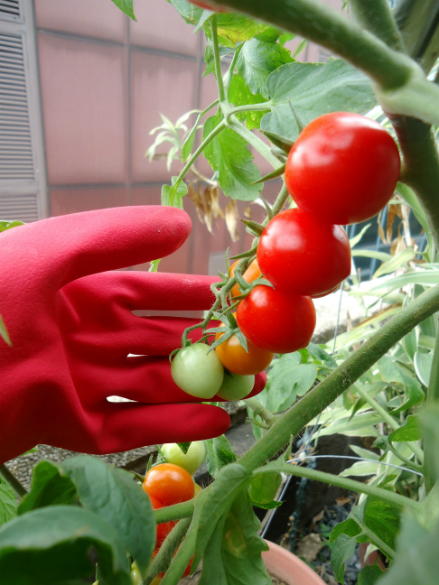
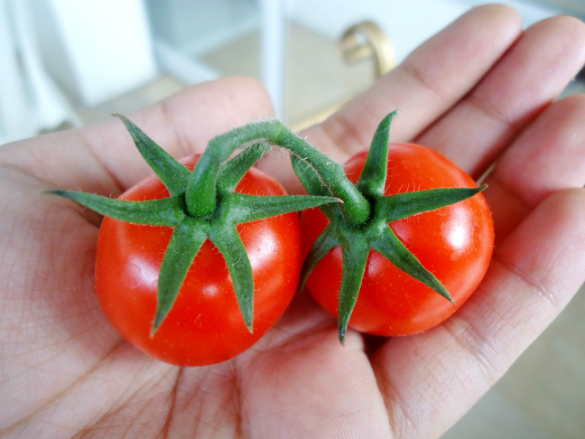
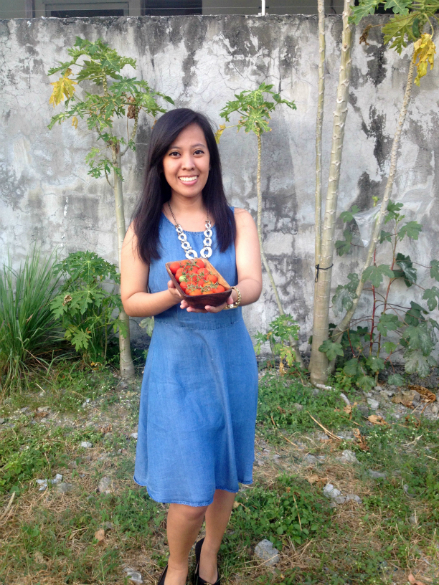
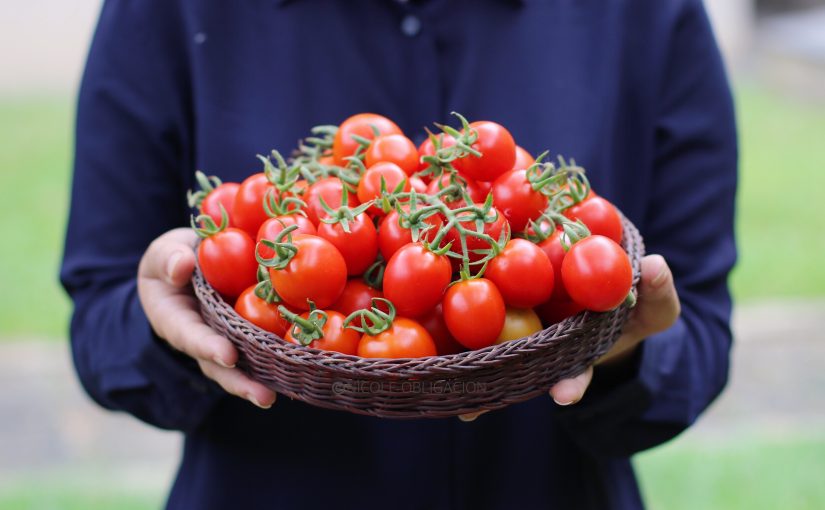
Despite me giving up on them, God was graciously watering and taking care of the plants for me. I ended up not killing the plants because of the hope that I suddenly had in my heart. The weather was becoming cooler and more green tomatoes were changing its colors. In less than week, by God’s grace, I was able to harvest a batch of bright red, smooth, and juicy organic cherry tomatoes from our veranda. Some of my friends could not believe how they looked! Their blemish-free skin made them seem like fake or toy tomatoes.

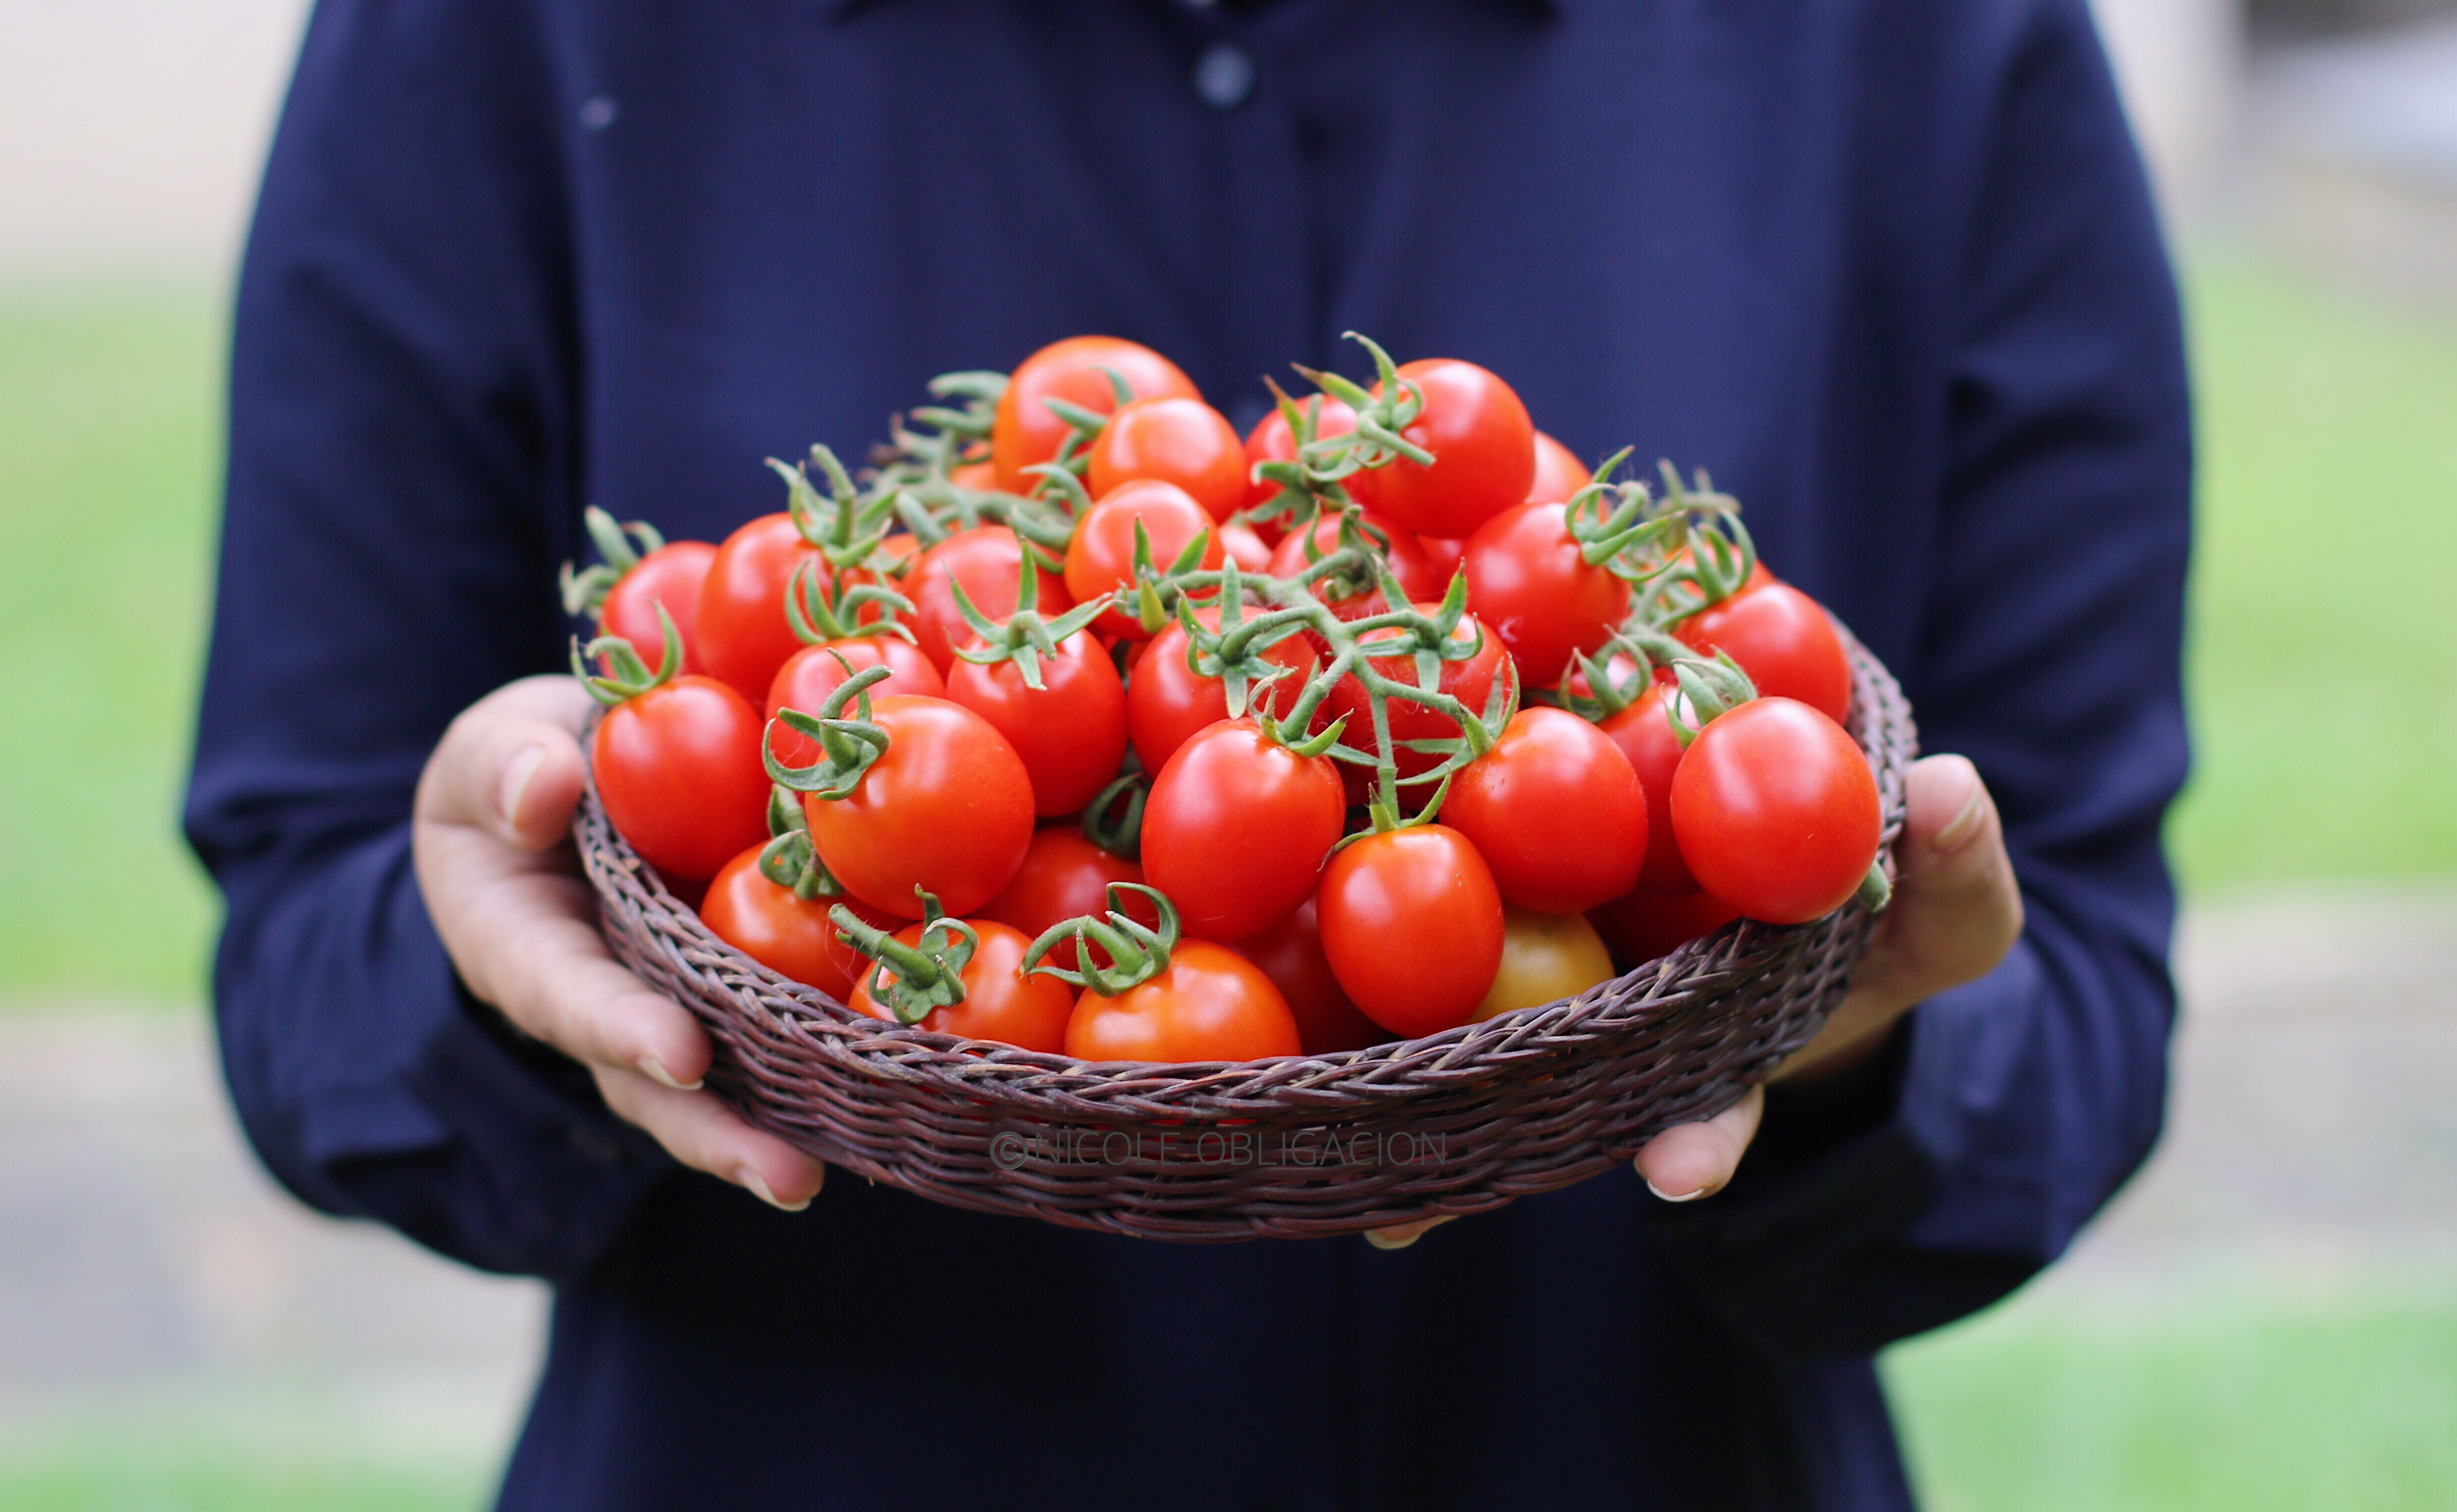
Before I planted the seeds, I felt that I wouldn’t be able to share something new about growing cherry tomatoes. But, I am able to share with you the best batch of cherry tomatoes I’ve grown since I started gardening a decade ago! This is only by the grace of God. I realized that He was helping me learn the value of not giving up on myself and others even when I do not see any progress or good results yet. God does not and will not give up on us. If I had given up on the plants and killed them right away, then I would have missed out on the privilege of sharing the fruits to my family, old and new friends, my colleagues, a VIP business partner at work, and many more.

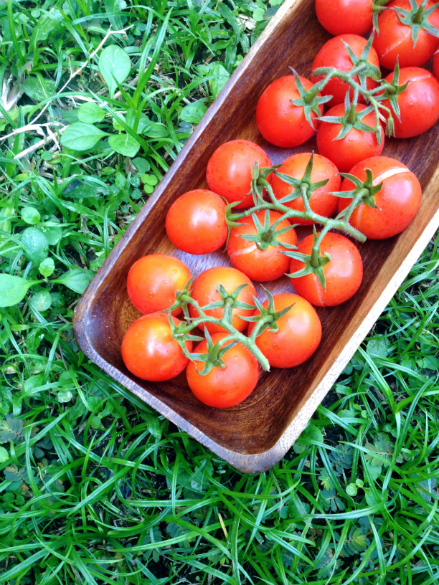
Moreover, I just found out this month from a chef friend that when it comes to buying cherry tomatoes in the market, the ones still attached to the vine are far more expensive than those detached from it. There’s a higher value on it because of the variety’s uniqueness and appearance, especially since it makes a beautiful garnish as it adds sweetness to the dish. What an awesome trivia! It reminds me that, in the same way, we are nothing without God and we are only able to grow and bear fruit in this life when we are connected to the Vine (Jesus).

It says in John 15:4-5 “Remain in Me, as I also remain in you. No branch can bear fruit by itself; it must remain in the vine. Neither can you bear fruit unless you remain in Me. I am the vine; you are the branches. If you remain in me and I in you, you will bear much fruit; apart from me you can do nothing.”

Summer is ending soon, which means that the cherry tomato season for me will end soon too. I only have a few left ripening on the plants, but I do look forward to learning more about growing tomatoes next Summer! Hopefully, I’ll get to successfully grow beefsteak tomatoes by then! Haha.

Happy gardening and learning, everyone!


For more gardening updates and tips, feel free to visit the ff. pages of ANYONE CAN GARDEN. :)

Facebook

Instagram


Hello, 2016!

It’s the first day of 2016 and I couldn’t be more excited! Woohoo! There’s always that wonderful feeling whenever I am reminded of a brand new start. Because of the New Year, I’ve been seeing quite a lot of resolutions in my news feed. Some of my friends plan to avoid eating junk food this 2016, while, others will do their best to refrain from shopping for a year.

IMG_2223


I’m still working on my action steps and resolutions. But, more than these things, I find delight in knowing that we can place our hope in God, whose mercies are new every morning. It is because of Him and through Him that we can experience breakthroughs, miracles, and personal transformations this 2016. Yes, regardless of our past, weaknesses, and fears.

“Yet this I call to mind and therefore I have hope: Because of the Lord’s great love we are not consumed, for his compassions never fail. They are new every morning; great is your faithfulness.” –Lamentations 3:21-23

IMG_2303


As we welcome another year, I would like to share one of the treats that remind me of having and enjoying a fresh start. It has been two years since I last prepared Jell-O. So, recently, I tried to make a batch again. This time, I used oranges and watermelon as my base. If you have the time, I encourage you to give it a try as well! For starters, I recommended making the orange wedges first, since the watermelon is a lot more tricky to handle.

IMG_2329

IMG_2311

Here’s to enjoying a brand new start and to having a hopeful and fruitful year ahead! God bless you!

“You’re making me stronger. You’re healing my heart.
With Your hands You hold me and You set me apart.

Now I’m made new because of You.

You hold my head up. You remind me who I am.
You hold my head up, I’m alive in You again.
I’m made new.”

-Lincoln Brewster’s “Made New”

(Special thanks to Mom and ate Camille for lending a helping hand. :P )

ORANGE JELL-O WEDGES

FotorCreated

IMG_2277

FotorCreated2

IMG_2326

IMG_2327

IMG_2340

IMG_2341

IMG_2339

WATERMELON JELL-O SLICES

IMG_2192

IMG_2213

IMG_2218

IMG_2255

IMG_2266

IMG_2270

IMG_2306

IMG_2308

IMG_2314

IMG_2317

God is Always on Time

I have recently embarked on a new gardening adventure at home. By faith, I am growing watermelon vines in a container bed! Yay! It all started when I was eating a slice of sweet watermelon in the cafeteria at work. My colleague and I were talking about some of the vegetables I’ve planted and I made a joke about planting the watermelon seeds from the slice of fruit that I was eating. Nonetheless, I went home that day with a small container filled with seeds and I planted them in a cup of soil. I really enjoy planting and growing seeds because I get to experience the privilege of knowing God more and I get to witness the seeds grow and bear fruit. I still have a couple of months to go before I harvest (by faith!) sweet watermelons. But, for now, I would like to share more about what I am learning from the vines I’m currently growing and how I am encouraged by God — who is always on time.

Watermelon vine
Watermelon vine

About a week after I planted the seeds, I came home from an out-of-town trip with friends and I remember checking my plants first before I slept that afternoon. To my surprise, I saw several sprouts growing in the cup where I planted the watermelon seeds! The sprouts looked so sturdy compared to the other fruit/vegetable sprouts I’ve grown. Also, they were beautifully long and happy. They even had the brown watermelon seeds attached to the leaves which gave me the assurance that they weren’t just weeds.

watermelon seedlings

When the sprouts grew bigger, I transferred them to a larger bed. Every day for five weeks, I watered the plants and provided fertilizer and mulch to help them grow. Taking care of vines at home is pretty exciting especially since it’s my first time to grow them. As I studied the different stages that the vine goes through, I learned that watermelon plants have male and female flowers too. When I found out about it, I remembered how my corn plants also had male and female flowers and how they also needed to be pollinated by hand in order for them to produce kernels of corn.

Pollinating the male and female watermelon flowers by hand.

However, the main difference between pollinating corn plants and watermelon flowers is the TIMING. Yes, for both plants, it is advisable to pollinate in the morning so that the sun’s heat can help activate the pollens once they touch the female flowers. BUT, corn plants can be pollinated everyday for a week since the tassels can produce pollens for days. If you missed a day, you can still pollinate the corn plant the next day. On the other hand, for the watermelon vines, the female flower opens its petals for only ONE DAY. If we don’t get to brush the pollens from the male flower to the female flower in the morning on the only day it opens up, the watermelon fruit from that female flower won’t grow. It will only dry up and die.

Talk about PRESSURE. Haha.

watermelon vine
watermelon vine

Last June 28, I saw the first few male flowers growing on the vines. Every day after that, 1-2 male flowers would grow and then, dry up. I was already starting to panic because more and more male flowers were growing and I knew that in a few days, the female flowers would then start to appear and open its petals for only a day. Finally, two days later, the first female flower appeared. You could tell that it was a female one since it had a small watermelon-like body below its petals. The male flowers only had a thin stem. But since the petals of the female flower weren’t open yet, I had to wait until the morning to pollinate them.

Male and female flowers of the watermelon vine.

Before I slept that night, I remember thinking about it and telling God “What if it doesn’t open tomorrow morning before I leave for work? What if it opens when I’m already out of the house? If that happens, I’ll miss out on pollinating the flowers and the fruit won’t grow!” I guess it was nerve-racking for me because after weeks of taking care of the vines, as much as possible, I really would want them to bear fruit. So, I prayed about it that night and surrendered the concern to God. If He wanted it to happen, I knew that He would allow me to pollinate in the morning.

Watermelon vine's female flower
Watermelon vine’s female flower

When I woke up the next day, I rushed to our veranda (where the vines were) and I saw that the female flower had already bloomed. Oh my goodness. It was time! By God’s grace, the flower opened its petals early and I had the opportunity and time to pollinate it! It only took a few seconds, but the future of the watermelon fruit greatly depended on it. Haha.

After pollinating the flower and watering the plants, I was ready to take a shower and go to work. However, while I was preparing my clothes, my mom informed me that there were some concerns with our transportation. To make the long story short, my sisters and I needed to help each other and my dad go to our respective destinations that morning using only one car. Because of the slight delay, I knew that I was going to go to work at a later time. So, while waiting, I decided to make good use of the extra time that I had at home. I ended up making a temporary cover/shield to protect the seedlings and plants from heavy rains, which was something that I couldn’t do in the evening.

watermelon vine
watermelon vine

After about an hour, my sister graciously drove me to work and I remember thanking God in my heart for His perfect timing that morning. Even though I was worrying about the flowers the night before, He gave me peace to trust in Him and to wait on His best timing the next day. He certainly knows how to grow watermelon vines. He created them! So, I really didn’t have any reason to worry about not being able to pollinate on time or not being able to grow fruits from the vines.

I started the day with a grateful heart because I was encouraged by God to always trust in His perfect timing even when things don’t make sense or when I am faced with the unknown. God can and He will do anything if He thinks it’s for the best.

“Faith in God includes faith in His timing.” –Neal Maxwell

Male and female flowers. Watermelon vine.

When I went home that night, an interesting thing happened. It suddenly rained after a hot day. It didn’t rain in the morning while I was pollinating the flowers. It also didn’t rain while I was preparing the covers and shields for the plants. But, by God’s grace and in His perfect timing, it rained at night when everything was done and alright.

“But blessed is the one who trusts in the Lord,
whose confidence is in him.
 They will be like a tree planted by the water
that sends out its roots by the stream.
It does not fear when heat comes;
its leaves are always green.
It has no worries in a year of drought
and never fails to bear fruit.”

[Jeremiah 17:7-8]

watermelon female flower

Encourage yourself one treat at a time. :)

How to Grow Cherry Tomatoes at Home

A few weeks ago, I started to grow a new batch of cherry tomato plants and I ended up planting a lot of seeds. I didn’t expect all of them to grow, but by God’s grace, they did! So, for quite some time now, I’ve had more than 15+ seedlings happily growing in their own cups at home. However, because we didn’t have space for these 15 cherry tomato plants anymore, I decided to give the seedlings away. I posted a photo of them on my Facebook page with a caption: “Giving away 10-15 cherry tomato seedlings. Let me know if you want one!” Surprisingly, a lot of friends left comments on the photo and accepted the challenge of growing their own cherry tomatoes at home. YOU ARE AMAZING. Thank you!!!

cherry tomato seedlings

To my new gardener friends, I hope and pray that you will enjoy your gardening adventure with your new seedlings as you see them grow and bear fruit in the coming months. To show my support, I listed down some of the helpful tips I’ve learned over the past years in growing cherry tomatoes at home. Enjoy! :)

HOW TO GROW CHERRY TOMATOES AT HOME

Materials you’ll need:

  • Tomato seeds
  • A Hard Plastic Pot with holes at the bottom — at least 12”x12” in height and diameter.
  • 1 bag of loose potting soil — enough to fill the pot.
  • Fertilizer for tomatoes/vegetables
  • Long bamboo sticks or similar ones (about at least a meter tall) that can help hold the plant upright.
  • Plastic straw – for tying/securing the plant on the sticks
  • Mulch or dried leaves/straw/twigs
cherry tomatoes
cherry tomatoes


GROWING SEEDLINGS

Add loose potting soil to a cup (4/5 full) and lightly bury a seed or two in the soil. You can plant two seeds in one cup just in case one of them doesn’t germinate or grow. However, if both seeds successfully grow in one cup, make sure to carefully separate the two seedlings (without damaging the stem or roots) while they’re still small or about an inch tall. When the seedlings grow a few more inches (2-3”), you may now move them to a bigger container with holes at the bottom and with a good drainage system. By doing so, they will develop more roots and help the plant become more sturdy. I usually fill half of the pot/container with soil and then sprinkle some of the fertilizer before filling it up with potting soil again. Once its ready, I dig a hole in the middle of the container, remove the seedling growing in the cup of soil, and gently place it inside the hole. I also top the soil with mulch or dried twigs and leaves to help retain the moisture in the soil.

cherry tomato seedling


WATERING THE TOMATO PLANTS

As the seedlings grow in their new pot, it’s very important to regularly water them. When I was younger, I thought that watering just the leaves of the plants was the best way to provide for their H2O needs. However, after experimenting with different fruit-bearing plants over the past years, I learned that in order to keep the plant happy and healthy, we must focus on watering the soil — where the roots are. Even if we don’t water the leaves, the plant will still grow as long as we regularly water the soil and roots.

cherry tomato seedling

How often should we water the plants?

Once a day is enough. However, if you live in a tropical country (like me!), the plant will most likely want to be watered twice a day – once in the morning and once in the evening.

How do you know when the water is enough or too much for the plant?

When we water plants in containers, a good way to know if we’ve added enough water is if we start to see the water come out of the drainage holes of the pot. When this happens, you may already stop watering since we know that most, if not all, parts of the soil in the pot already received water.


PROTECTING THE ROOTS

In the first two parts of this post, I’ve mentioned how important it is to take care of the plant’s roots. Even though we don’t usually see the roots, they play a very important part in helping the plant grow and bear fruit. Not only do they serve as a support for the whole plant, but they also absorb all the water and nutrients found in the soil! So, how can we protect the roots? It’s pretty simple. Keep them covered with soil! We don’t want the roots to be exposed under the scorching hot sun or the extremely cold weather at night. We want them to be wrapped with a blanket of soil ALWAYS. If ever you see the plant’s roots peeking or coming out every now and then, you can lightly throw more potting soil on it, until you can’t see the roots anymore.

cherry tomato plant
cherry tomato plant


SUPPORTING THE PLANT

When I first planted tomato seeds at home, I didn’t know anything about growing them. It was only until the plant had reached its “teenage years” that I realized the importance of providing a sturdy support system for it. Supporting the plant may be done by letting it grow inside a store-bought tomato cage or by tying the plant on strong and long sticks secured on the soil.

Since I planted my tomatoes in containers (large pots and beds), I didn’t have enough space to use tomato cages. So, I made use of thick, ordinary sticks and thin bamboo sticks to secure and support the plants. I tied them on the sticks with a plastic straw (the one used in tying huge cardboard boxes). And as the plants grew, I just adjusted and added the plastic straws attached to them. Be extra careful in tying the plants. Make sure not to damage the stems or use straws/strings with sharp edges that may harm and scrape the stems.

cherry tomato plant
cherry tomato plant

Although it might require a bit more effort, staking and supporting the plants early on will be very helpful, especially when the plant develops flowers and fruits.  The cherry tomatoes will eventually weigh the plant down, so it’s important to keep the main stem and branches upright and secure. We wouldn’t want them to snap off and break.

cherry tomato plant
cherry tomato plant


FERTILIZING THE PLANTS

Tomato plants love to be fed with nutrients. So, as the plants grow, they need to be surrounded with fertilizer every now and then. I add fertilizer to the potting soil in four different stages:

  1. On the day of planting the tomato seedling
  2. When the plant is about two feet tall
  3. When the plant starts to produce flowers
  4. After it starts growing cherry tomatoes

The best thing about growing your own vegetables and fruits at home is you can control the materials added to the soil. For the past years, I’ve used organic and natural fertilizers in my soil. But, if you prefer to use chemicals, then it can still help the plant grow and bear fruit. For the natural fertilizers, you may use the ff. in your soil: compost, washed and crushed egg shells, banana peels, coffee grounds, washed shrimp shells, raw fish heads, Epsom salt, etc. You may also try organic tomato fertilizer spikes sold in the hardware or gardening stores.

cherry tomato flowers

Note: When fertilizing tomato plants, it’s important to provide a healthy amount of nitrogen to the plant during its early stages. After the plant grows more vines and branches, you may lessen the nitrogen in-take and add more phosphorus and potassium in the fertilizer-soil mixture.

Cherry tomatoes
Cherry tomatoes
Cherry tomatoes
Cherry tomatoes


HARVESTING CHERRY TOMATOES

After around 2-3 months of growing your tomato plants, cherry tomato flowers will start to appear. Yay! When this happens, the plant will then concentrate all of its energy to produce the fruits. While waiting for the flowers to turn into cherry tomatoes, you’ll need to prune the plant every now and then to make sure that the energy of the plant is directed to the fruits and not to unnecessary stems and branches. Let me introduce to you, the “suckers” of the tomato plants. These suckers or small branches grow at a 45 degree angle in between two main branches. You’ll need to carefully pluck these off especially when your plant already has flowers because if you don’t, they will suck the energy produced by the plant and less energy will go to the flowers and fruits.

"Sucker" in tomato plants.
“Sucker” in tomato plants.

It usually takes 3-4 months before a cherry tomato plant bears fruit, depending on your location and weather. As soon as you see the yellow flowers, you’ll know that it’ll only take a few more weeks before you can harvest your homegrown, juicy, and sweet tomatoes. The tomatoes can still ripen after you’ve harvested them from the plant, but I like to keep mine in the vine just until they become red (not overripe) so that they can reach its maximum sweetness. To harvest the tomatoes, you can gently twist and turn each fruit until they come off or you may cut the individual stems of the tomatoes.

Cherry tomatoes
Cherry tomatoes

So, there you have it! :) I really hope that you can explore growing cherry tomatoes at home! It is definitely a fulfilling and fun thing to do. Gardening at home has helped me so much in learning more about nature, befriending earthworms, appreciating food, developing my character, learning from my mistakes, and being reminded of how amazing God is. It really is a privilege to witness seeds grow and produce fresh fruits and vegetables at home.

Happy gardening, everyone! Feel free to share your tomato gardening experiences with me too.


For more gardening updates and tips, feel free to visit the ff. pages of ANYONE CAN GARDEN. :)

Facebook

Instagram

Cherry tomatoes
Cherry tomatoes
Cherry tomatoes
Cherry tomatoes
Cherry tomatoes
Cherry tomatoes
Cherry tomatoes
Cherry tomatoes
Cherry tomatoes
Cherry tomatoes

 “It’s not important who does the planting, or who does the watering. What’s important is that God makes the seed grow.” –1 Corinthians 3:7

Subscribe to Blog via Email

Enter your email address to subscribe to this blog and receive notifications of new posts by email.

About Me

My name is Nicole Obligacion and I started this blog because I was inspired by Hebrews 10:24 and Hebrews 3:13. I love to eat, cook, bake, read the Bible, and encourage. :)

copyright © 2012 - 2024 encouragingtreats.com this site is designed, managed and optimized by sean si of seo hacker