It’s been a while since I last shared about growing Basil using cuttings . So many things happened in between! But today, I am excited to show you a recent journey I’ve had in growing this lovely and practical herb from seed.
Even if you don’t have any experience in gardening yet, you can definitely grow Basil! This is one of the easiest herbs to grow and I hope that with this post, I can help you get started. :)
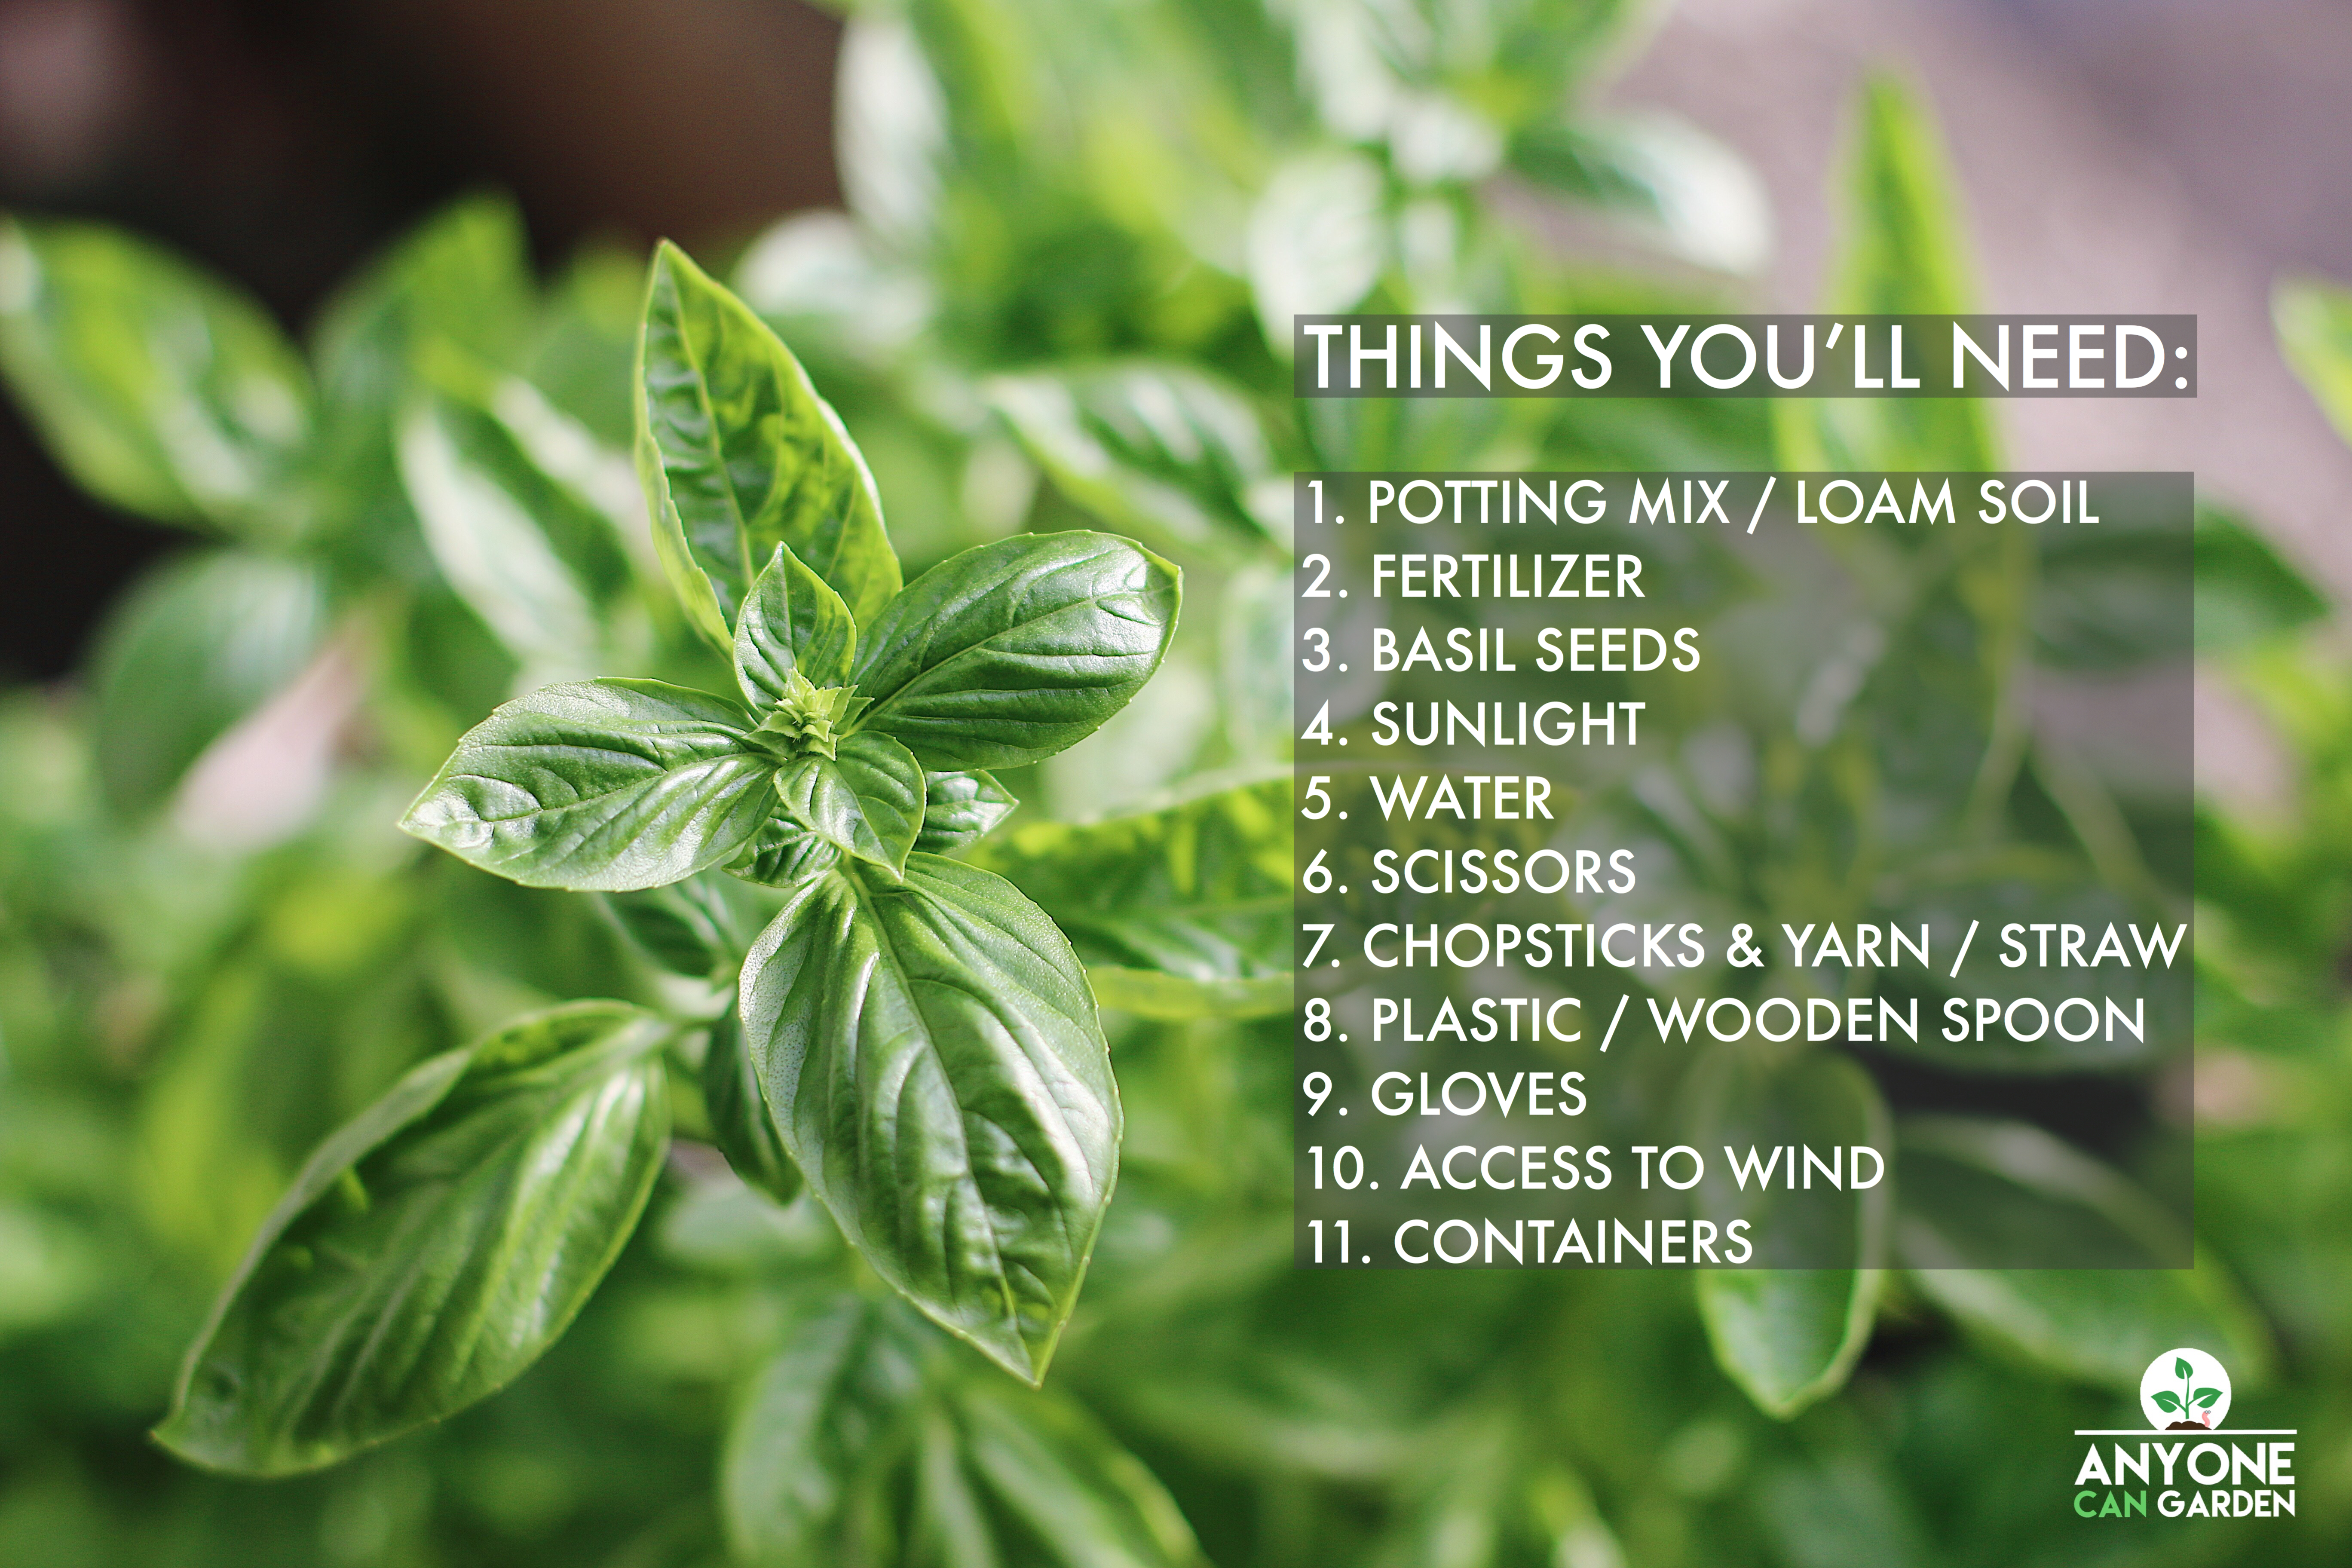
- POTTING MIX / LOAM SOIL
- FERTILIZER – Such as chicken manure, vermicast, or compost.
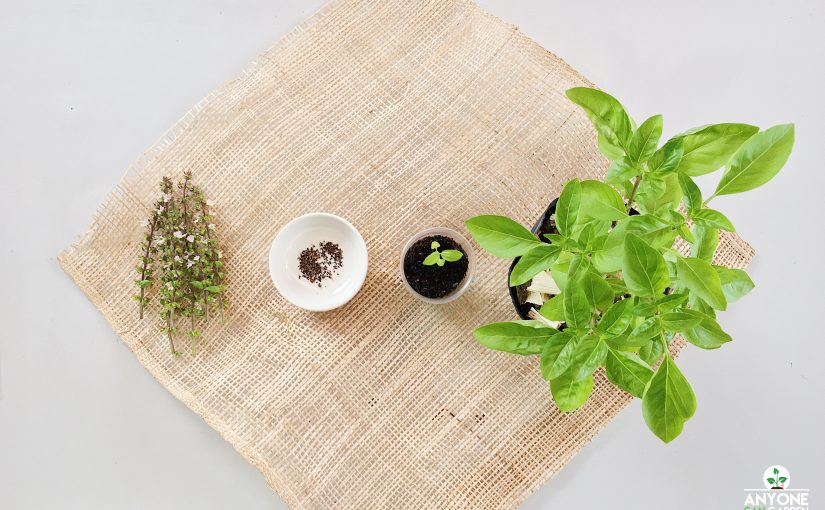
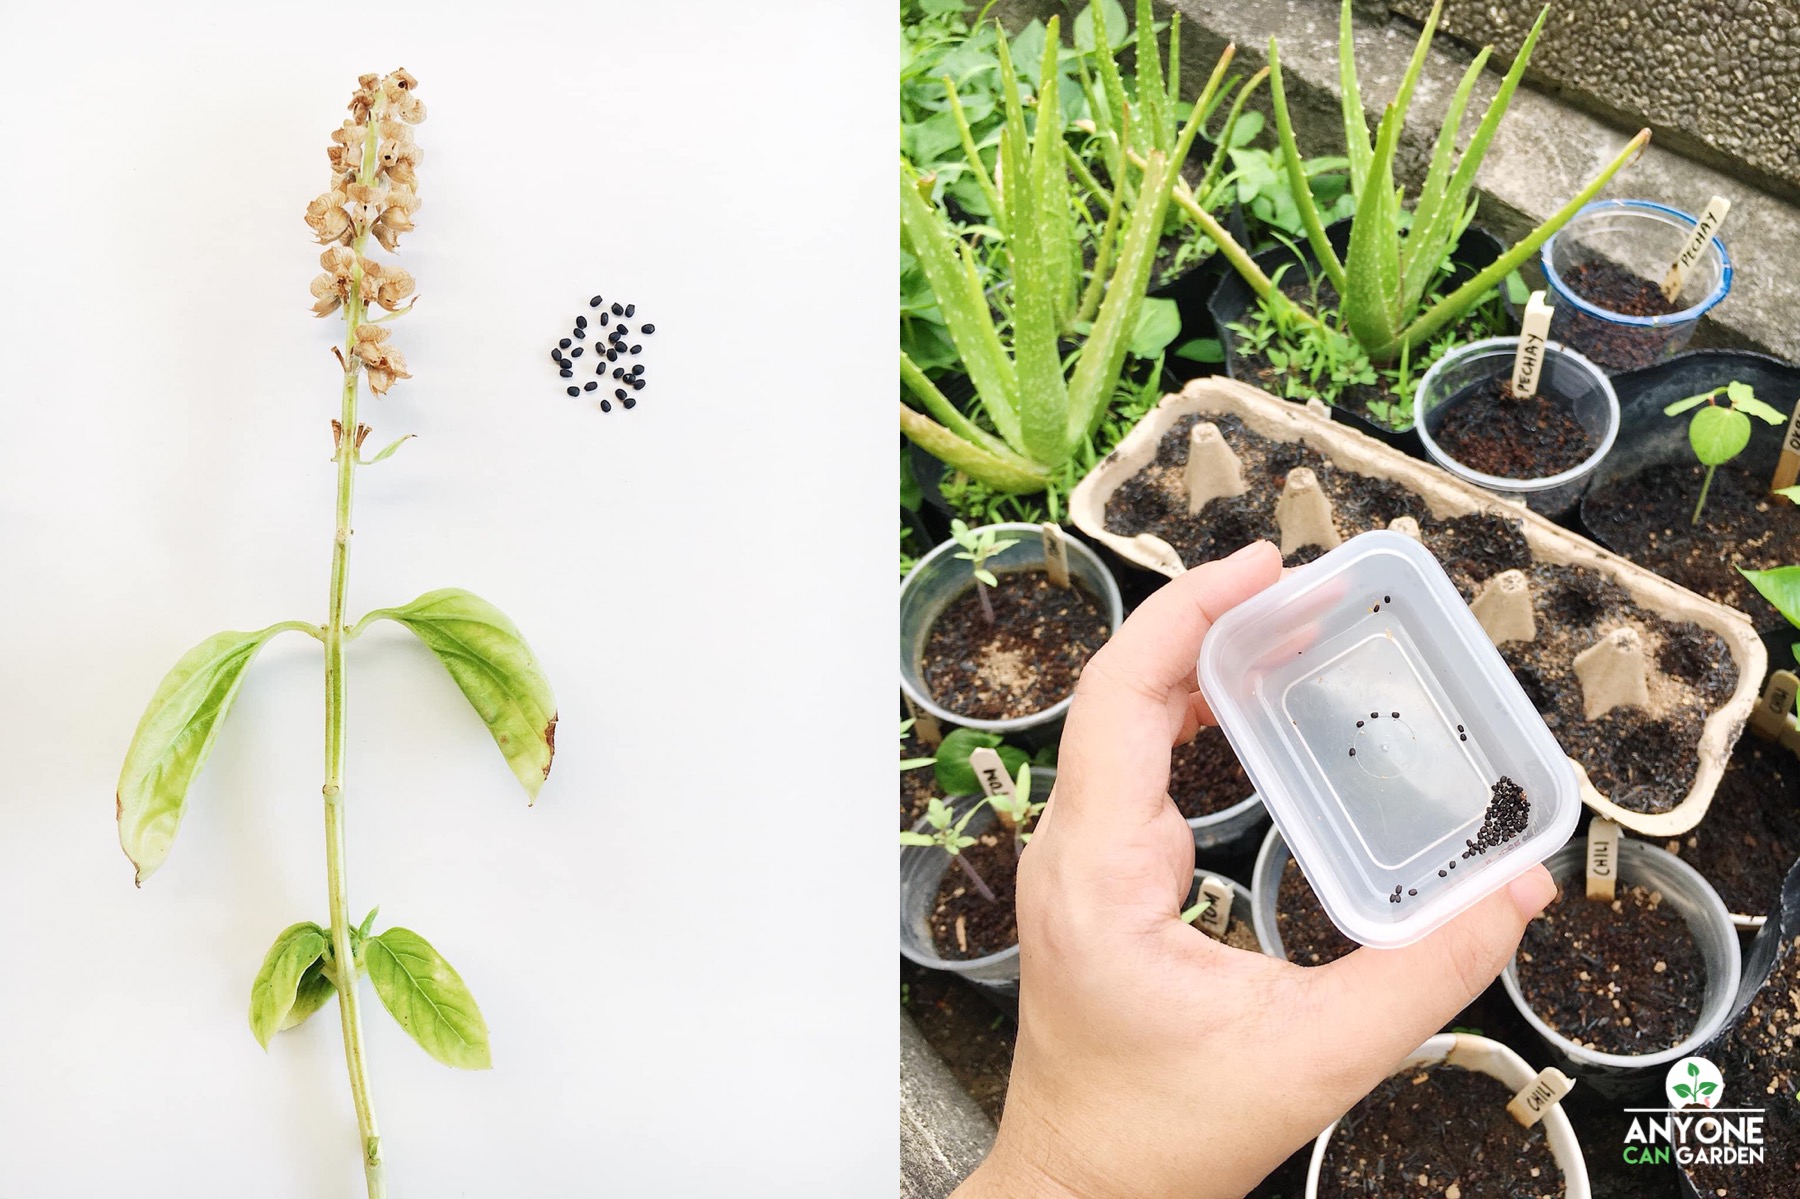
- BASIL SEEDS – You may start with the Sweet or Genovese Basil variety. This is usually used for pesto and other Italian dishes. But another common type is Thai Basil.
- SUNLIGHT – Around 4-6 hours each day
- WATER – You may use tap water on a regular basis. But, you can also use rainwater and rice water every now and then, for added nutrients. I use spray bottles during the seedling stage. Then, I use a cup or pail to water them once they’re bigger.
- SCISSORS – For pruning as the plant grows
- CHOPSTICKS & YARN / STRAW – For support
- PLASTIC / WOODEN SPOON – To help transplant seedlings
- GLOVES – Since you’ll eventually work with the potting mix
- ACCESS TO WIND – To help dry the leaves in case they get wet
- CONTAINERS – Egg cartons, small cups, and the final pot (Around 8-10” high and wide will be enough, depending on how big you want the basil to grow.)
HOW TO GROW BASIL:
STEP ONE: Prepare the Container
I start by adding 1-2 spoons of potting mix inside each egg carton space. The potting mix I use has vermicast, cocopeat, and carbonized rice hull in it. It is very loose and ideal for growing seedlings.
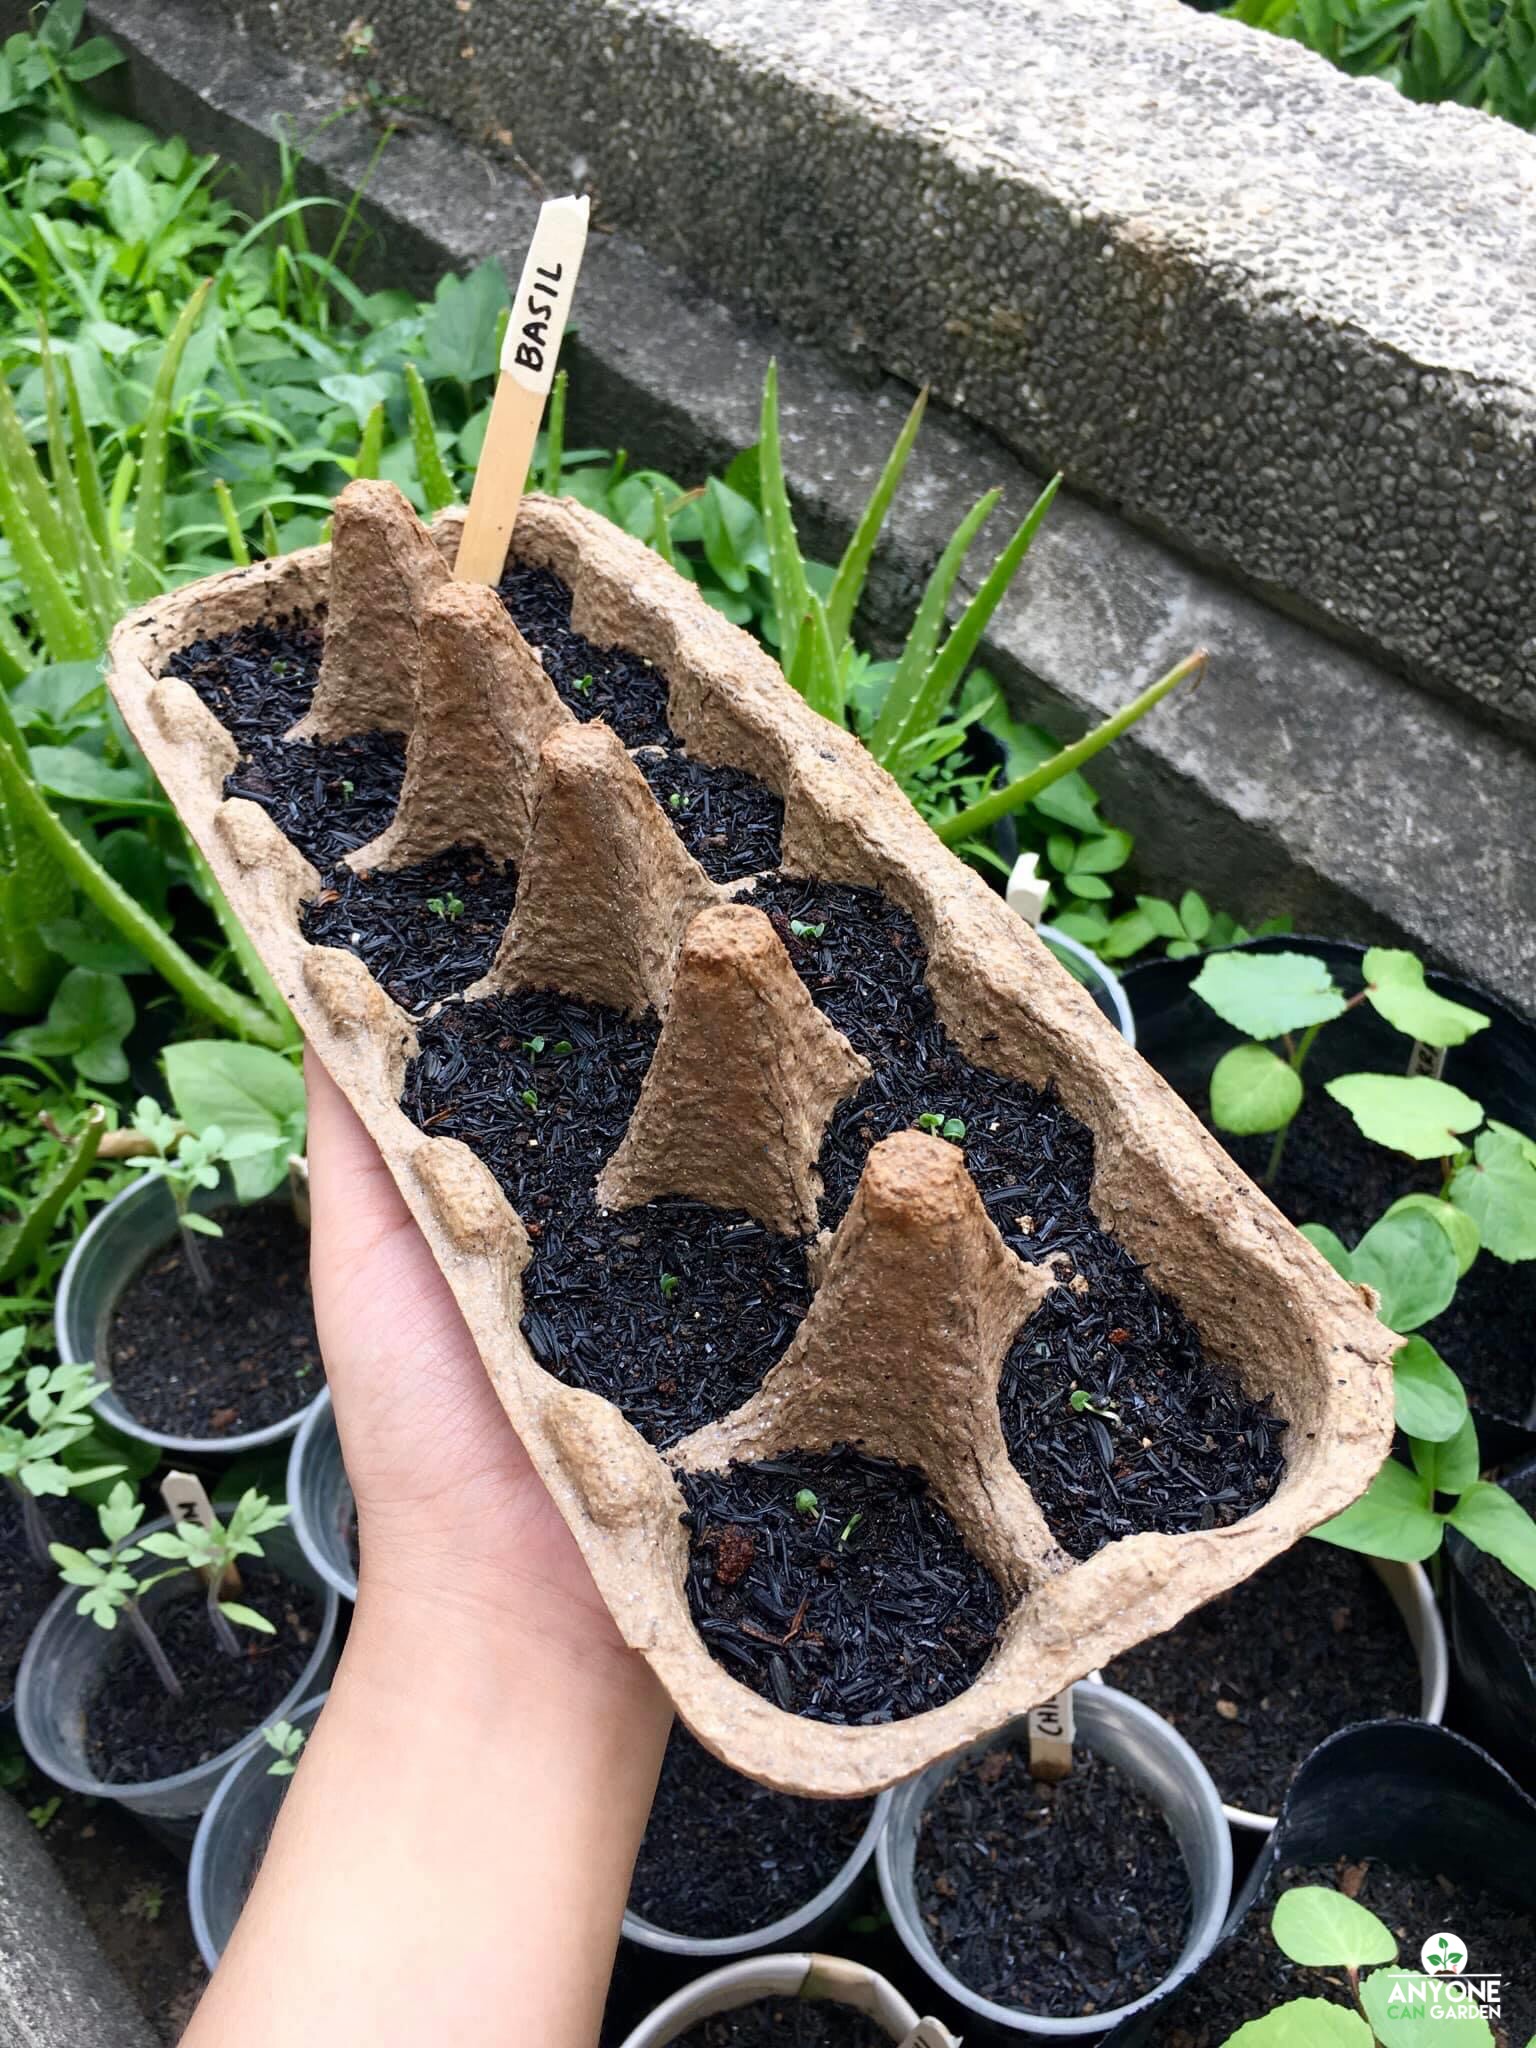
STEP TWO: Sow the Seeds and Water Them
I spray the potting mix in the cartoon with water. Then, I lightly sow 1 seed in each hole. Afterwards, I spray water over them again. Also, I place this beside a window with sunlight and water them every morning for 5-7 days.
STEP THREE: First Transplant
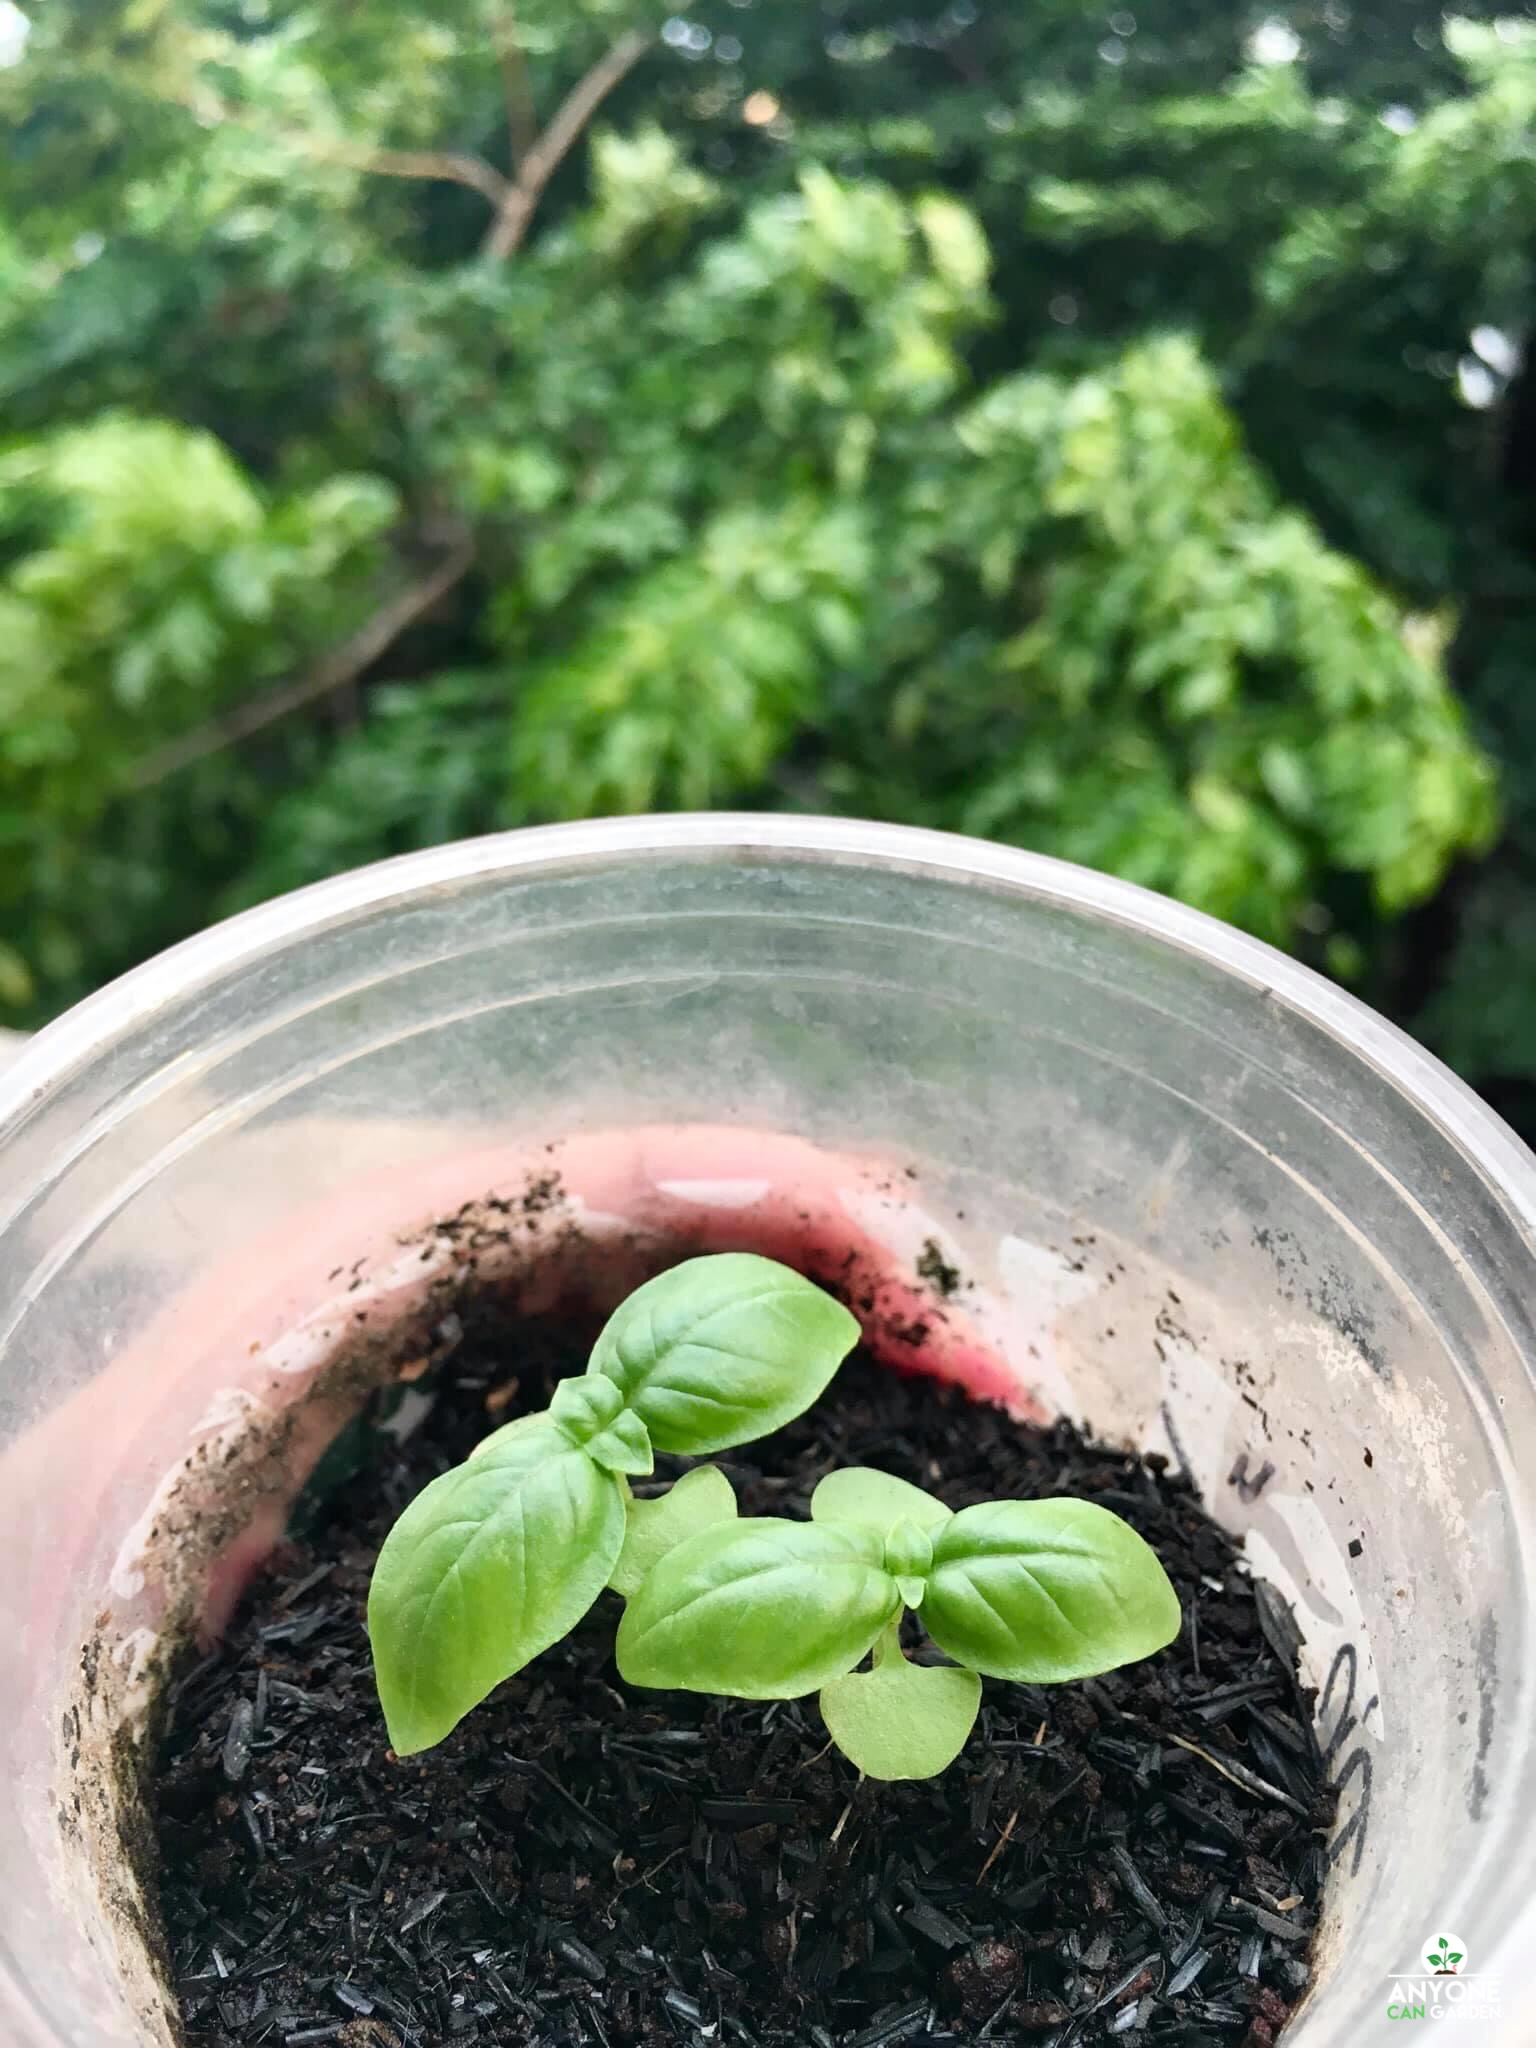
Seeds first grow cotyledons (initial two leaves / “fake” leaves) in preparation for the seedling. Once you see the true leaves forming (third leaf onwards), you can now transfer these seedlings to bigger cups. Or you can also wait until the plant is 2-3” tall.
ONE SEEDLING PER CUP, PLEASE! :) This will prevent the roots from competing with each other. In the photo below, I eventually separated these two seedlings that sprouted in the cup. I usually transfer them to small plastic cups with small holes at the bottom, for good drainage. You may use a spoon to carefully scoop out the whole seedling as you transfer, without damaging the roots. Also, you may add more potting mix to the cups to help provide support and nutrients.
STEP FOUR: Water, Expose to Direct Sunlight, & Fertilize
Continue watering every morning and expose your seedlings to direct sunlight at least 4-6 hours each day. This will help them grow faster. You can also give fertilizer every two weeks. I find that 1-2 tablespoons of chicken manure is enough for each seedling. Also, WATER THE SOIL, not the leaves. This will prevent bacteria in the soil from infecting the leaves, especially when the water splashes on the soil.
STEP FIVE: Second or Final Transplant
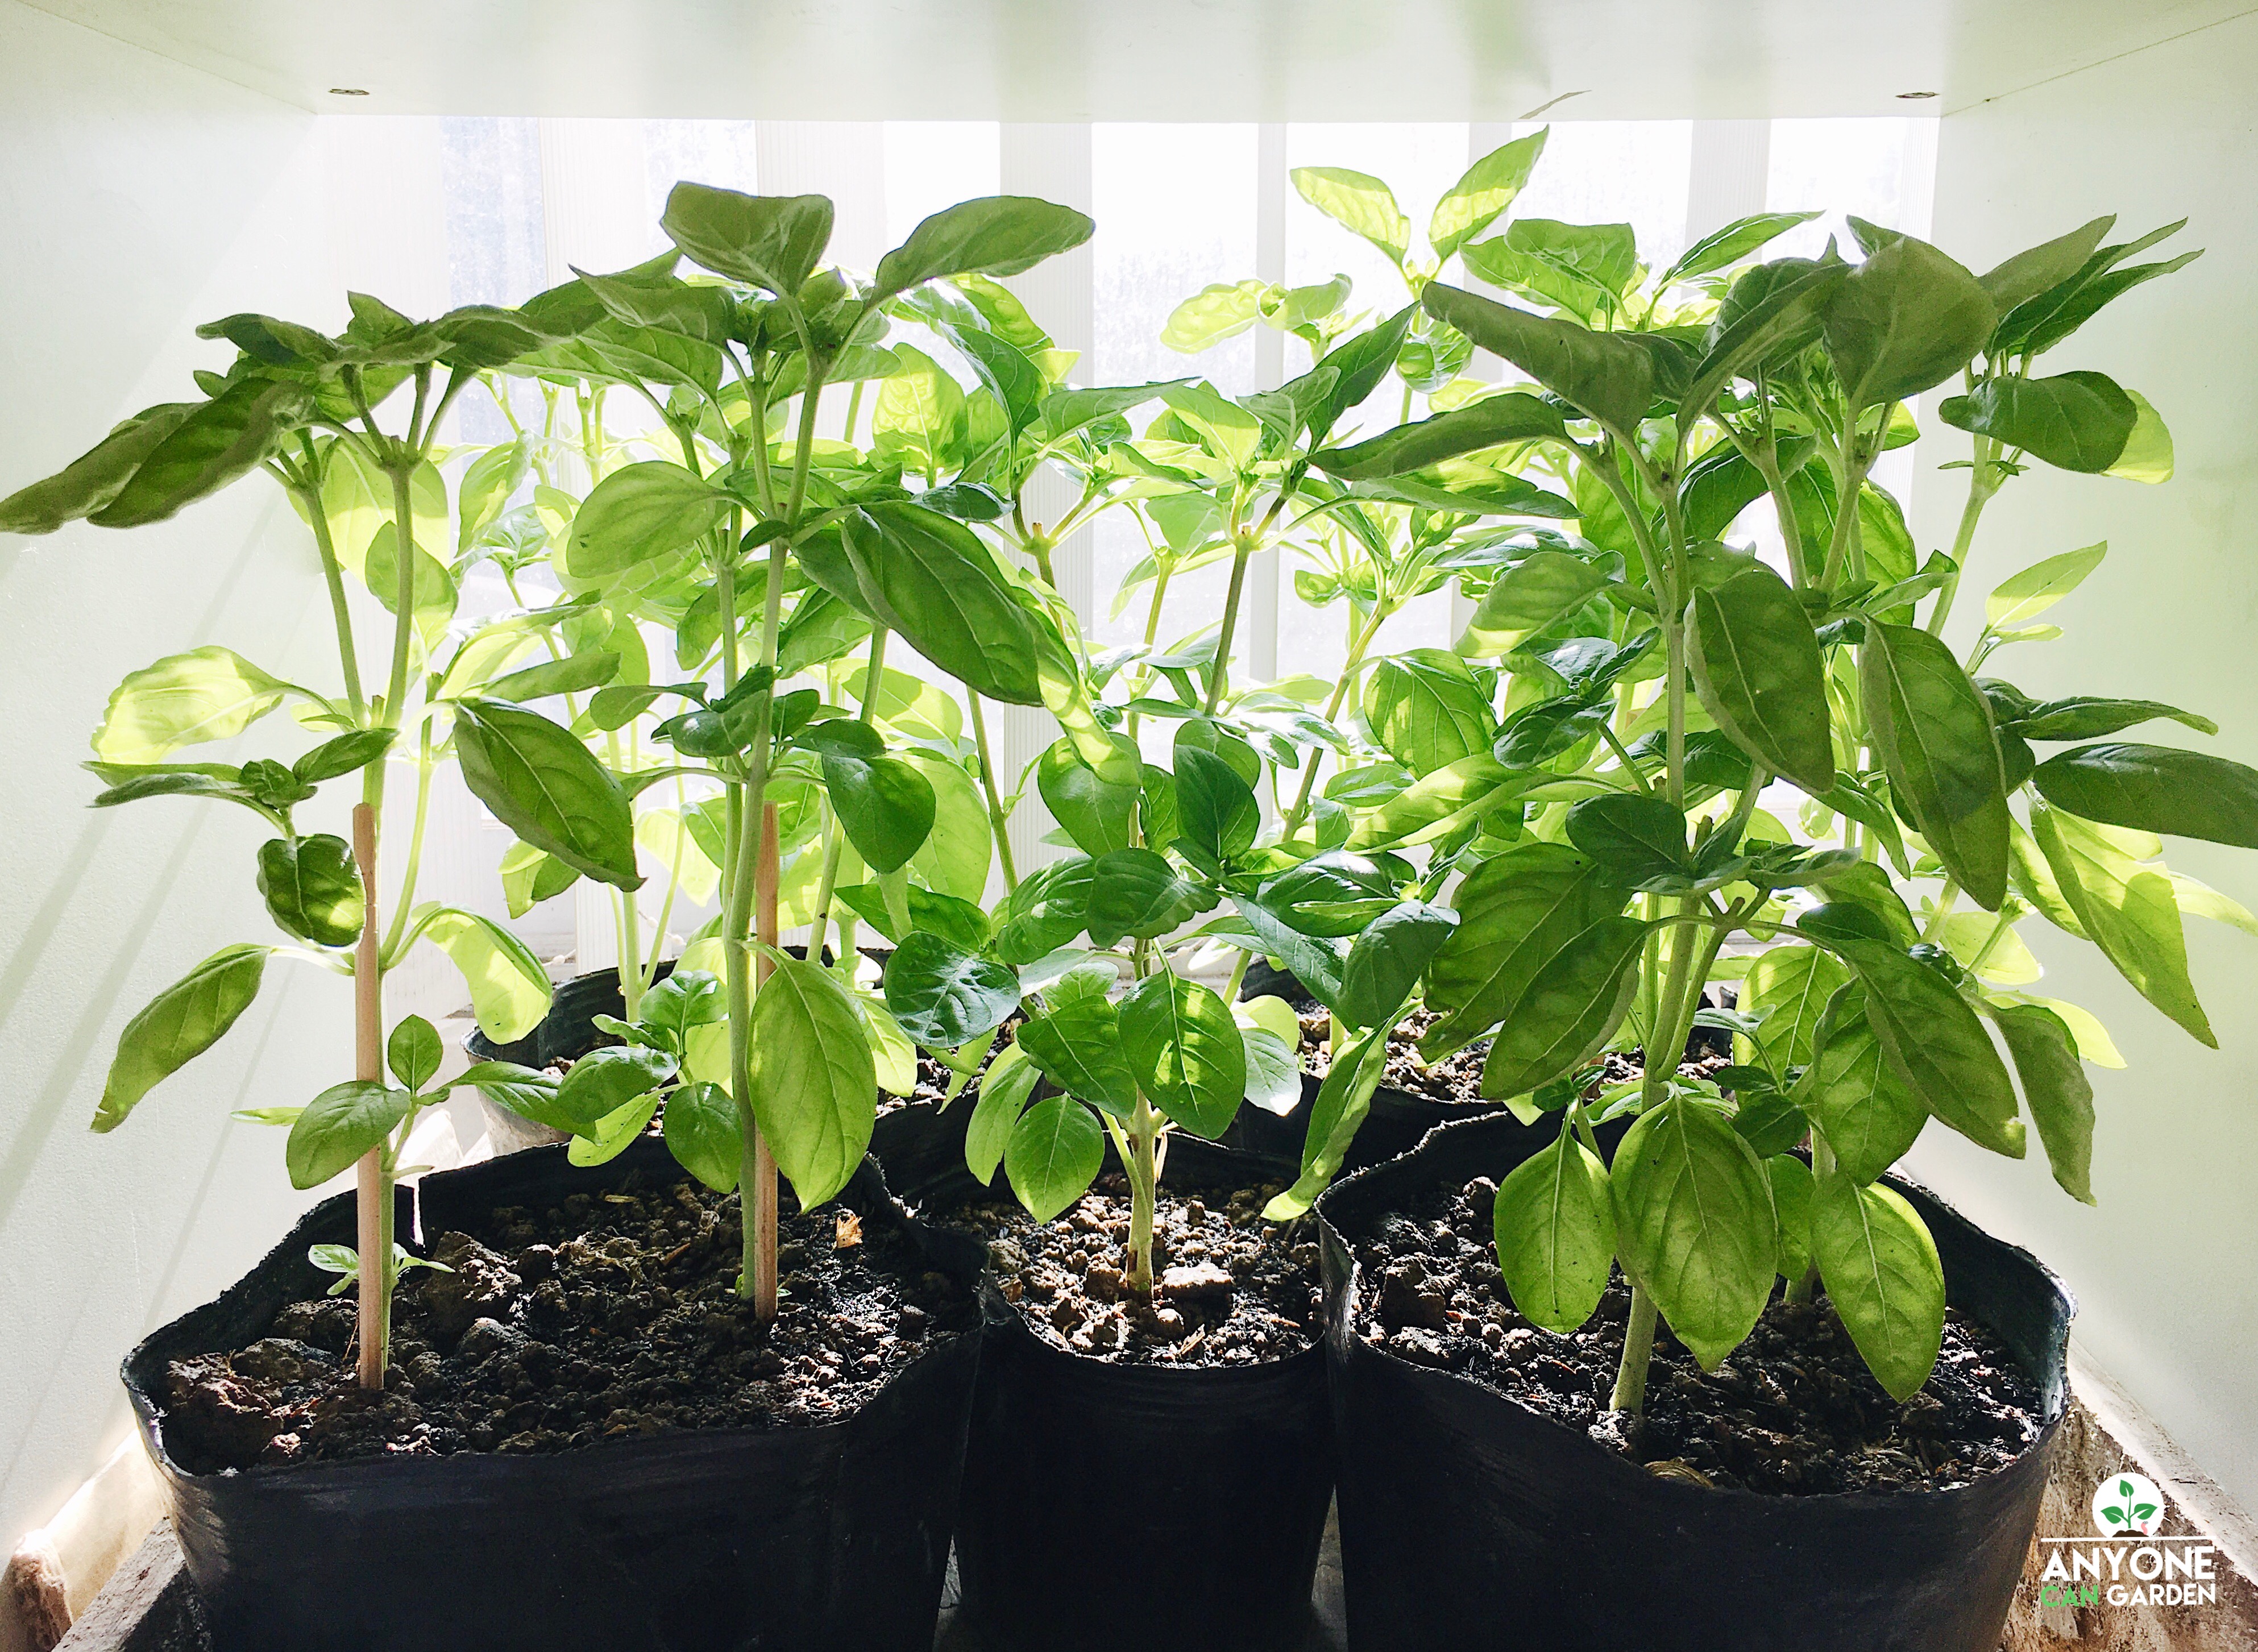
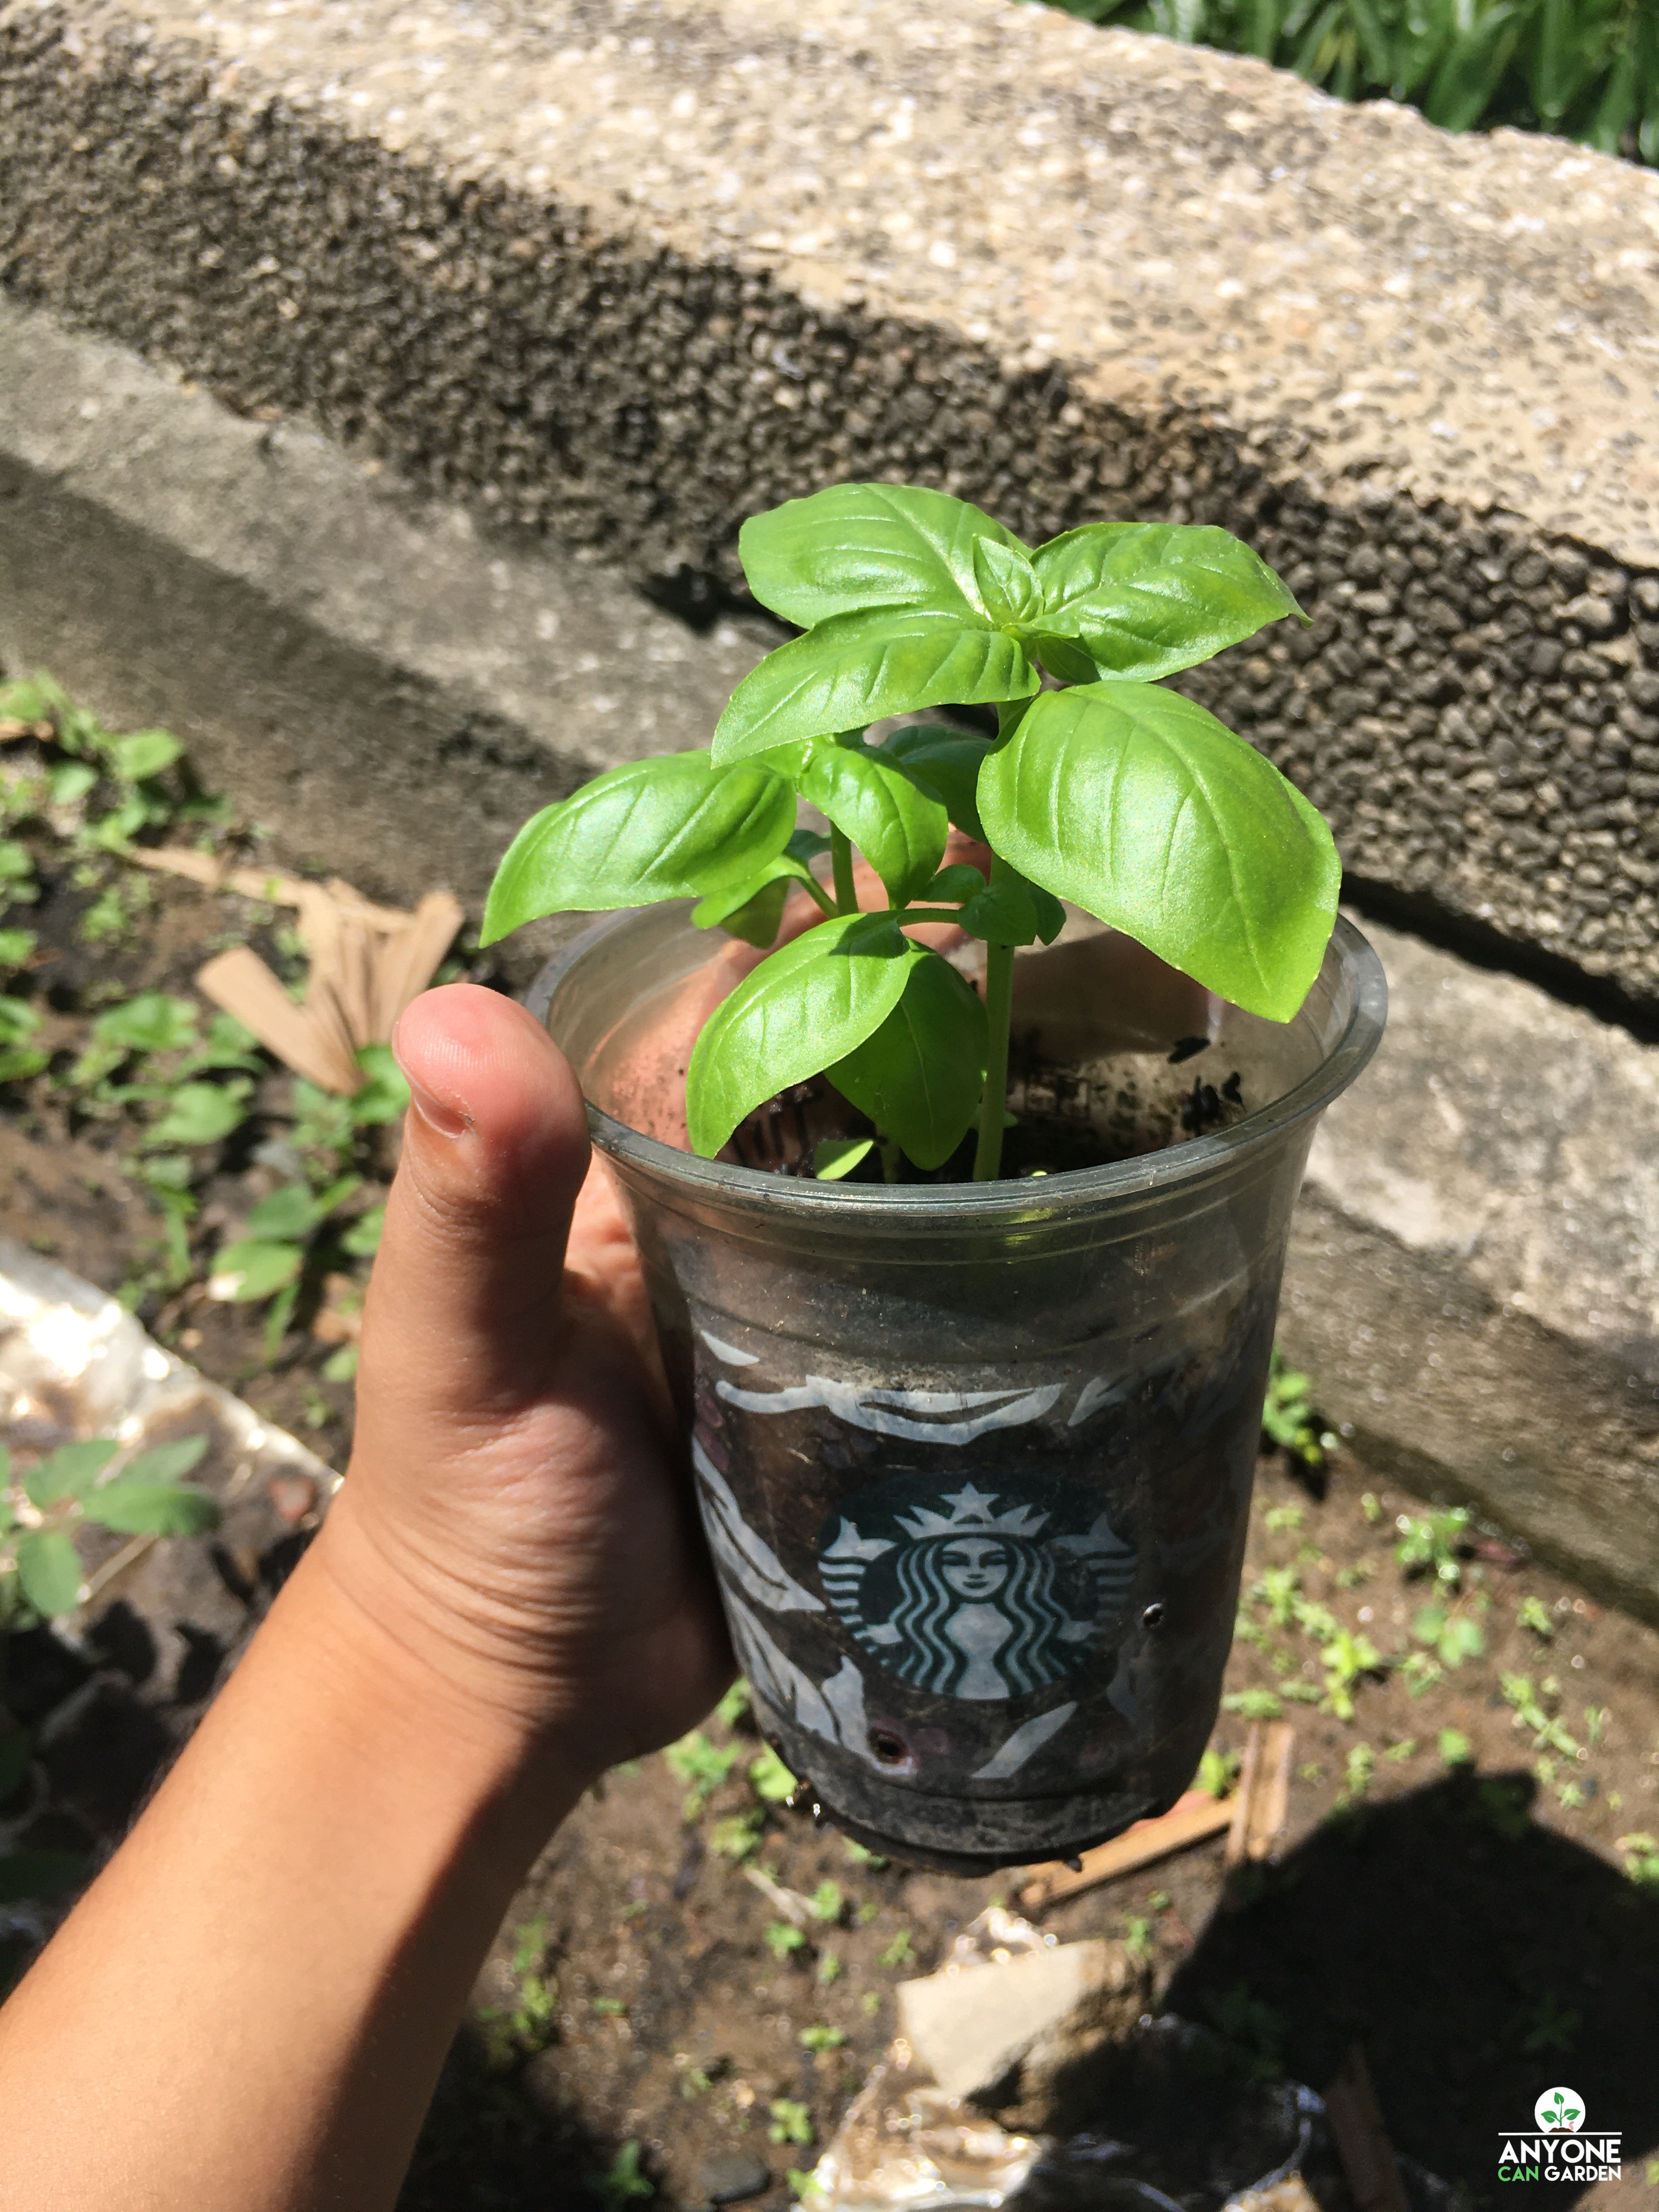
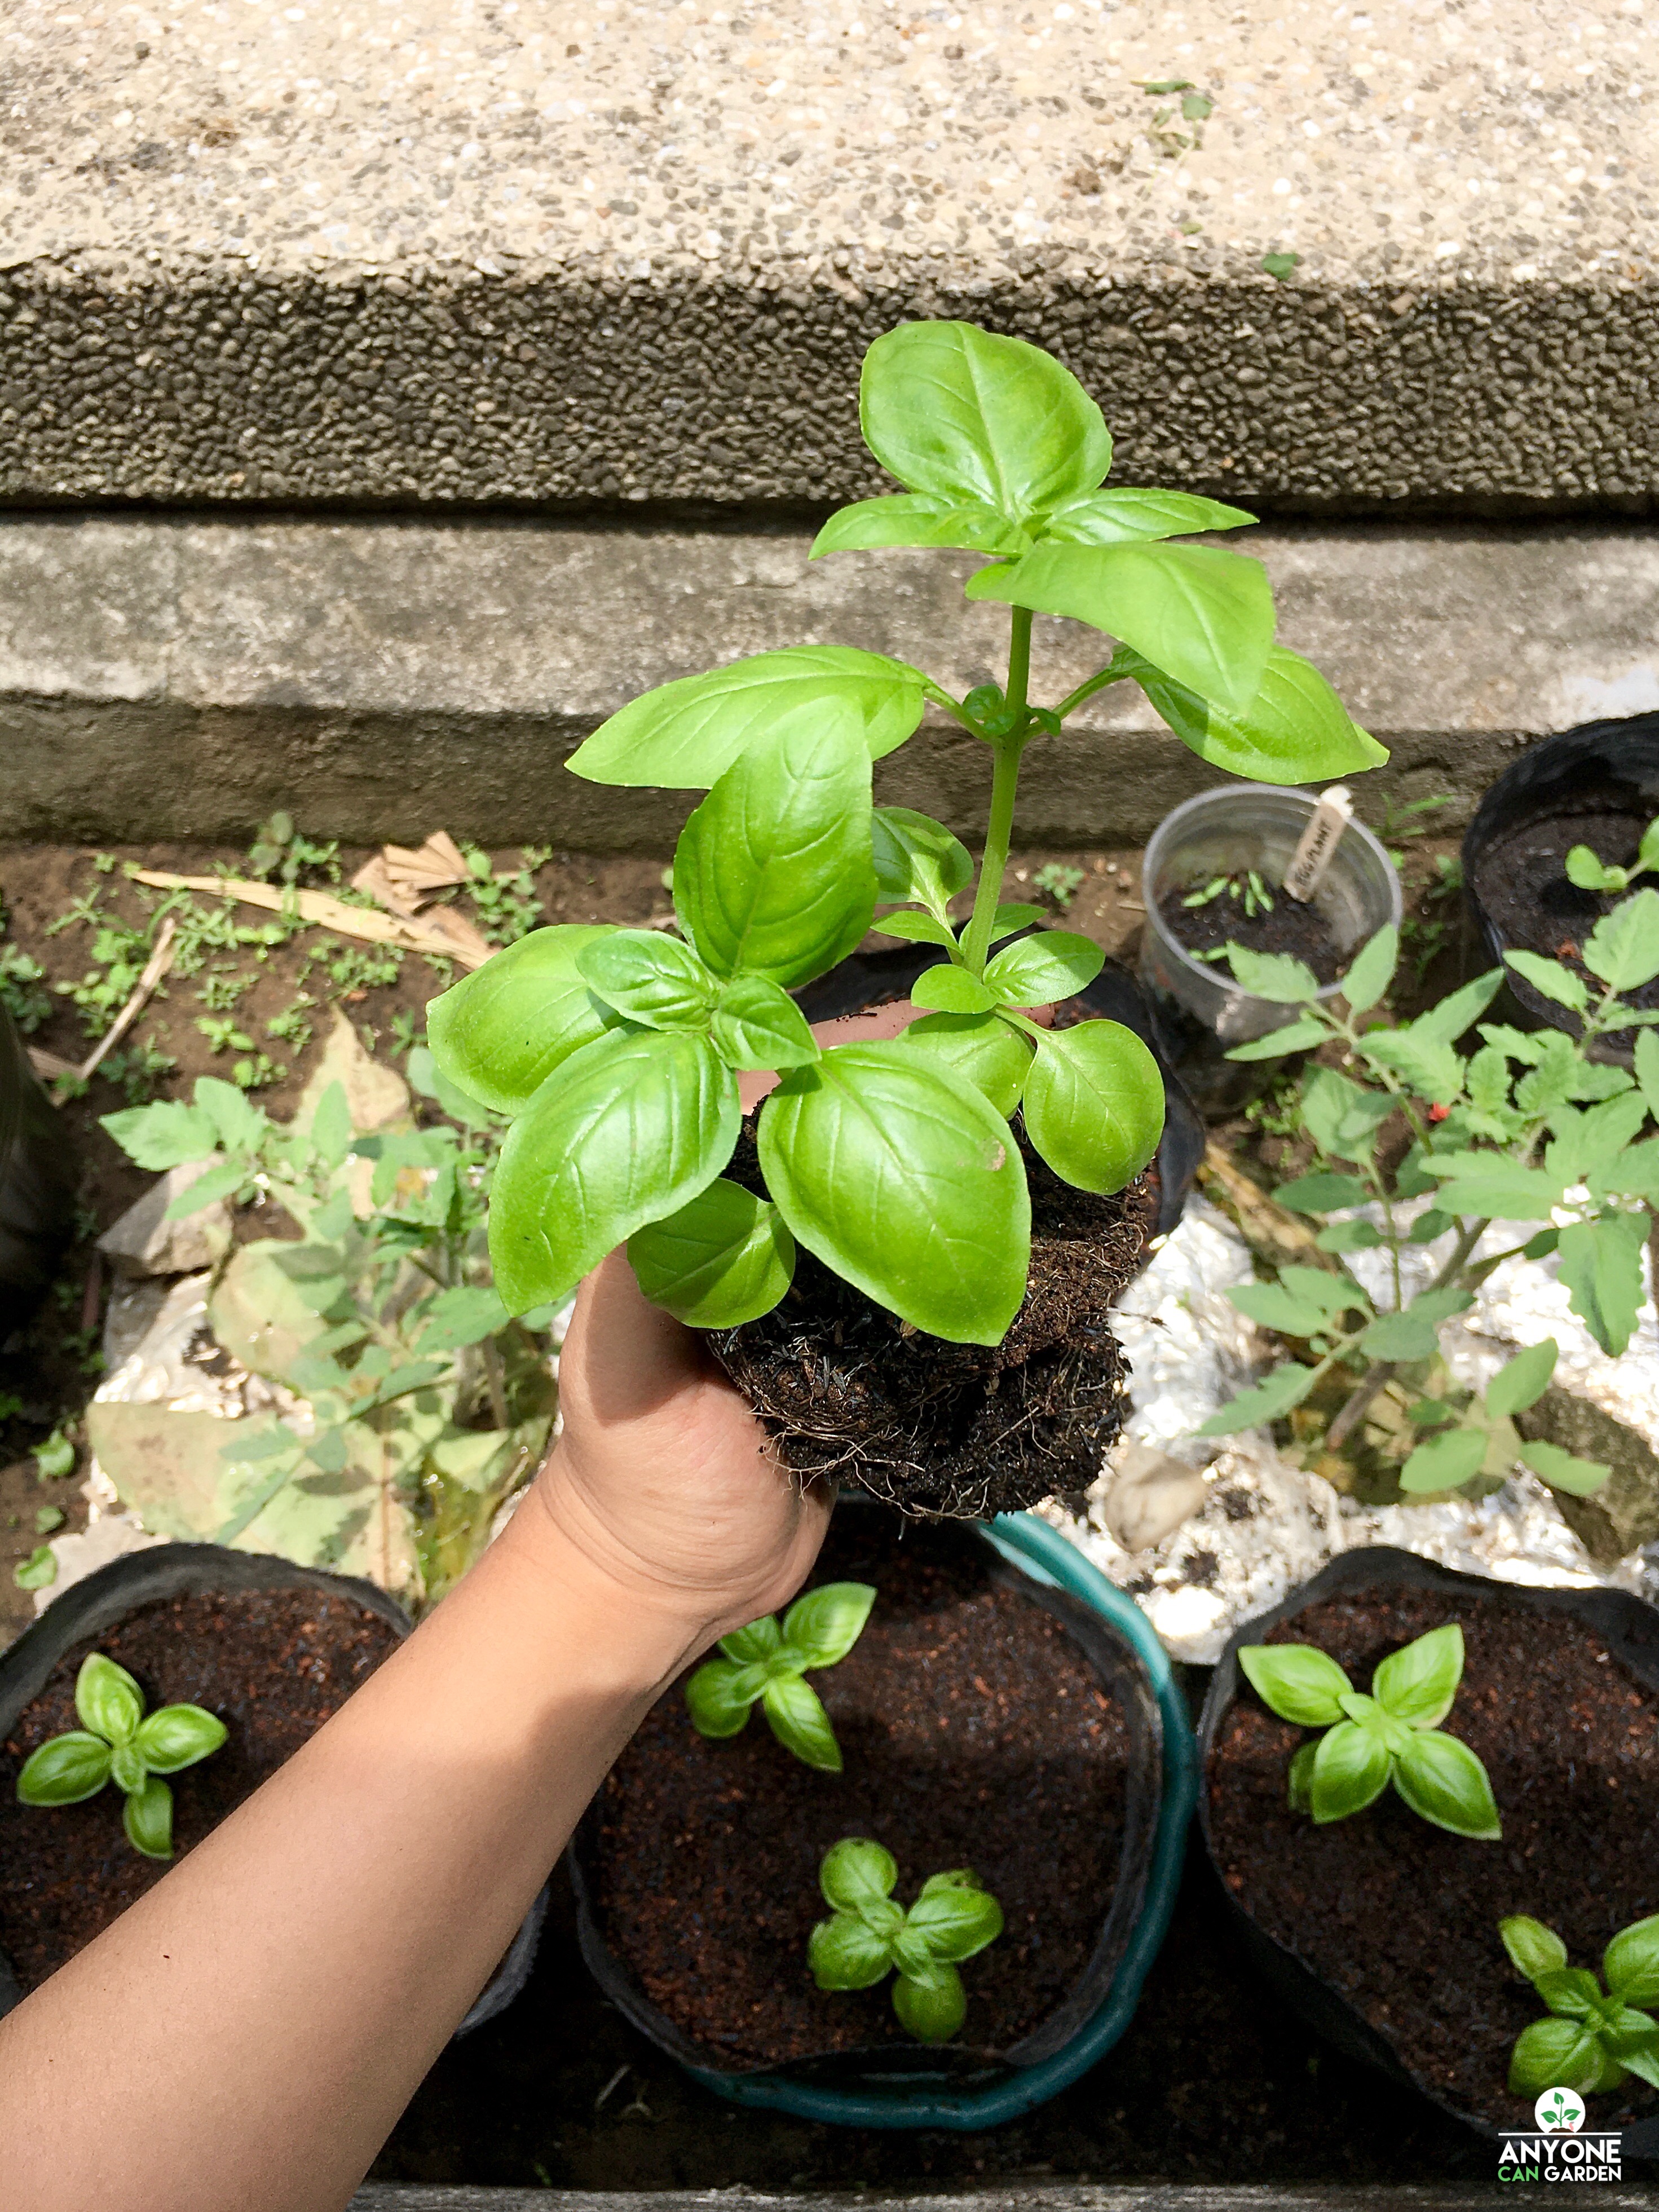
Depending on the height that you want to maintain, after the seedling grows to 5-6”, you can transfer it to its final pot (or keep transferring to bigger pots as it grows). By this time, a spoon might not be enough to scoop out the seedling. So, you may use your gloves and carefully transfer the seedling to its new home. Add more potting mix to cover the roots and stems. Also, make sure that the bottom leaves aren’t touching the soil.
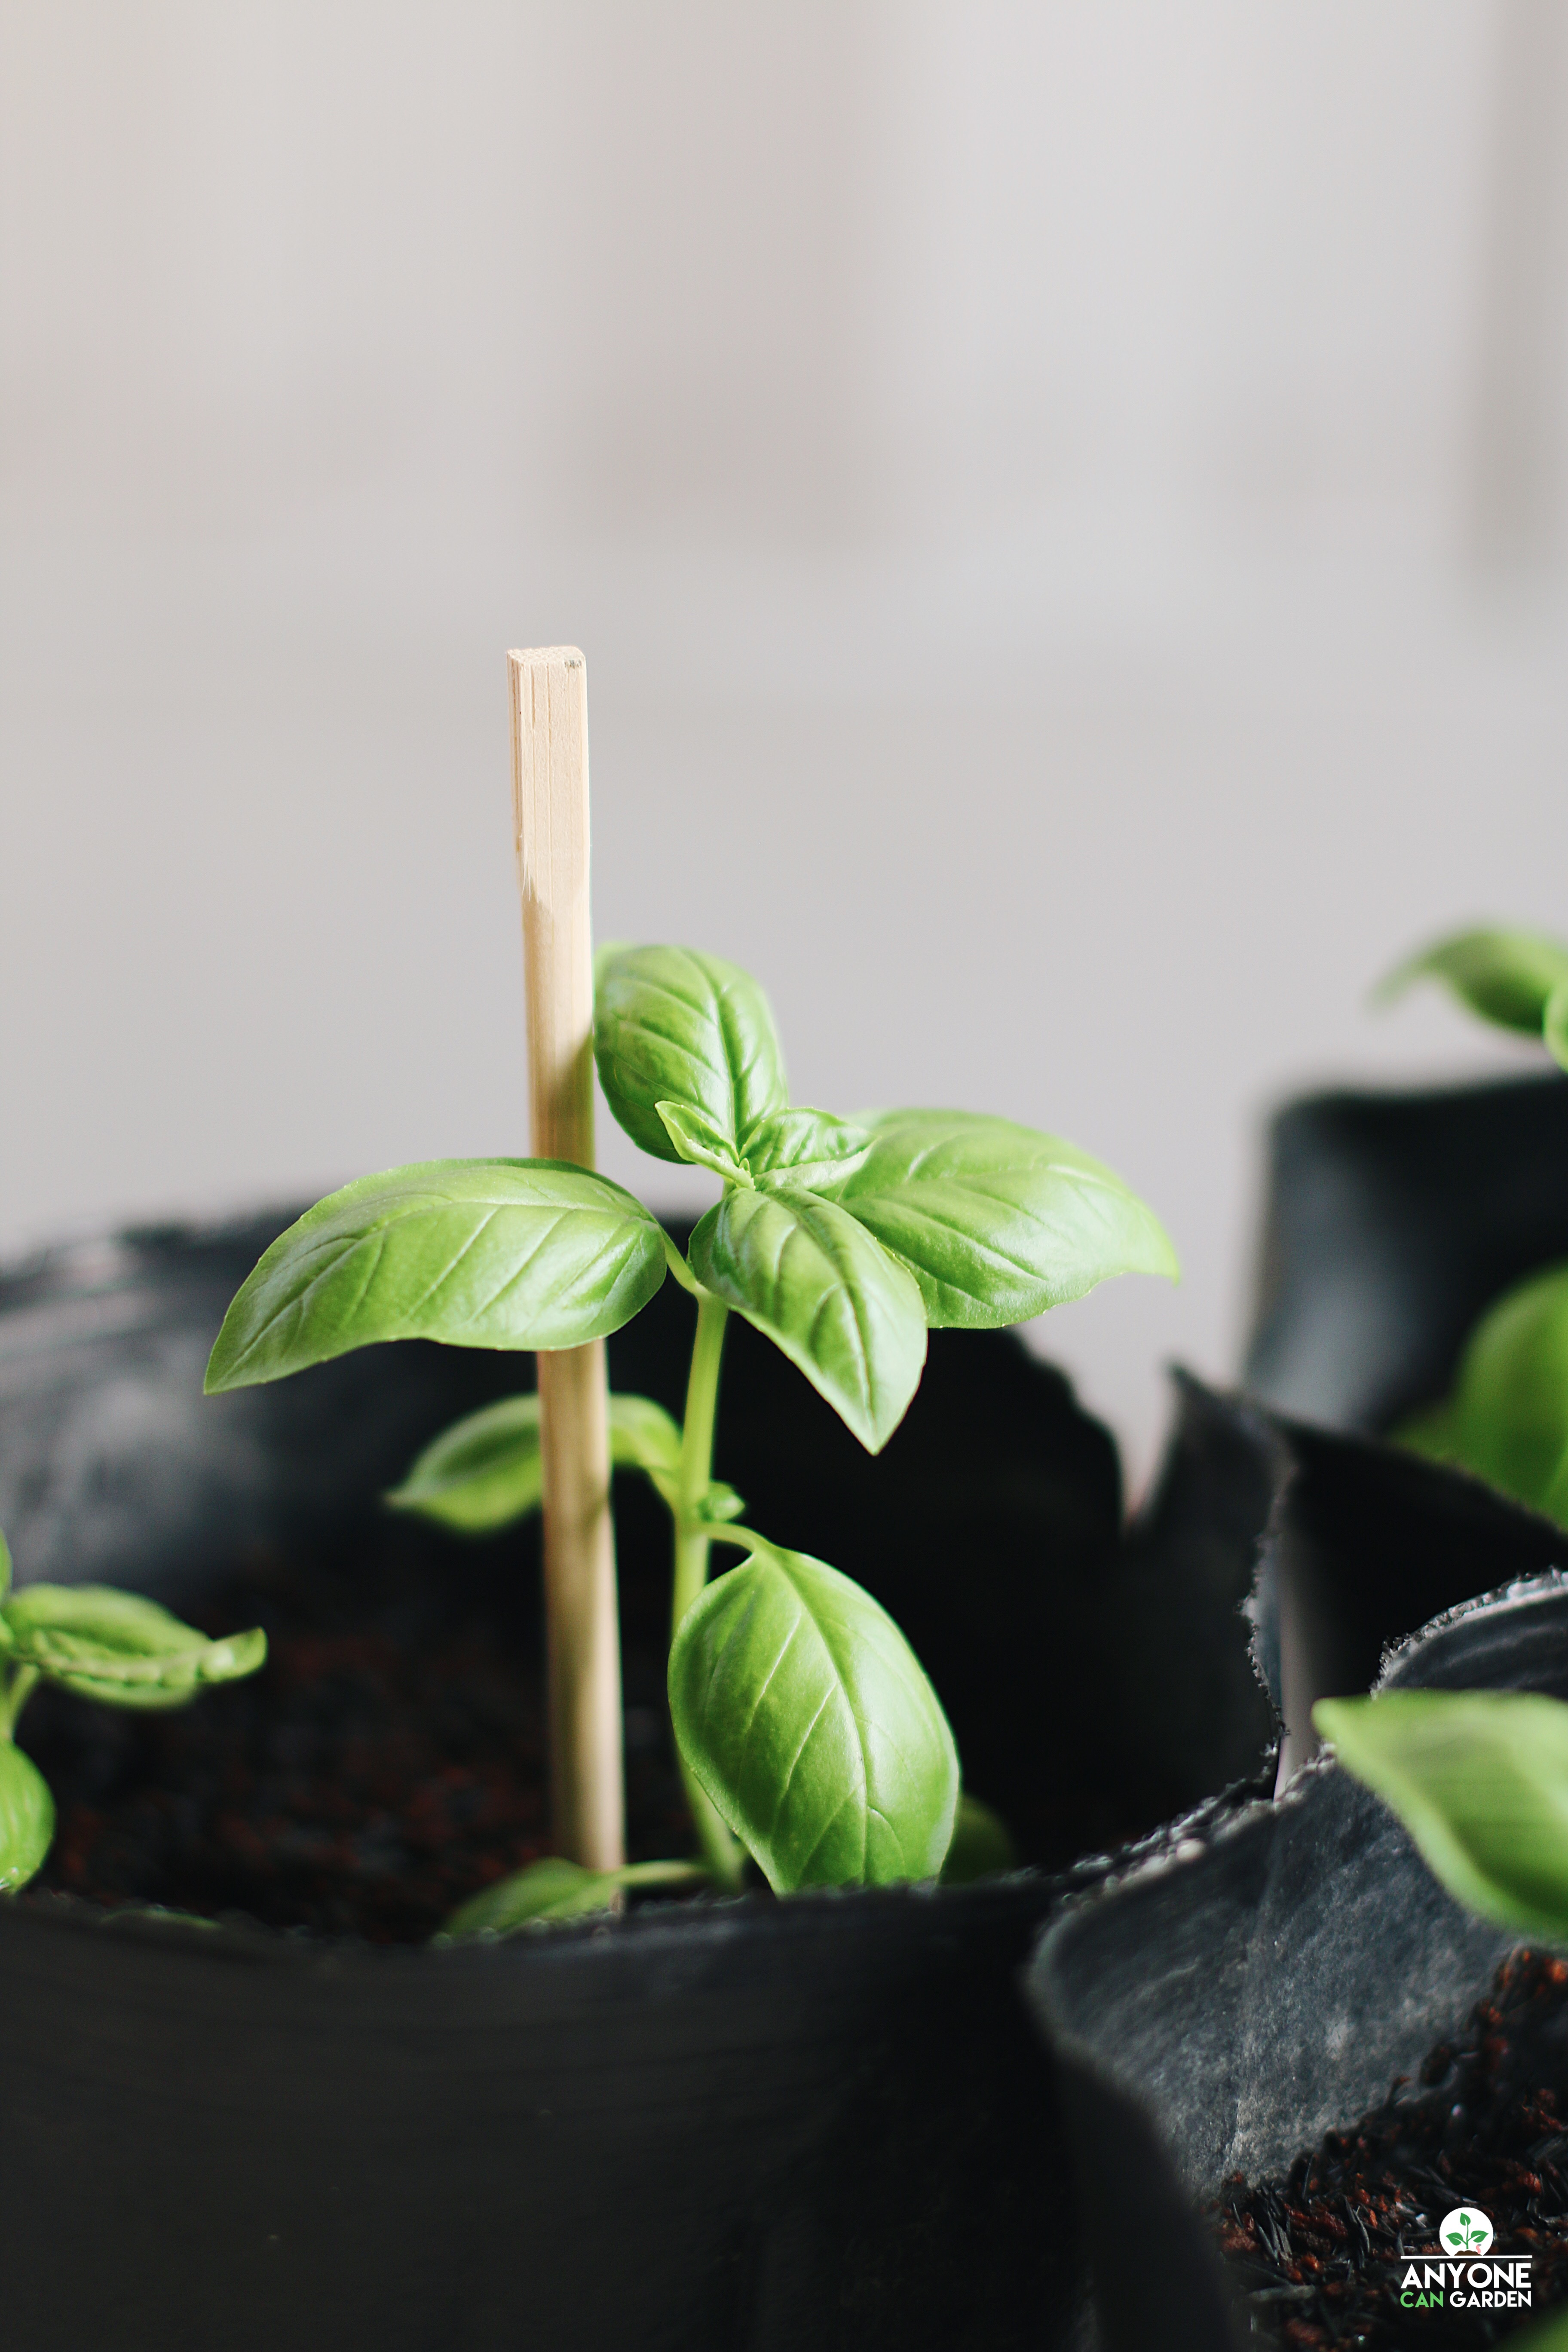
STEP SIX: Support the Plant
Using chopsticks, you can support the plant as it grows. I let the stalks lean on them or I lightly tie them to the sticks using yarn.
STEP SEVEN: Prune, Fertilize, and Water
When the plant reaches 8-10” in height, I would recommend for you to prune it since this will help you develop more leaves for harvest. I included a video below on how to prune basil. Also, continue watering every morning and giving fertilizer every two weeks.
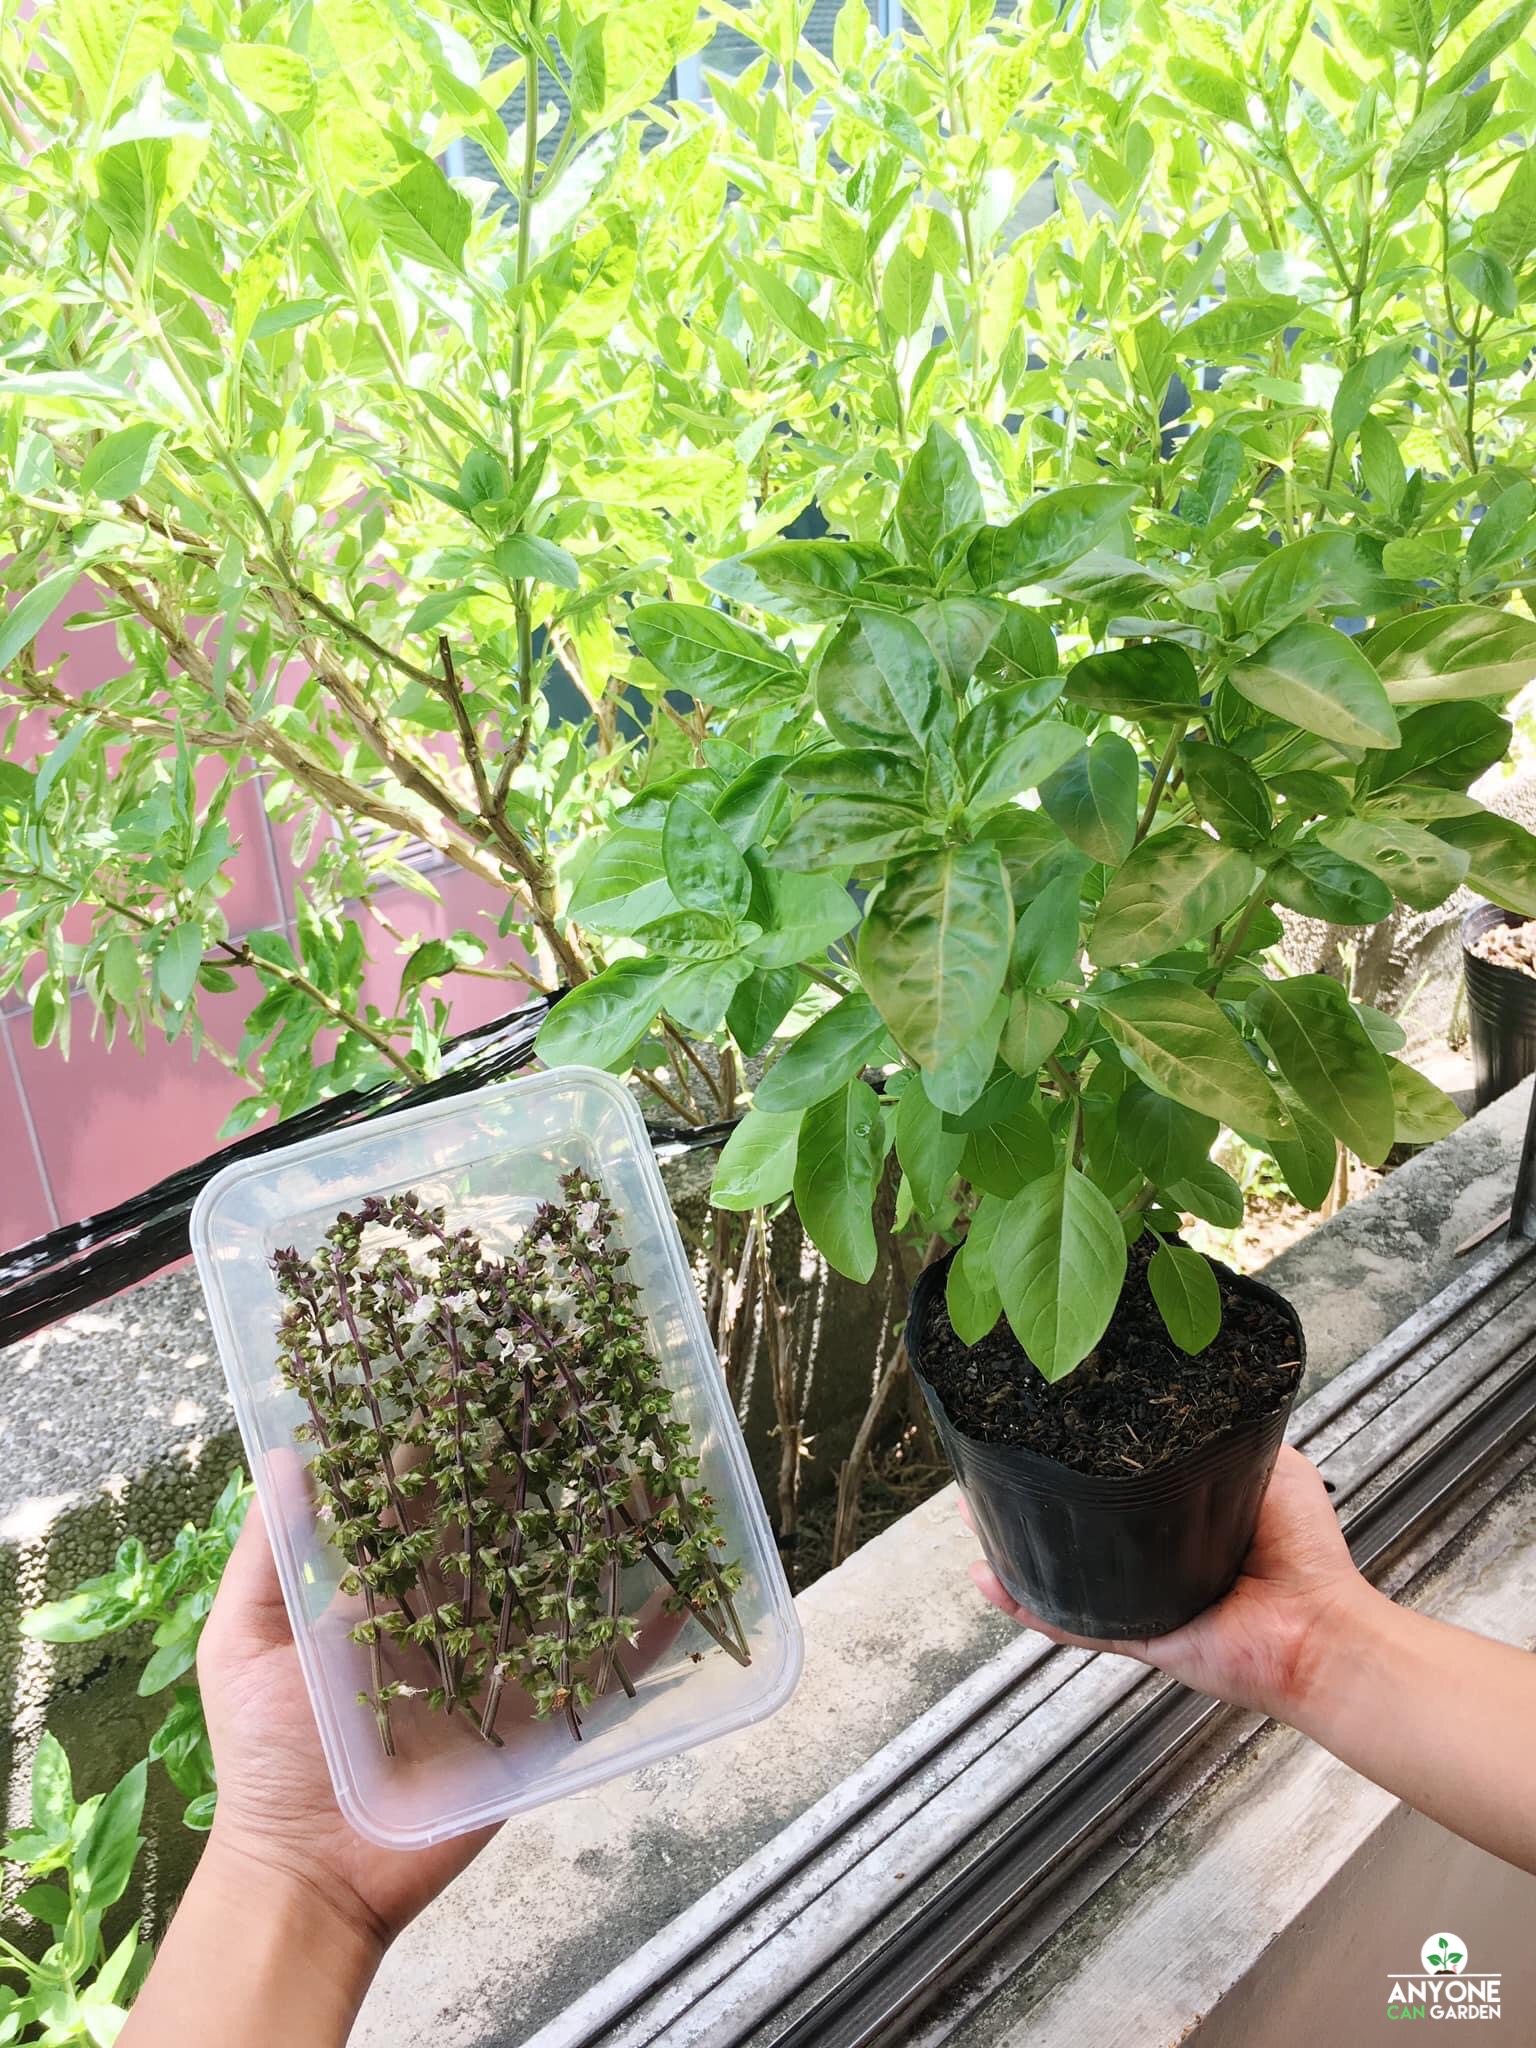
Remember, if you want to keep harvesting Basil leaves, the goal is for the plant to become bushy. Not to become tall with thin leaves and flowers.
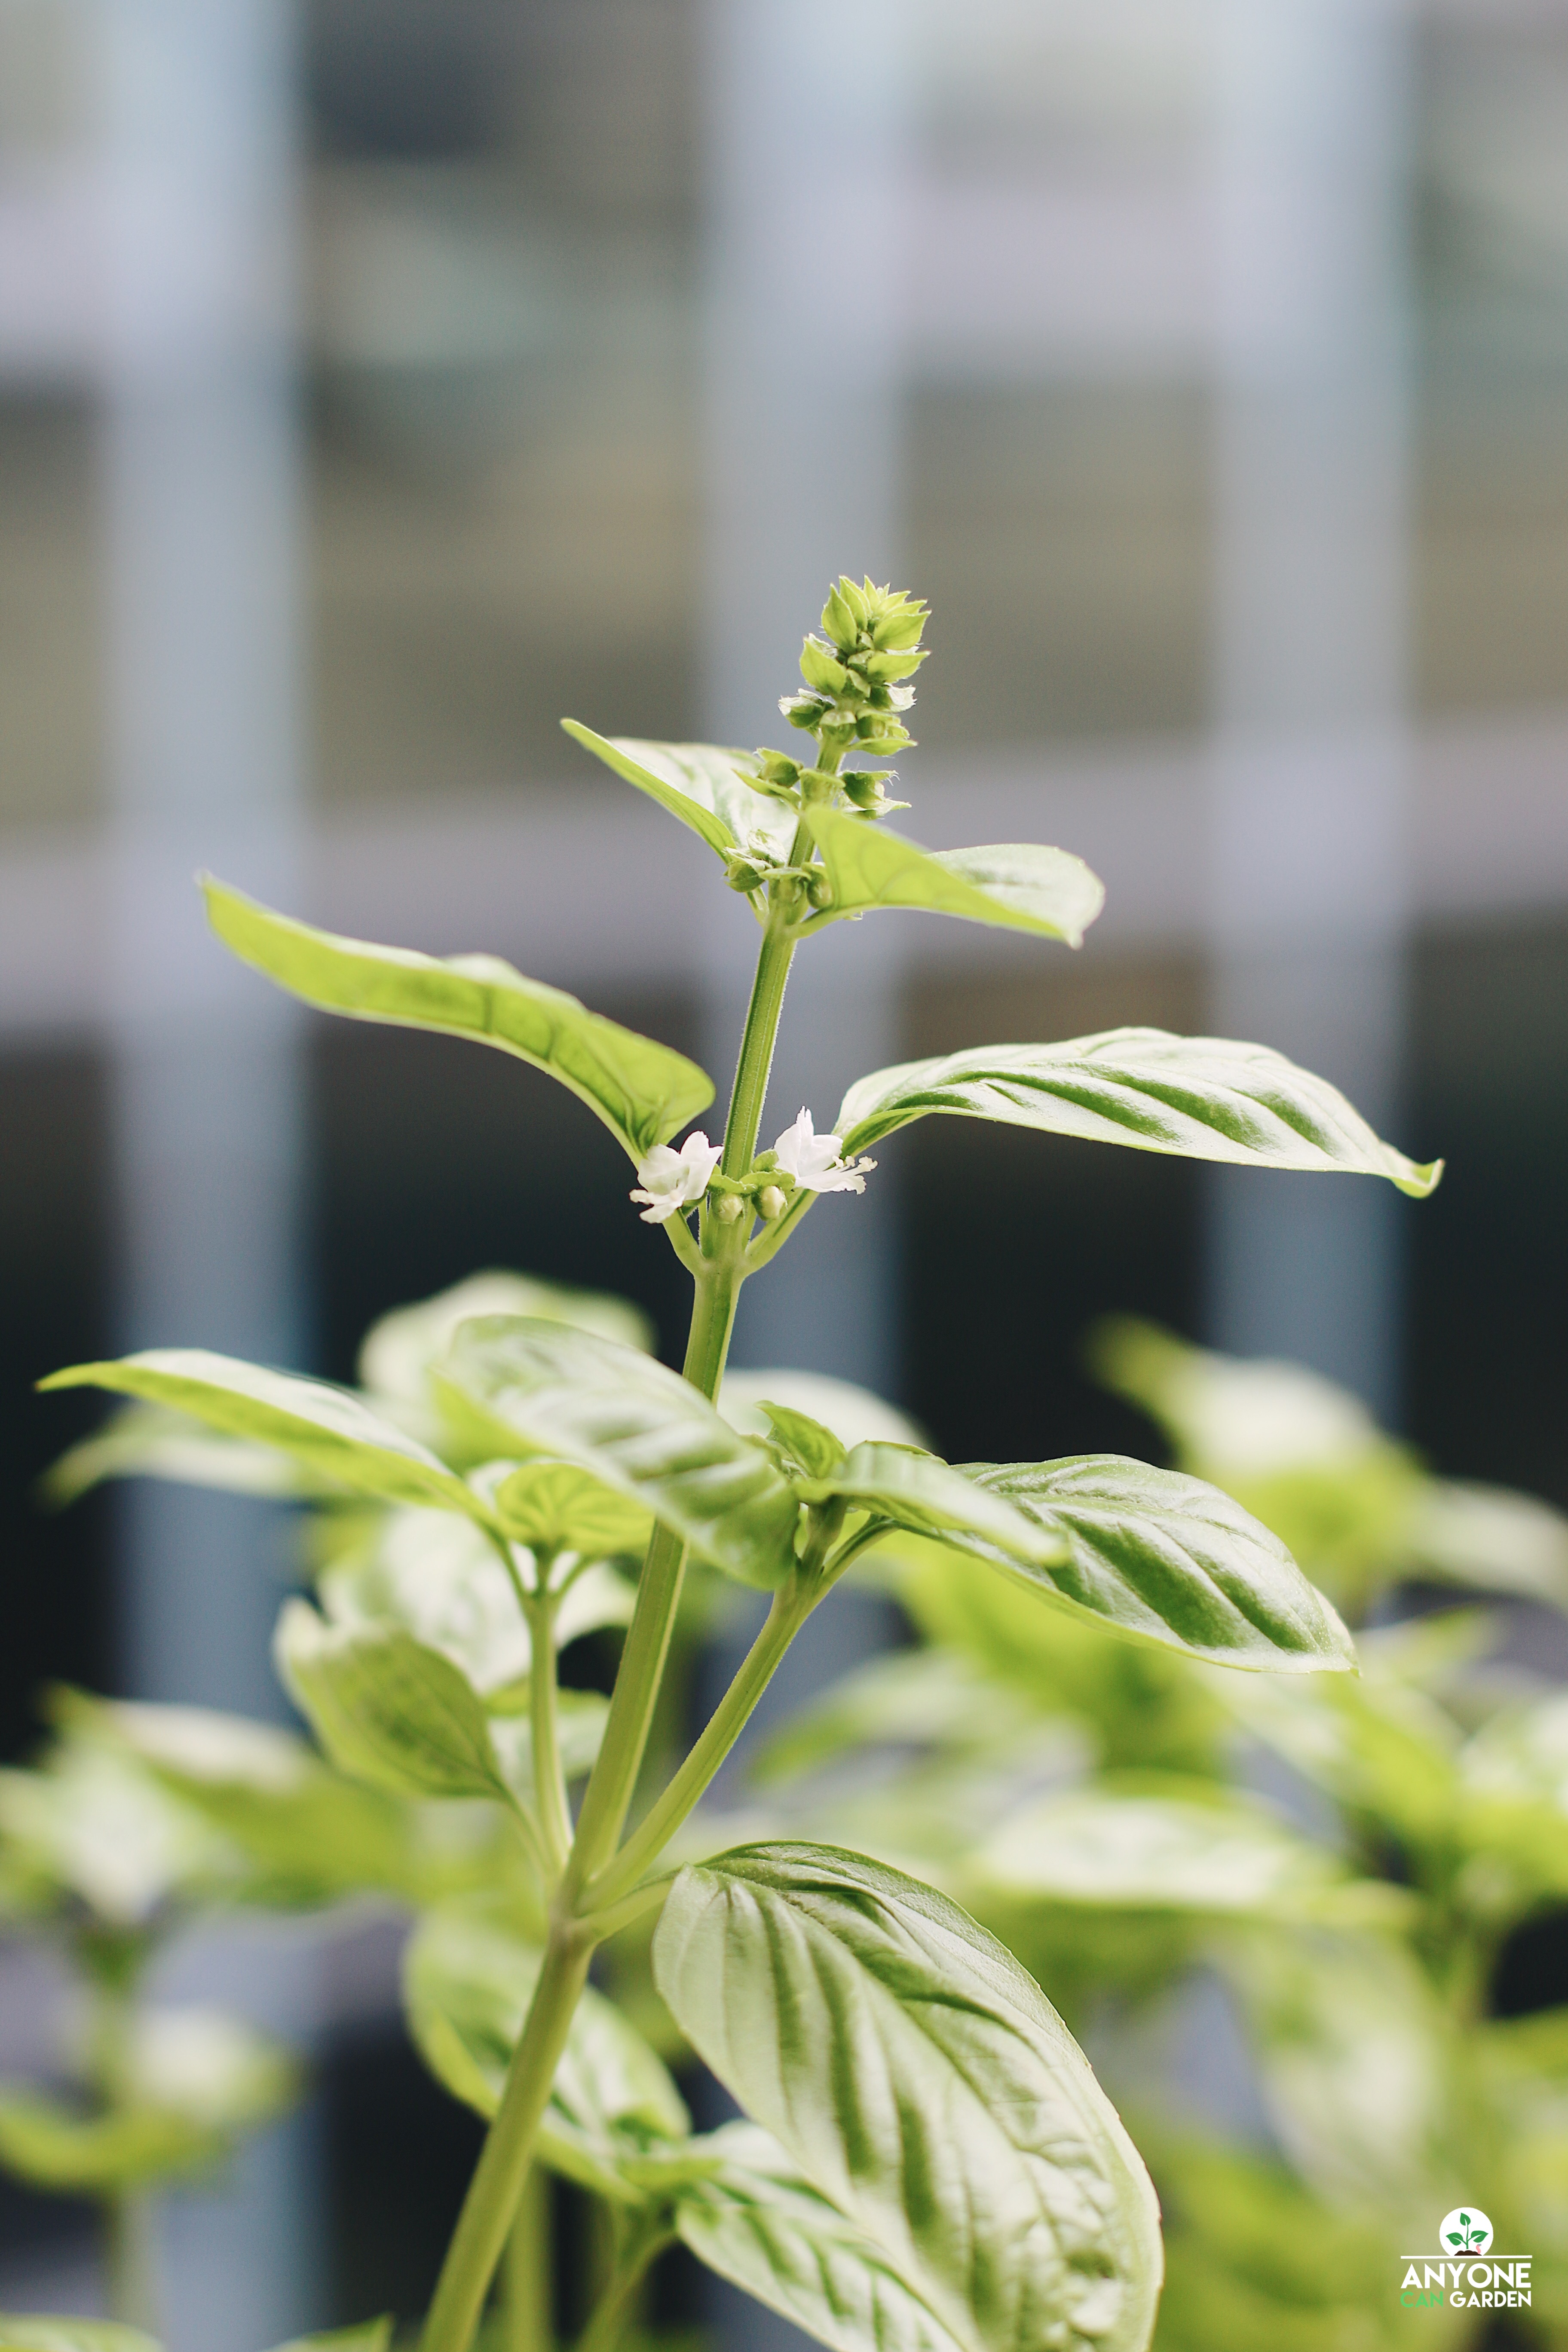
STEP EIGHT: Remove Flowers and Dying Leaves
Flowers are used to collect seeds. But when the Basil plant flowers, it means that the plant is using its energy to produce seeds, not to make leaves. So, make sure to snip off flowers when you see them growing (unless you want to collect seeds).
Also, snip off yellow, brown, or infected leaves when you see them, so the plant’s energy can focus on the healthier ones. This will prevent diseases from spreading too!
STEP NINE: Keep Harvesting
This will encourage the plant to continue producing leaves. But, make sure NOT to harvest more than 1/3 of the plant, so that it won’t have a hard time recovering.
STEP TEN: Enjoy Growing!
Aside from enjoying the process of seeing plants grow, I’ve been having a blast learning from this too, both in my successful attempts and in my failures (or what I call “experiments”) along the way.
I hope this detailed post helps you get a clearer picture of how to plant Basil seeds. If you have more questions, feel free to let me know in the comments below. Or you can also visit my gardening page “ANYONE CAN GARDEN” on Facebook and Instagram, where I post more about lessons learned. :)